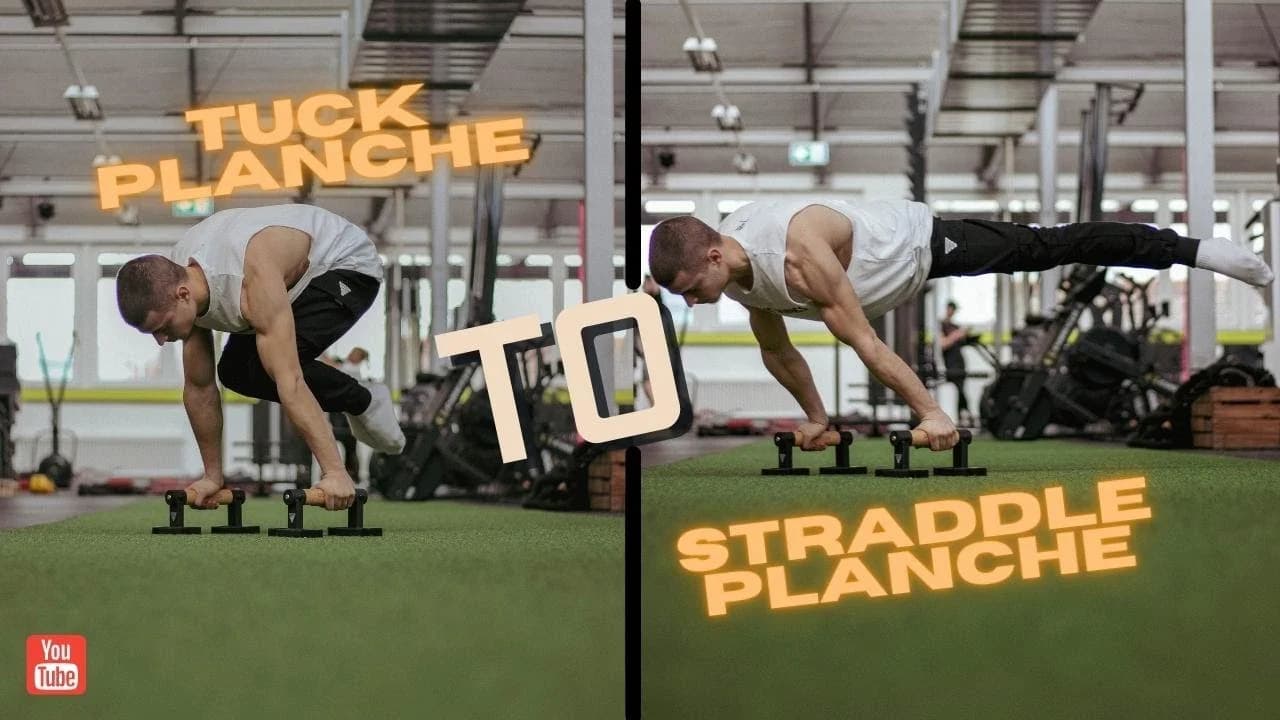
The straddle planche is the natural next step once you can hold a tuck planche, and it opens the door to full planche work later on. Getting there is not quick, it demands real straight arm strength, shoulder protraction, and enough body tension to keep your legs wide without your hips sagging. In this tutorial I cover what the straddle planche actually requires, the prerequisites you need before attempting it, the technique cues that matter, and a staged progression you can follow. By the end you will know how to start training the transition from tuck planche to straddle planche.
Watch the Full Tutorial
What Is the Straddle Planche
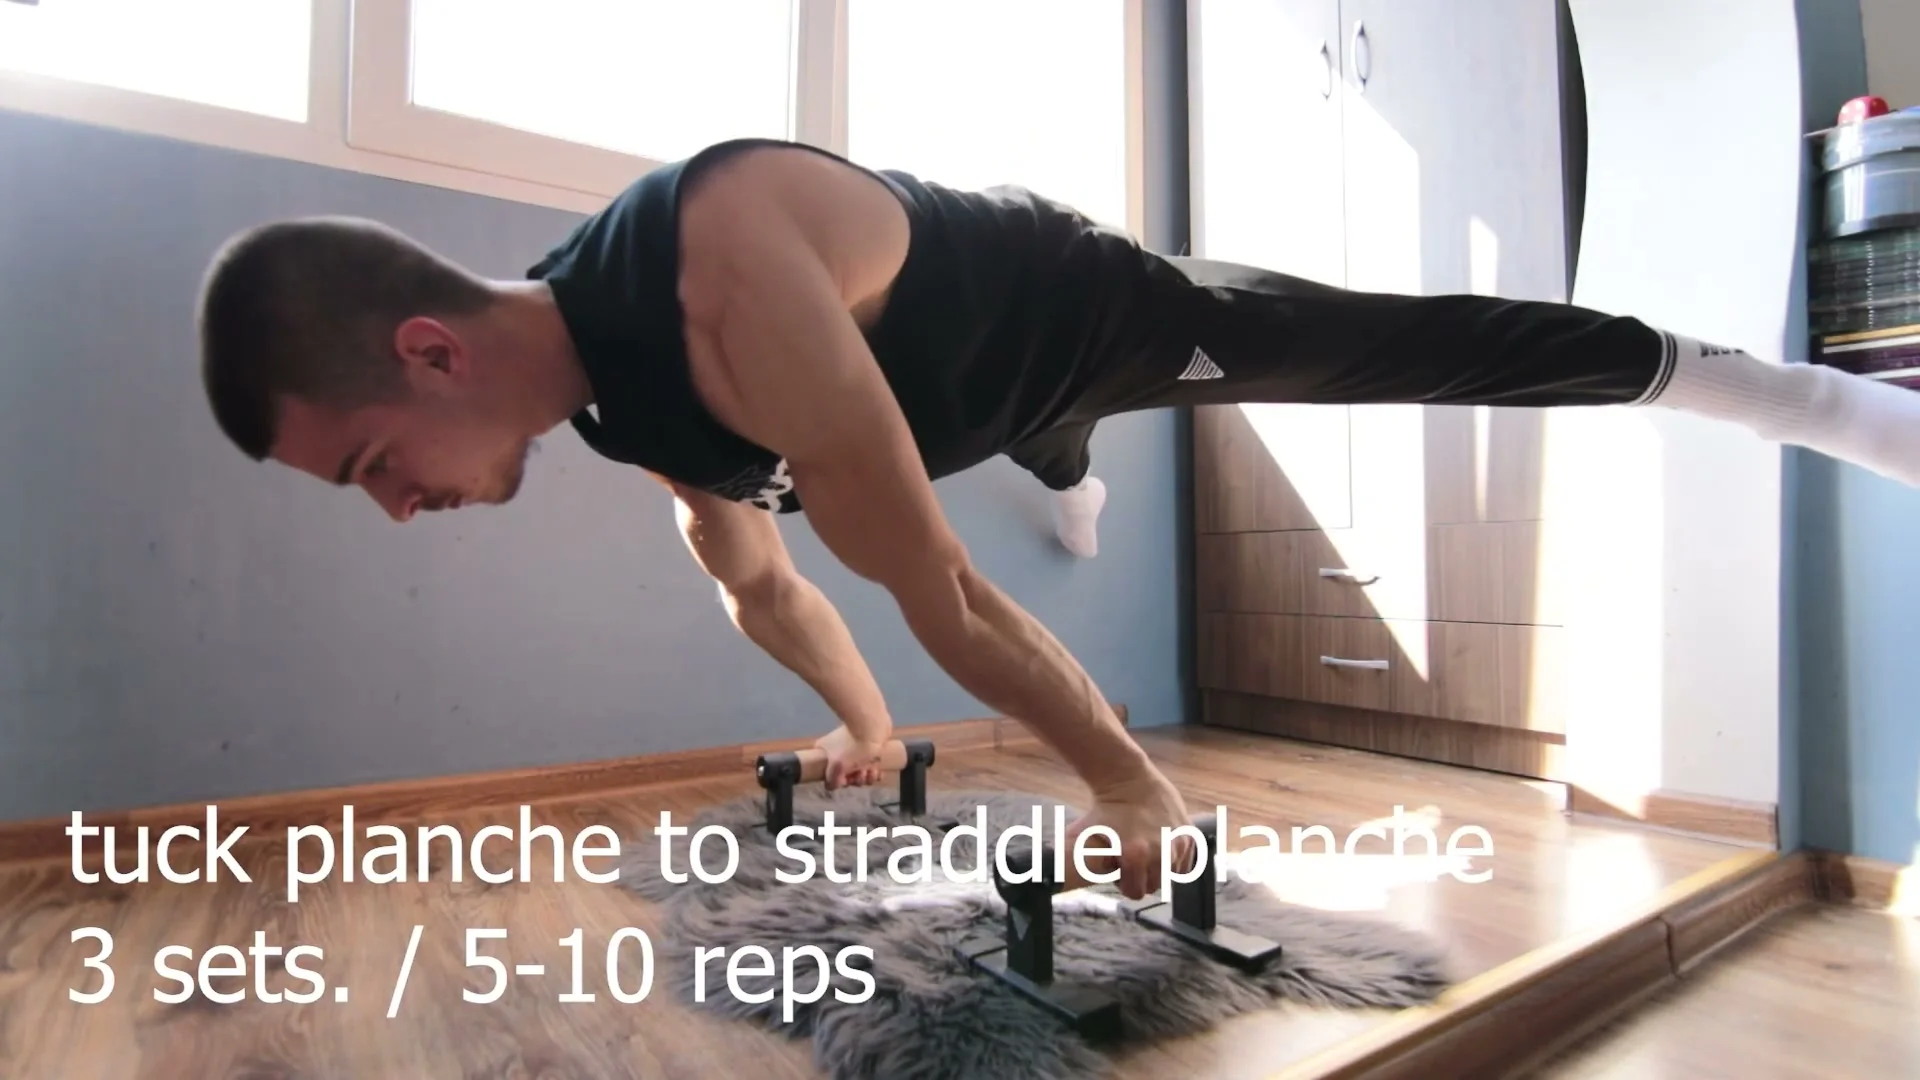
The straddle planche is a horizontal hold where your body is parallel to the ground, your arms are straight, and your shoulders sit in front of your hands to balance the weight. The legs are opened wide into a straddle instead of staying tucked or straight together.
It sits between the tuck planche and the full planche in the standard progression. Opening the legs shortens the lever arm compared to a full planche, which makes the straddle version noticeably easier to balance and hold, even though it still demands serious straight arm strength.
Most people treat the straddle planche as the real test of whether their shoulders, wrists, and core are ready for planche work. If you can hold it cleanly, the full planche becomes a question of leg position and patience rather than starting from zero.
Prerequisites
You need a genuinely solid tuck planche before straddle work is worth your time. Trying to skip ahead just teaches your body to fake the position with bent arms and dropped hips.
- A tuck planche you can hold with straight arms and rounded upper back for several seconds without shaking
- Comfortable, pain free wrist extension under load (practice this separately if it is not there yet)
- Basic hip and hamstring flexibility to open into a straddle without your lower back rounding
- Enough shoulder protraction strength from planche leans or pseudo planche push ups to keep your shoulder blades active through the hold
- Core control to keep your hips level with your shoulders instead of sagging
Technique
Key Takeaway
The straddle planche is won or lost on two things: straight arms and shoulder protraction. Everything else, leg position, hip height, breathing, only matters once those two are locked in. Get the arms and shoulders right first and the rest of the hold becomes a lot more forgiving.
Push the ground away and round your upper back so your shoulder blades protract, this is what shifts your shoulders in front of your hands. Keep your arms straight throughout, a bent elbow shortens your lever and makes the hold feel heavier, not lighter.
Point your toes and keep your legs at a wide, controlled straddle rather than as wide as physically possible. Going too wide too early usually costs you hip height and turns the hold into a struggle to keep your legs from dropping.
Keep your hips roughly level with your shoulder line. If your hips sag below your shoulders, your body weight shifts backward and you lose the position fast. Breathe normally and resist the urge to hold your breath through the set, tension in your shoulders and lats matters more than bracing your lungs.
Progression: From Tuck Planche to Straddle Planche
These are the five exercises I use to bridge a solid tuck planche into a straddle planche, in order. Do not move to the next one until the current stage feels controlled for the prescribed sets.
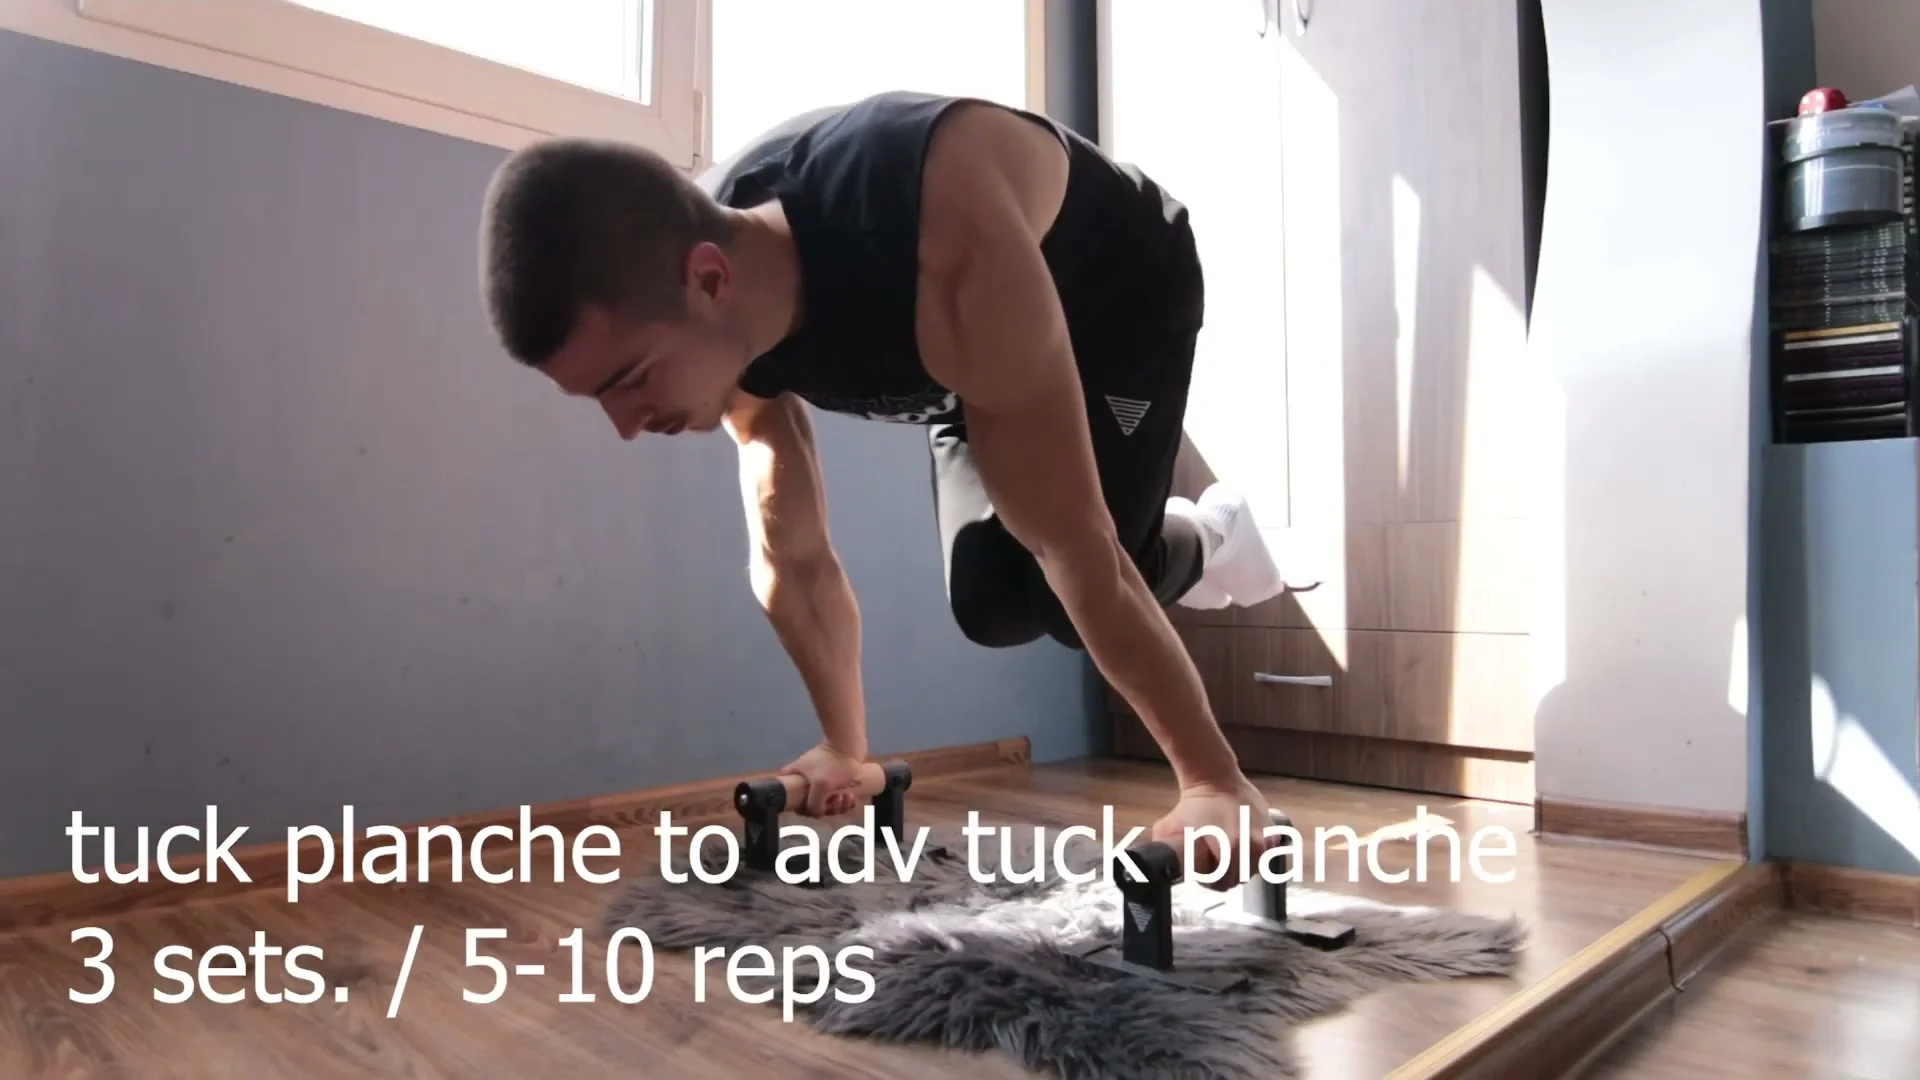
Stage 1: Advanced Tuck Planche
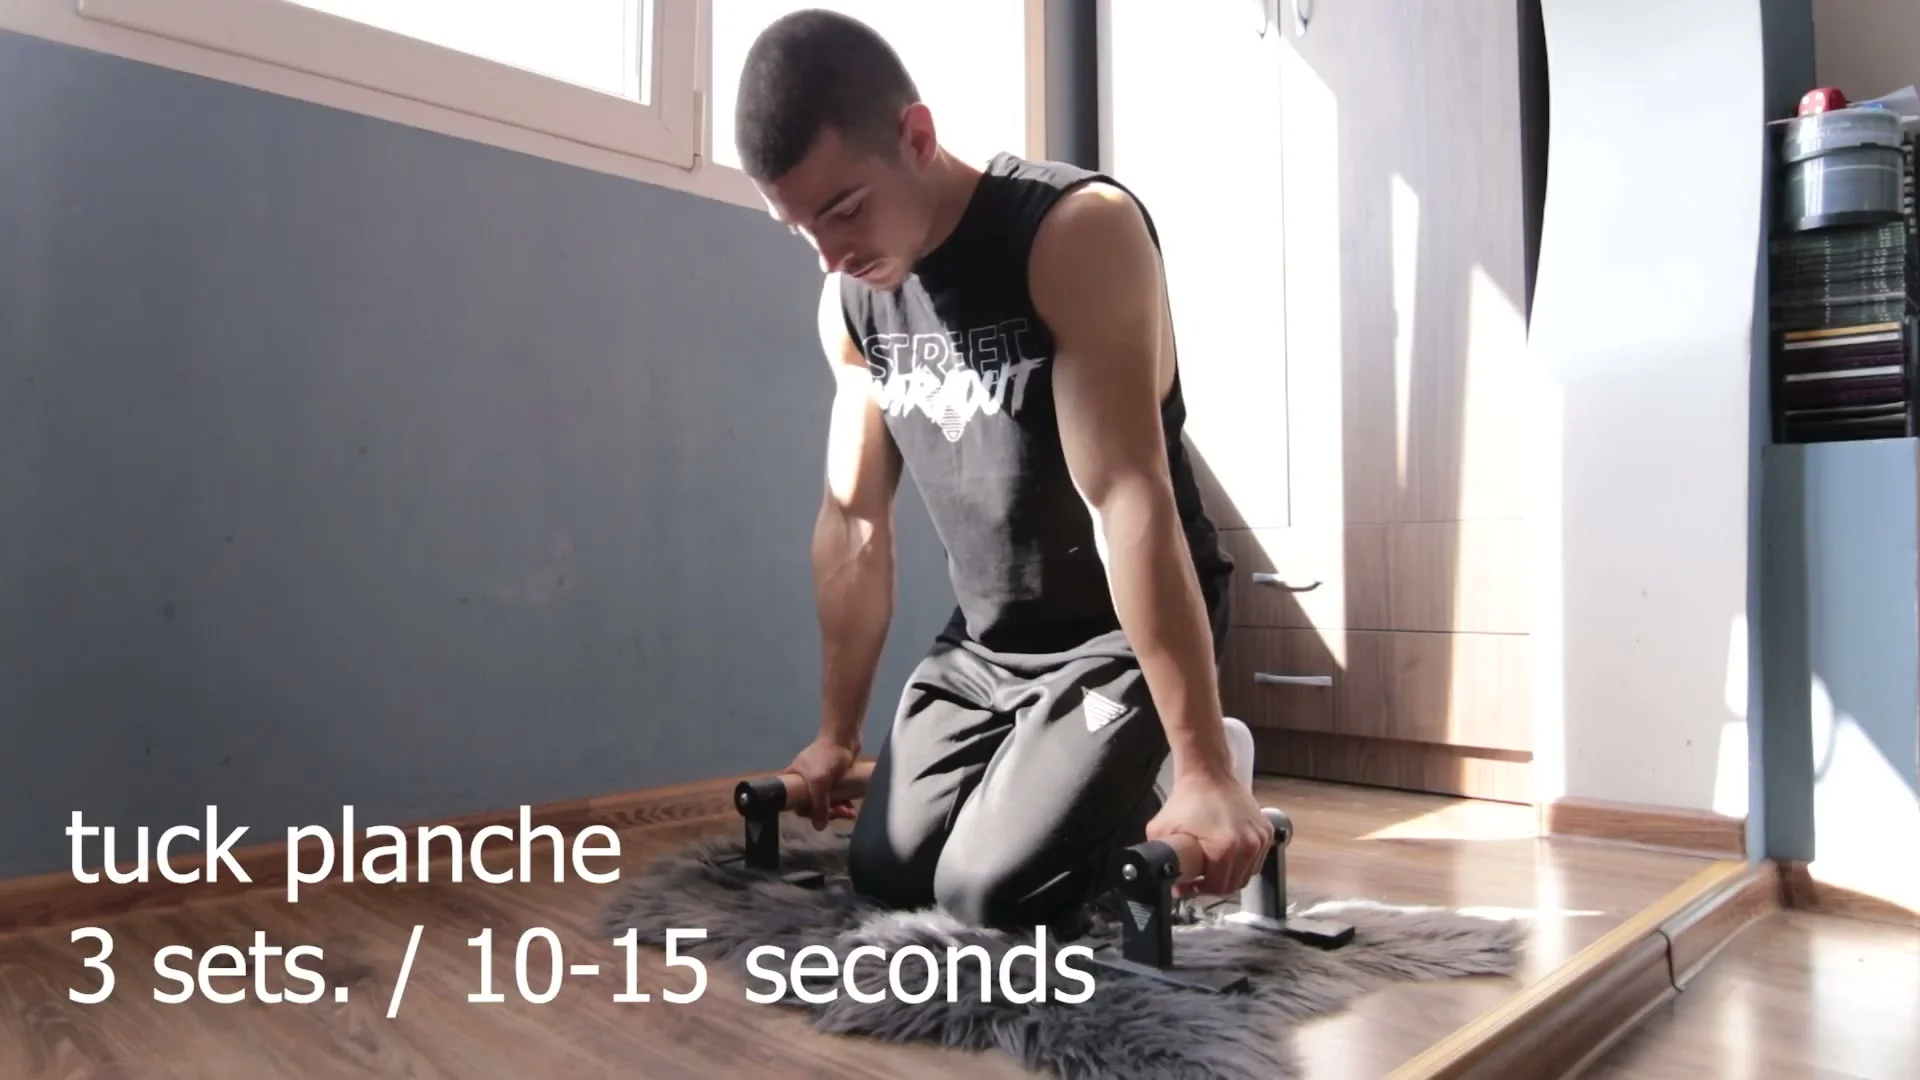
Extend your hips slightly further out of the tuck while keeping your knees bent and your arms straight. Work this for 3 sets of 5 to 10 reps. This stage teaches your shoulders to handle more of your body weight before you add the extra leverage of straightening your legs.
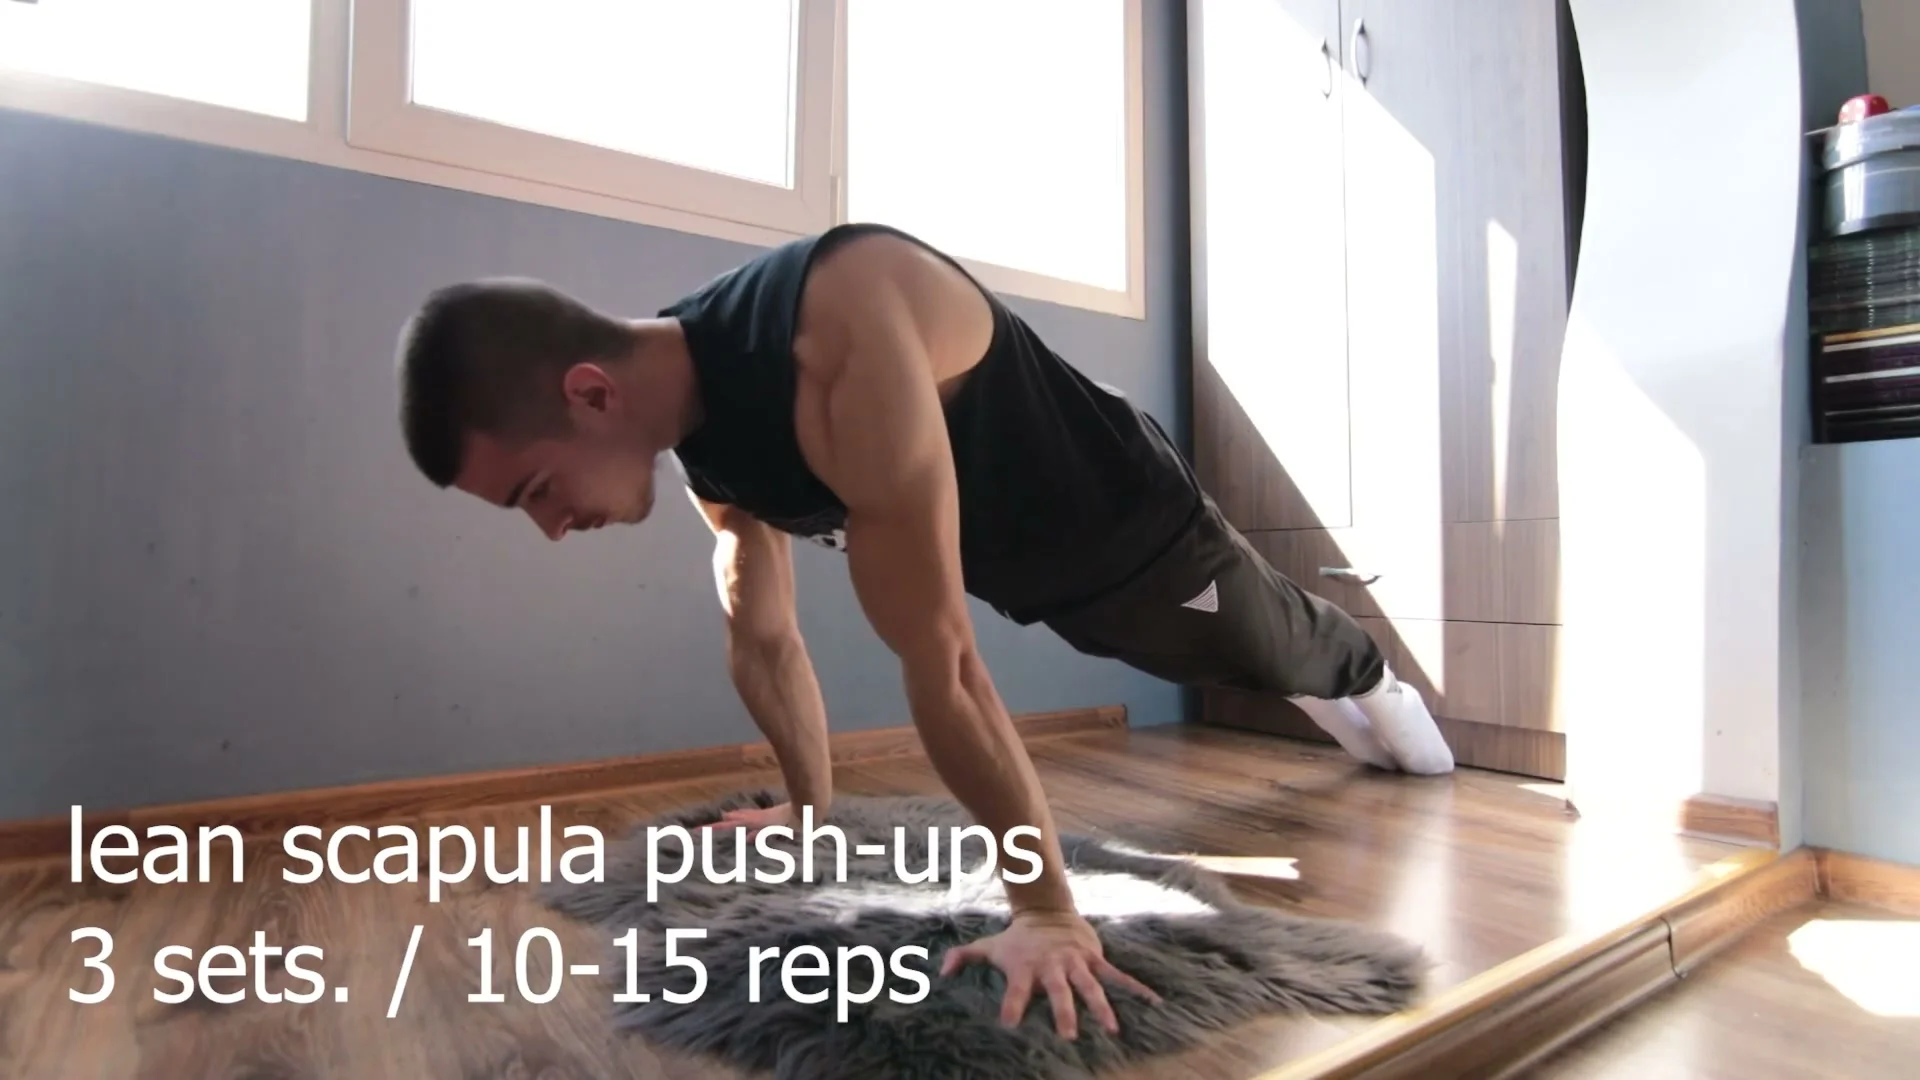
Stage 2: Lean Scapula Push-Ups
On parallettes, get into a straight arm plank lean and drive your shoulder blades forward and back without bending your elbows. Do 3 sets of 10 to 15 reps. This builds the straight arm pressing strength and scapula protraction you need without asking your shoulders to hold your full body weight in a planche position yet.
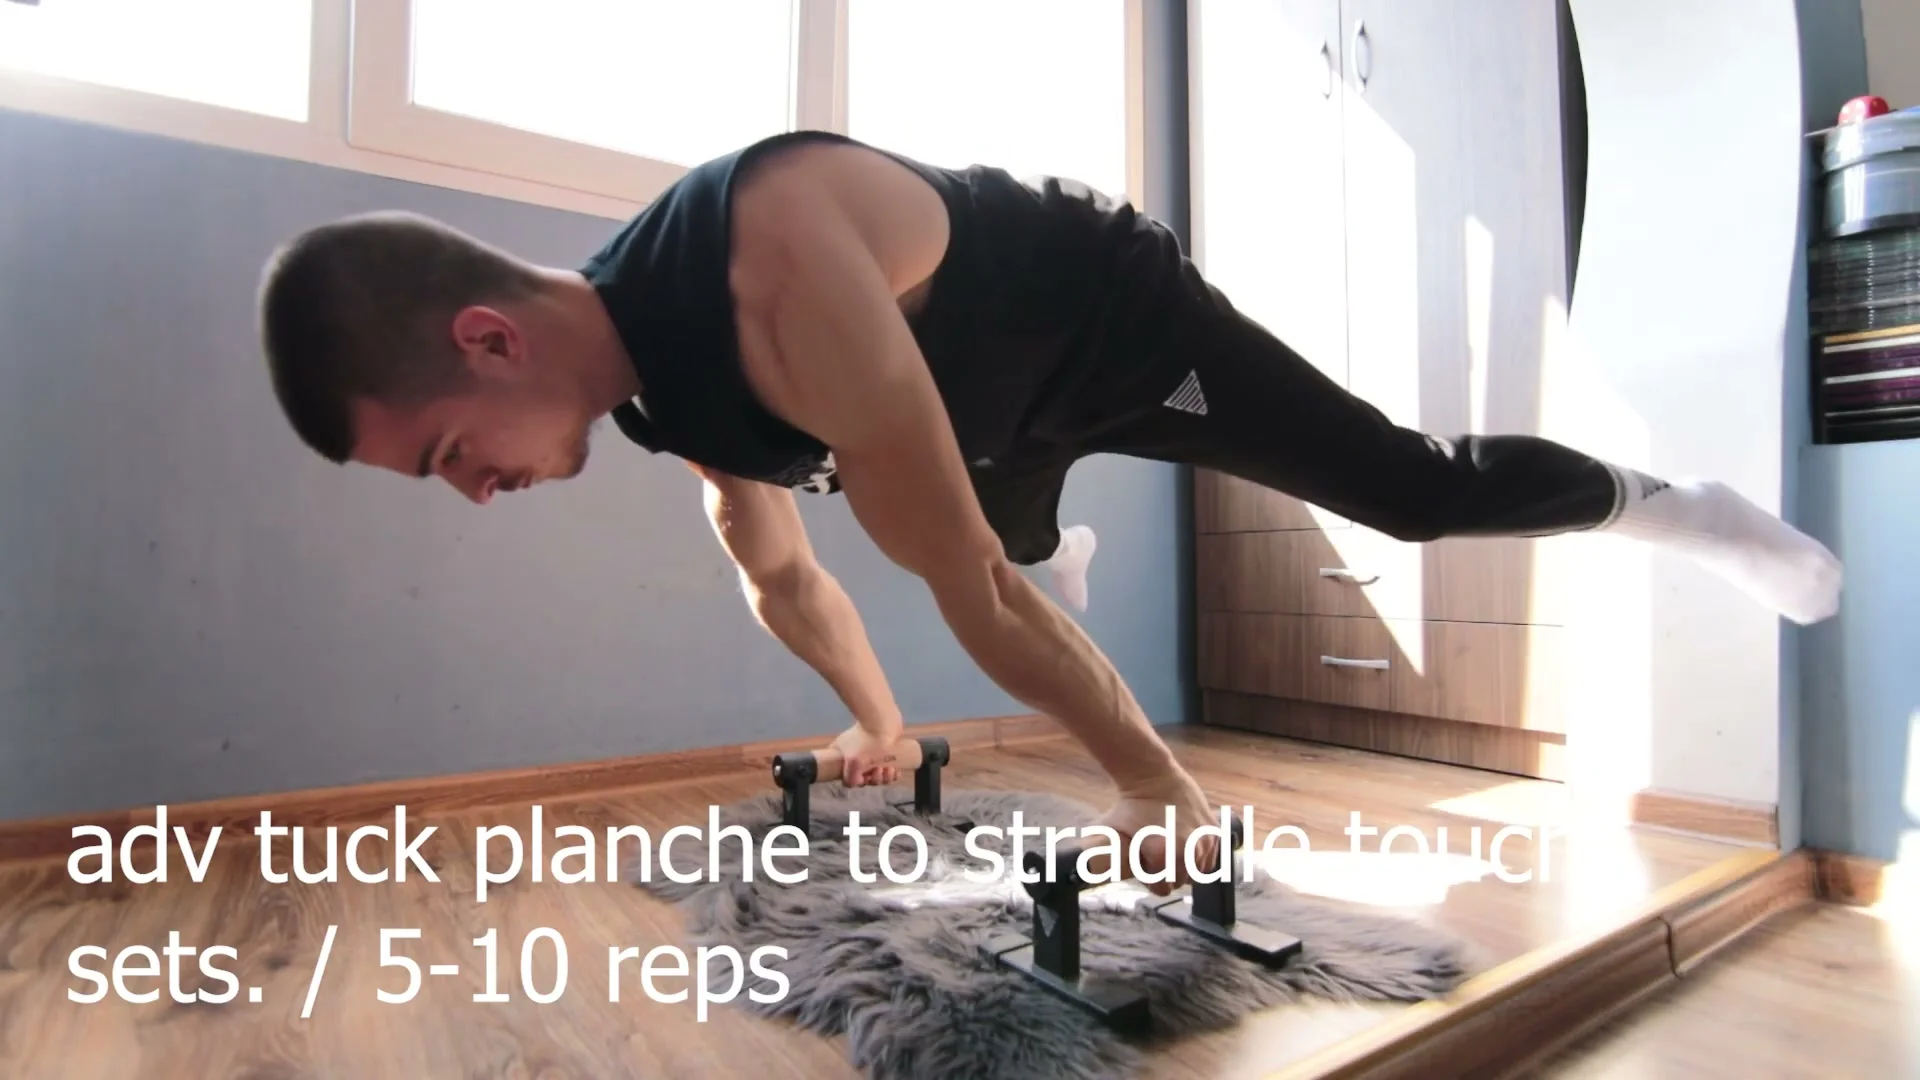
Stage 3: Advanced Tuck Planche to Straddle Touch
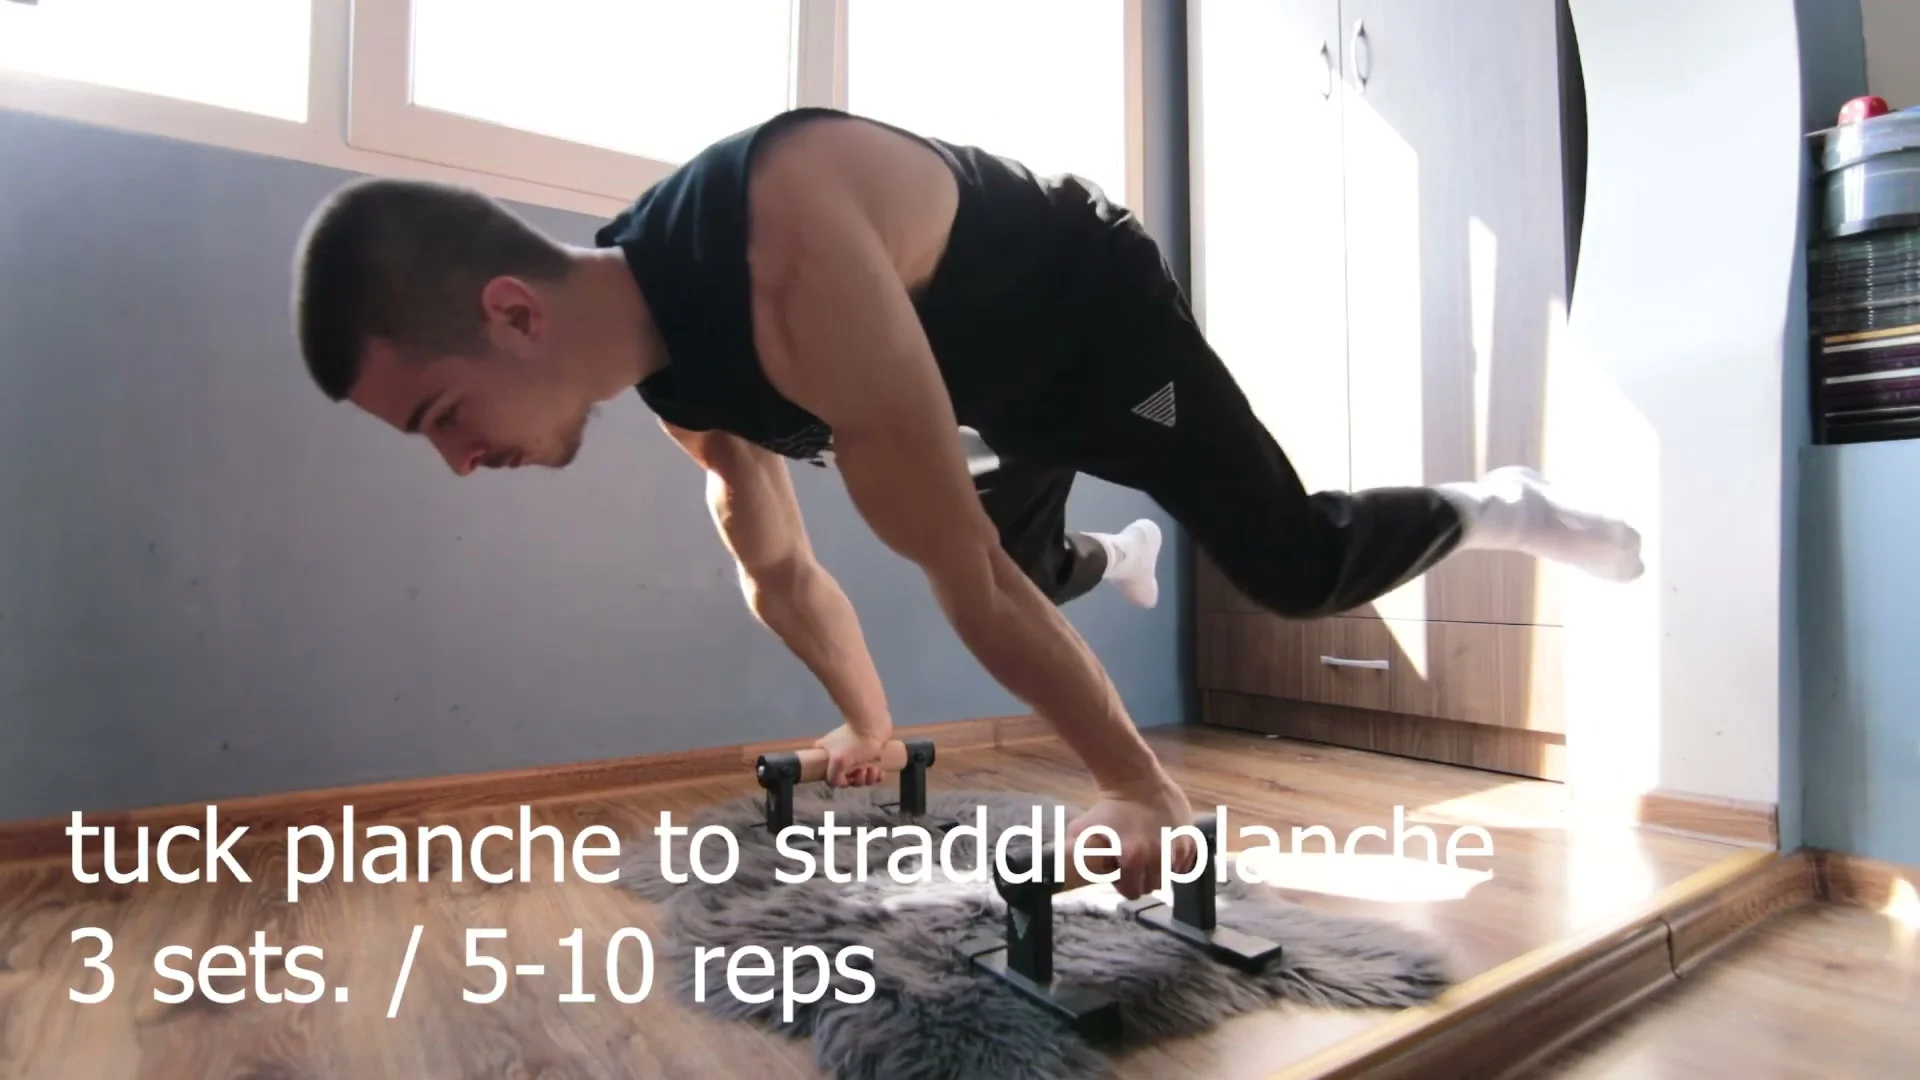
From an advanced tuck planche, extend one or both legs out to lightly touch the ground in a straddle position, then pull back to the tuck. Do 3 sets of 5 to 10 reps per side. This teaches your shoulders to briefly handle the longer lever of a straight leg without asking you to hold the full straddle statically yet.
Stage 4: Straddle Planche Negatives
From a supported straddle position, slowly lower yourself toward the tuck under control instead of dropping. Negatives let you spend time in the strength curve of the full hold before you can actually hold it statically.
Stage 5: Full Straddle Planche Holds
Once the touches and negatives feel controlled, attempt short unassisted straddle planche holds, even two or three seconds count. Build duration slowly rather than chasing a long hold before the position is clean.
Common Mistakes
Rushing the Straddle Before the Tuck Is Solid
If your tuck planche is shaky, the straddle planche will only expose that weakness with a longer lever arm. Spend the extra weeks on the tuck, it pays off faster than grinding away at a straddle you are not ready for.
Bent Arms
Bending your elbows to "help" the hold actually makes it harder, because it moves your center of mass and reduces how much your shoulders and lats can support you. Keep your arms locked straight even if that means a shorter hold.
Not Protracting the Shoulders
If your shoulder blades stay pinned back instead of pushing forward, your shoulders end up behind your hands and you will feel like you are constantly falling forward. Actively push the ground away and round your upper back through the entire hold.
Opening the Legs Too Wide, Too Soon
Chasing your maximum flexibility instead of a controlled, stable straddle usually costs you hip height. A slightly narrower straddle held cleanly beats a wide one where your hips are sagging and your form is falling apart.
Training Tips
Train the straddle planche progressions when your shoulders are fresh, ideally near the start of a session after a proper wrist and shoulder warm-up. Straight arm holds are unforgiving on tired joints, and bad reps here teach your body the wrong shape.
Do not skip the scapula work. Lean scapula push-ups feel like an accessory exercise, but the protraction strength they build is what actually keeps your shoulders in front of your hands once you add the straddle lever.
Keep a log of your hold times and rep counts at each stage. Straddle planche progress is slow and it is easy to feel like nothing is happening week to week, a log makes the real progress visible even when it feels invisible day to day.
Frequently Asked Questions About the Straddle Planche
How long does it take to go from tuck planche to straddle planche?
It varies a lot by starting strength, but most people training consistently need several months of dedicated work. Shoulder and wrist strength usually take longer to build than most people expect, so be patient with the process.
Do I need a full planche before I try straddle planche?
No, the straddle planche comes before the full planche in the standard progression, not after. It is easier to balance than a full planche because the open legs shorten the lever arm your shoulders have to control.
What is the difference between tuck planche and straddle planche?
In a tuck planche your knees are pulled into your chest, which keeps most of your body weight close to your shoulders. In a straddle planche your legs are straight and open, which moves more weight further away and demands more straight arm strength.
How wide should my legs be in a straddle planche?
Wide enough to feel stable without collapsing your hips, which is usually narrower than your maximum flexibility allows. Going too wide too early often costs you hold quality, so prioritize a clean line over an extreme straddle angle.
Can I train straddle planche progressions every day?
I would not recommend it. Straight arm shoulder work is demanding on the joints and connective tissue, so two to four sessions a week with real recovery between them tends to work better than daily grinding.
What equipment helps with straddle planche training?
Parallettes are useful because they let your shoulders sit lower relative to your hands, which makes leans and pulses more comfortable on the wrists. If you want a training plan built around where you currently are, my online coaching can help you structure the progression properly.
Daniel Hristov is a four-time calisthenics world champion and coach. He shares the exact methods he uses to train his own athletes.
More about Daniel →