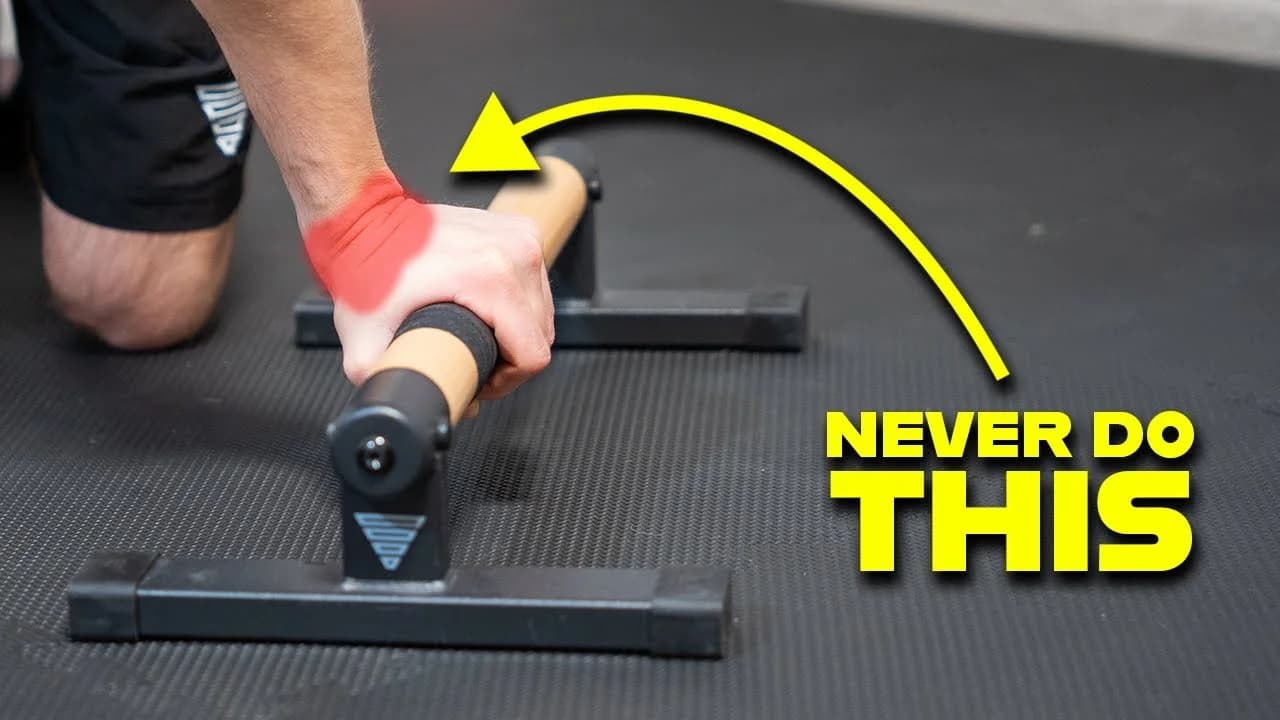
Your planche grip decides more than you think. Get it right and you progress faster and stay injury free. Get it wrong, and I know this from experience, you can spend years training on a grip that quietly wrecks your elbows and wrists. Most athletes fall into a broken grip early on simply because their wrist mobility is not there yet, and the body adapts to whatever position it can find. In this tutorial I cover the three grip types on parallettes, how to find and hold the correct one, and how to fix a broken grip if you already trained the wrong way. By the end you will know how to check your own hand position and start correcting it today.
Watch the Full Tutorial
What Is the Correct Planche Grip
The planche grip is how your hands and wrists position on parallettes when you lean into any planche progression, from planche lean to tuck planche to full planche. It looks like a small detail. It is not. Your grip decides how much pressure goes into your wrist, how much connection you feel with the parallettes, and how high you can lean before your form breaks down.
There are three grip patterns I see on parallettes: broken grip inside, broken grip outside, and middle grip, which is the correct one. Most athletes end up in one of the two broken grips without choosing it. Their wrists simply adapt to whatever position feels natural when they lack mobility, and that position usually is not the strong one.
Prerequisites
You do not need any planche strength to work on your grip. You need parallettes, some wrist mobility, and the honesty to check your own hand position instead of assuming it is fine. If you have never looked closely at how your wrist sits on the parallette when you lean forward, start there before you add more planche training volume.
- Access to parallettes (or a similar raised, gripable surface)
- Basic wrist mobility, enough to rotate and flex the wrist without sharp pain
- Ability to hold a plank or tuck planche lean for a few seconds to test your grip under load
- No current elbow or wrist injury that a doctor has told you to rest
How to Do the Planche Grip
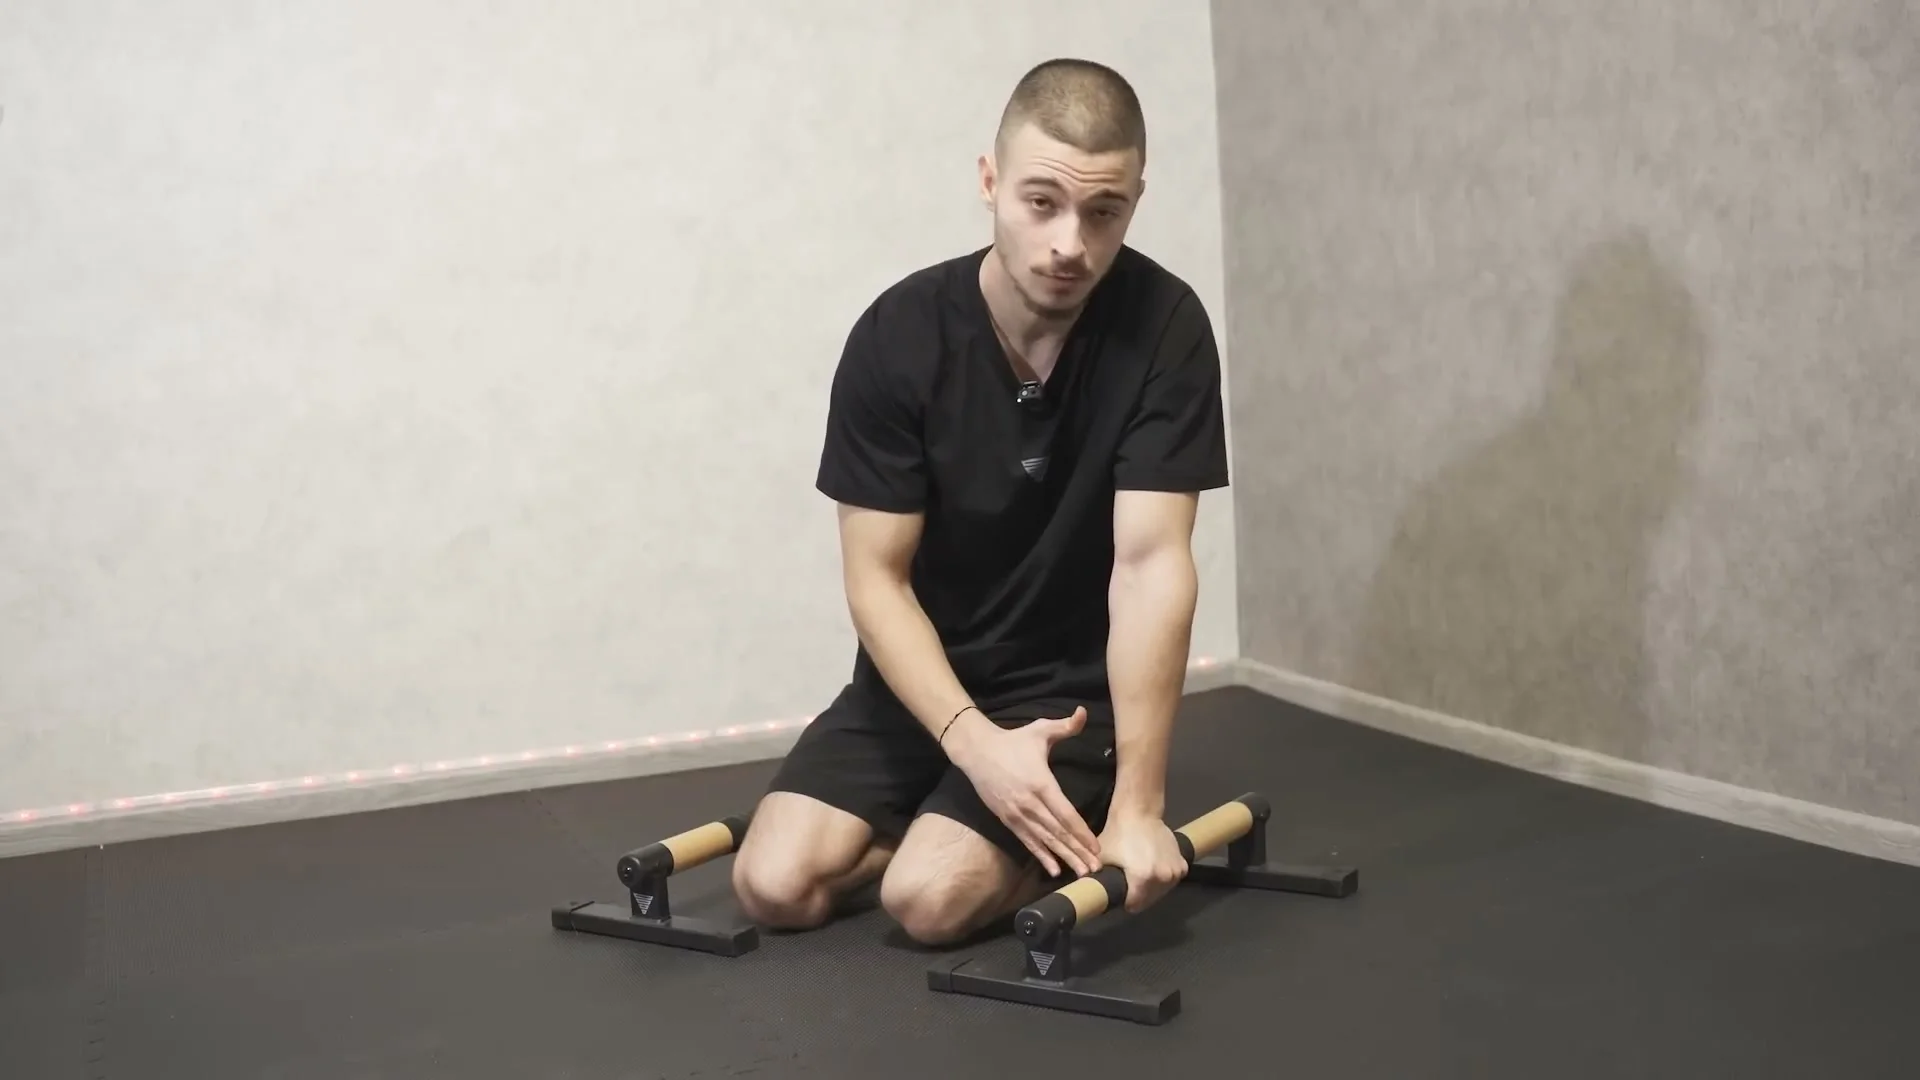
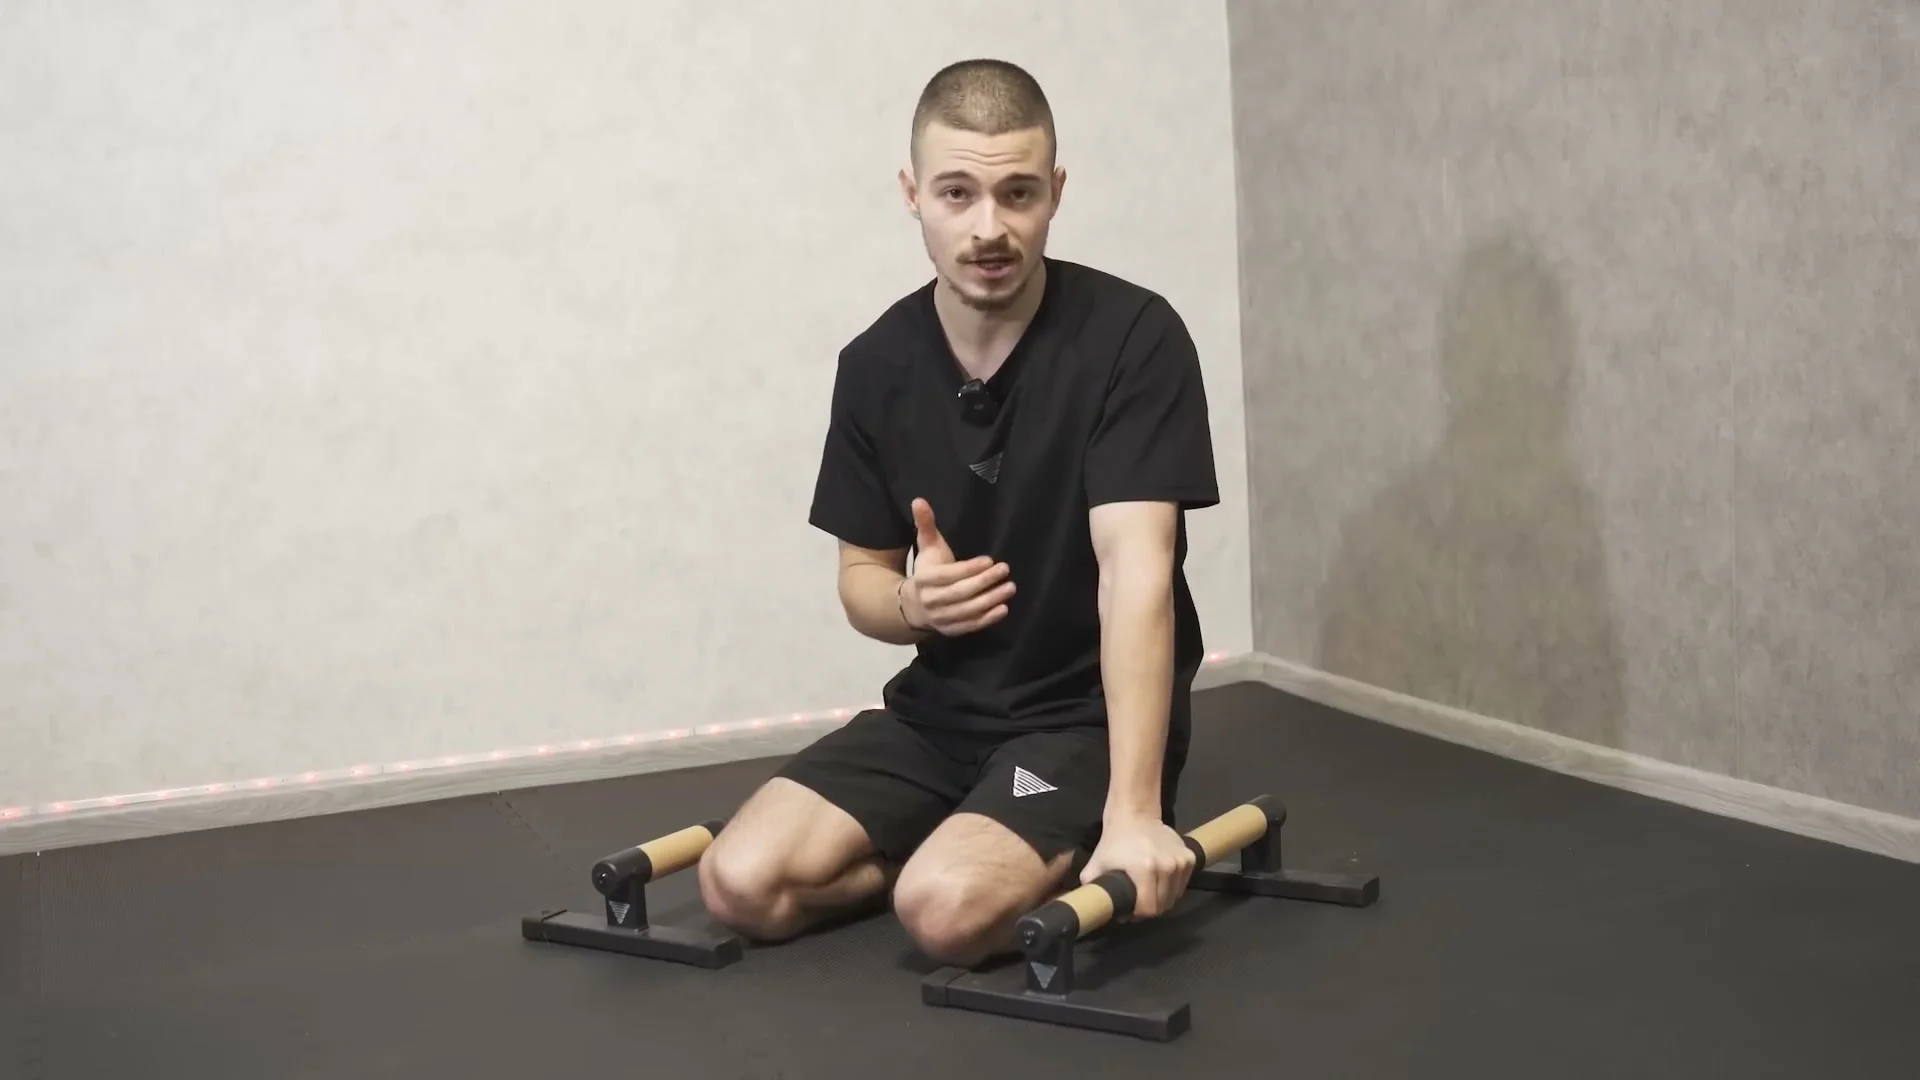
Set your hand on the parallette with four fingers wrapped around it, not spread wide, not resting flat. Your thumb connects to your index finger, close but not jammed into it. That connection point between thumb and index finger matters. If your thumb sits too far under the parallette or too close to your other fingers, you lose stability and risk injury.
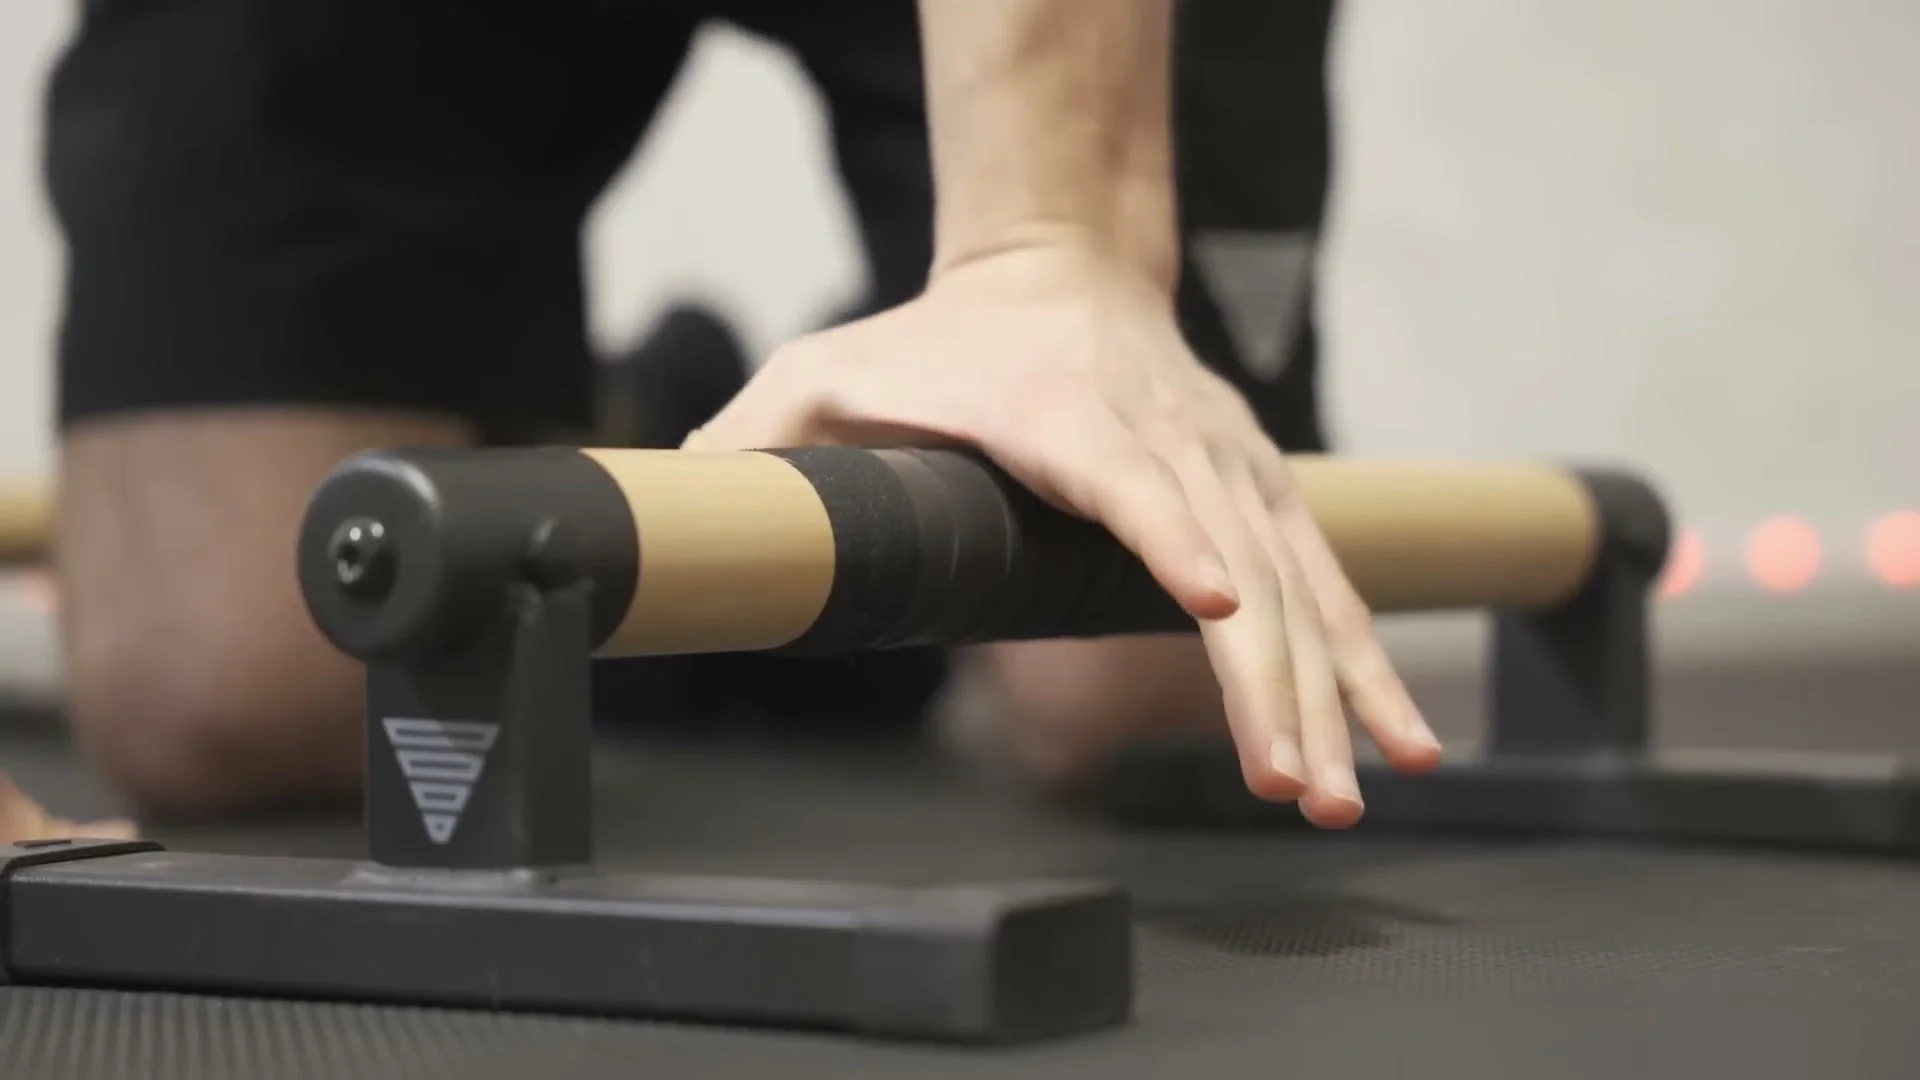
You can start from the front of the parallette or from the back. That part is personal preference. I start from the back myself, but there is nothing wrong with starting from the front if it feels more natural to you.
Key Takeaway
The correct grip puts most of the pressure on the front part of your wrist, the strongest part of the joint. If you feel pressure in your thumb or on the outside edge of your wrist instead, your hand has drifted into one of the two broken grips, and that is what actually caps your planche height and drives the injury risk.
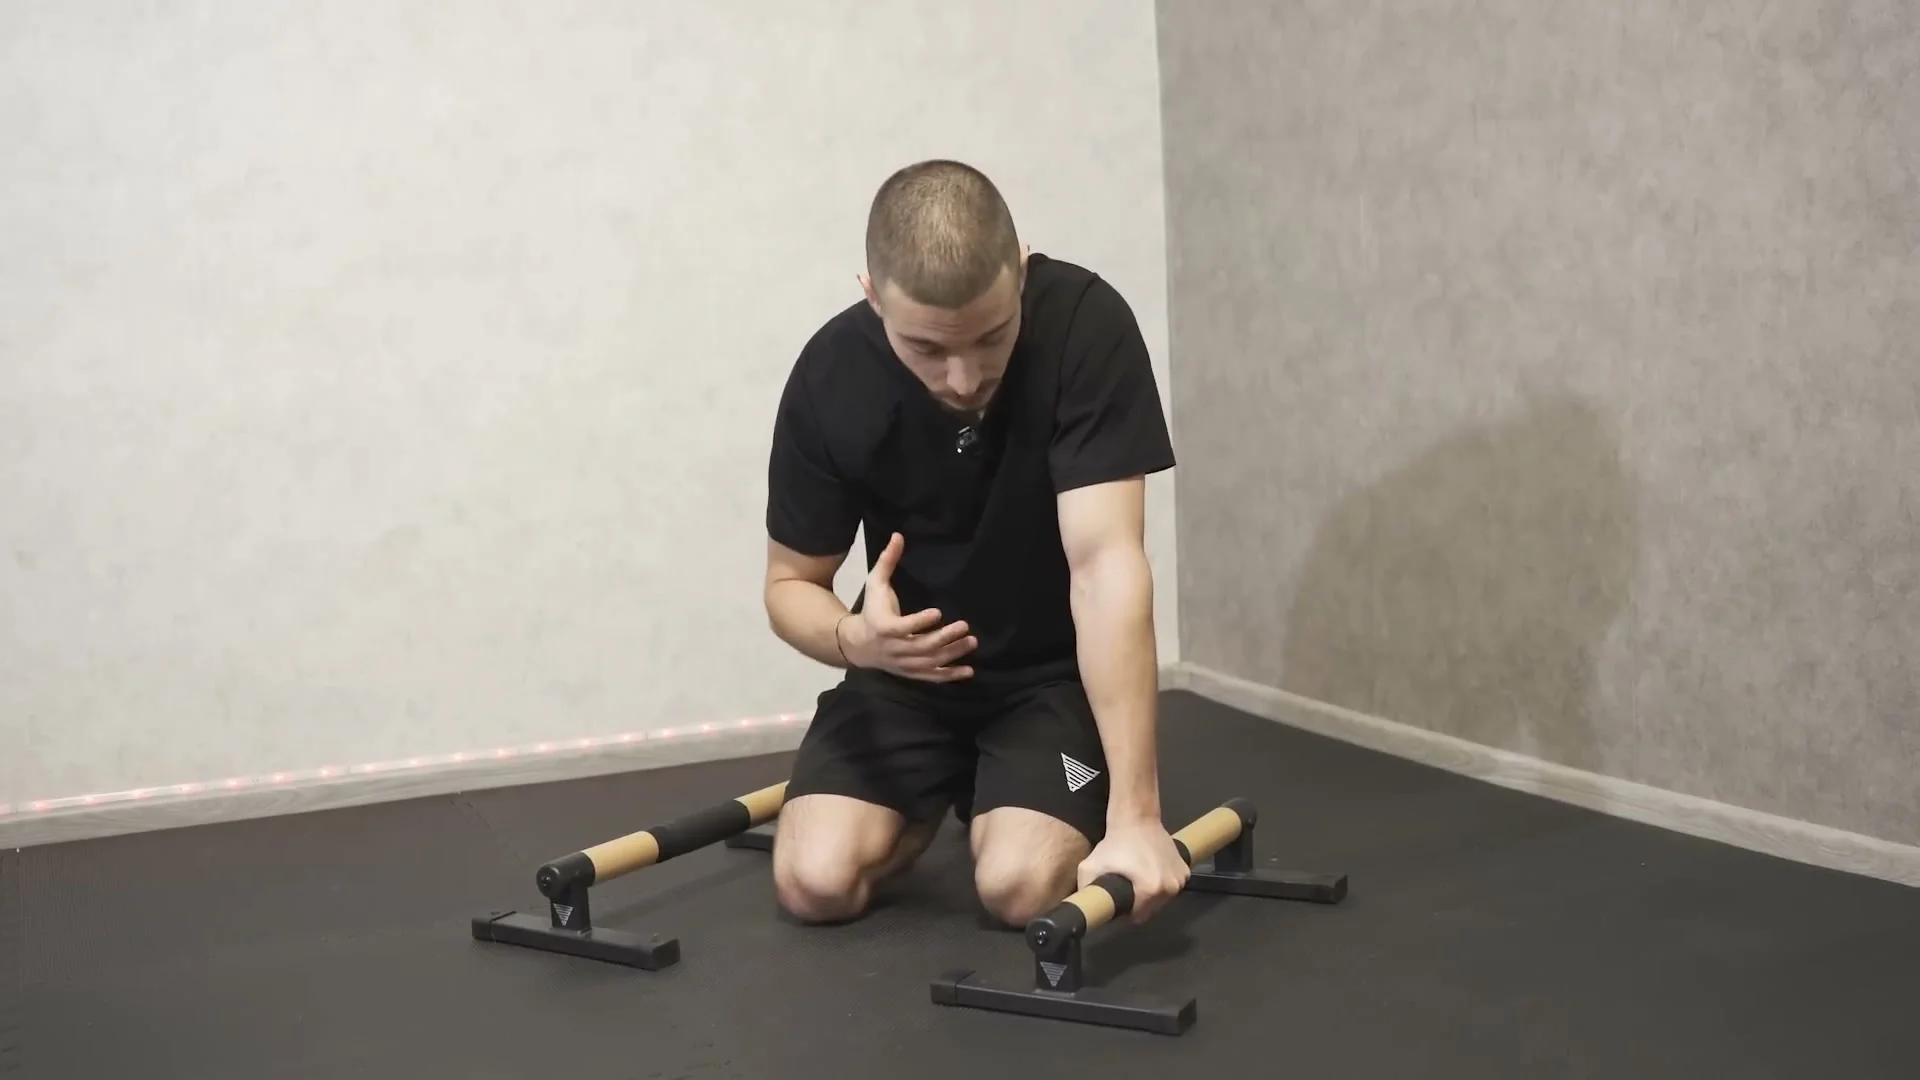
Once your hand is set, lean forward slowly. Feel where the pressure lands. In the correct middle grip, most of the pressure sits in the front part of your wrist, the strongest part of the wrist joint. That is where your connection with the parallettes should live. If you feel the pressure mostly in your thumb or on the outside edge of your wrist, your grip has drifted into one of the broken positions.
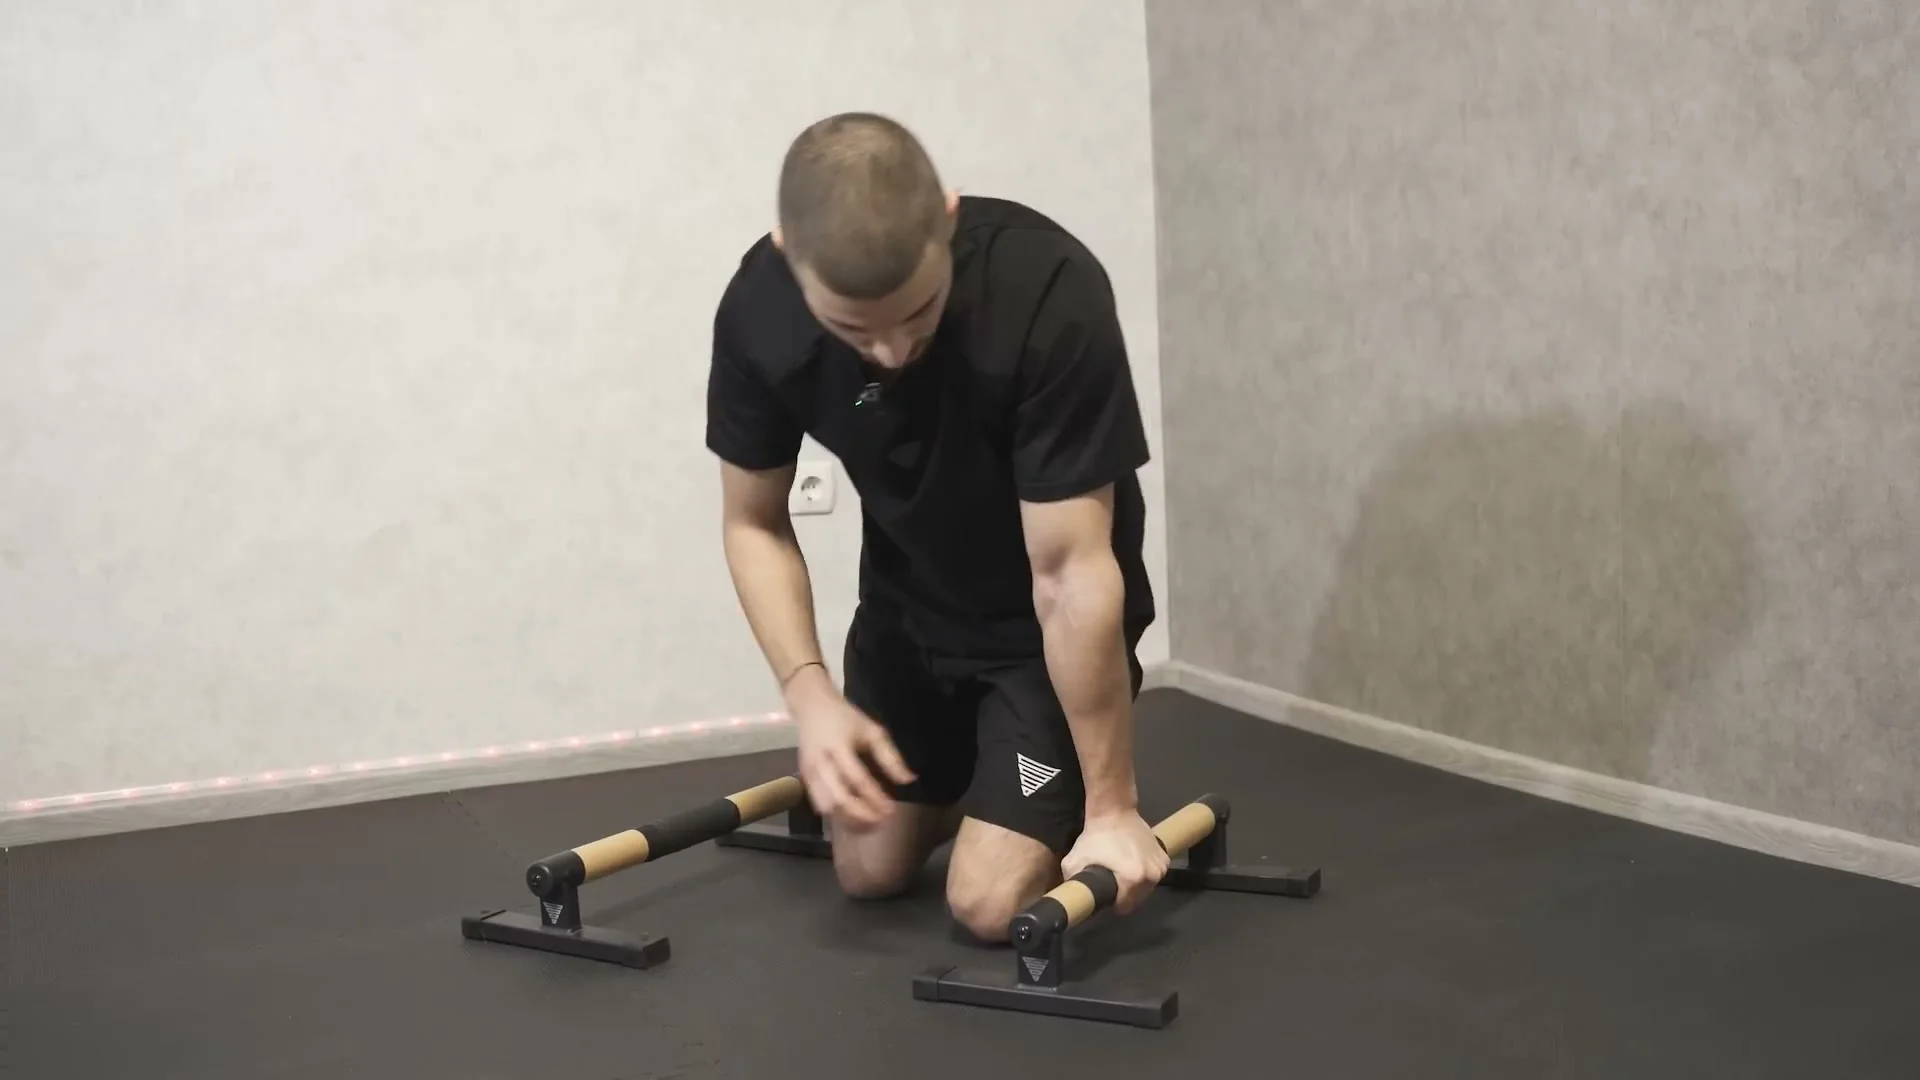
A stable grip should feel strong immediately. If your wrist wobbles or you cannot use your grip strength at all, the hand position is off before you even lean.
Progression: From Broken Grip to Correct Planche Grip
Stage 1: Diagnose Your Current Grip
Set your hands on the parallettes and lean forward slightly, the way you would into a planche lean. Notice where the pressure sits. Inside toward your palm, outside toward your thumb, or centered on the front of the wrist. Be honest about what you find, even if you have trained this way for years.
Stage 2: Learn the Middle Grip Position
Practice the four-finger wrap with the thumb close to the index finger, without leaning at all. Get comfortable finding this position by feel before you add bodyweight to it.
Stage 3: Rebuild Wrist Mobility
If your wrist naturally collapses inside or outside, that is often a mobility gap. Work wrist flexibility exercises regularly so your wrist can hold the middle position under load instead of defaulting back to the broken one.
Stage 4: Strengthen Your Wrist and Forearms
Stronger wrists and forearms lower your injury risk and make it easier to hold the correct grip once fatigue sets in. This is not optional if you plan to keep progressing.
Stage 5: Reintroduce Planche Progressions
Go back to your easiest planche variations, planche lean or tuck planche, and rebuild them with the correct grip. Let your wrist adapt gradually rather than jumping straight back into your previous training load.
Common Mistakes
Broken Grip Inside
This is the most common one. I trained with it myself for about two years early on and it hurt both of my elbows. It happens when the wrist lacks mobility and collapses inward, which cuts your connection with the parallettes when you lean forward.
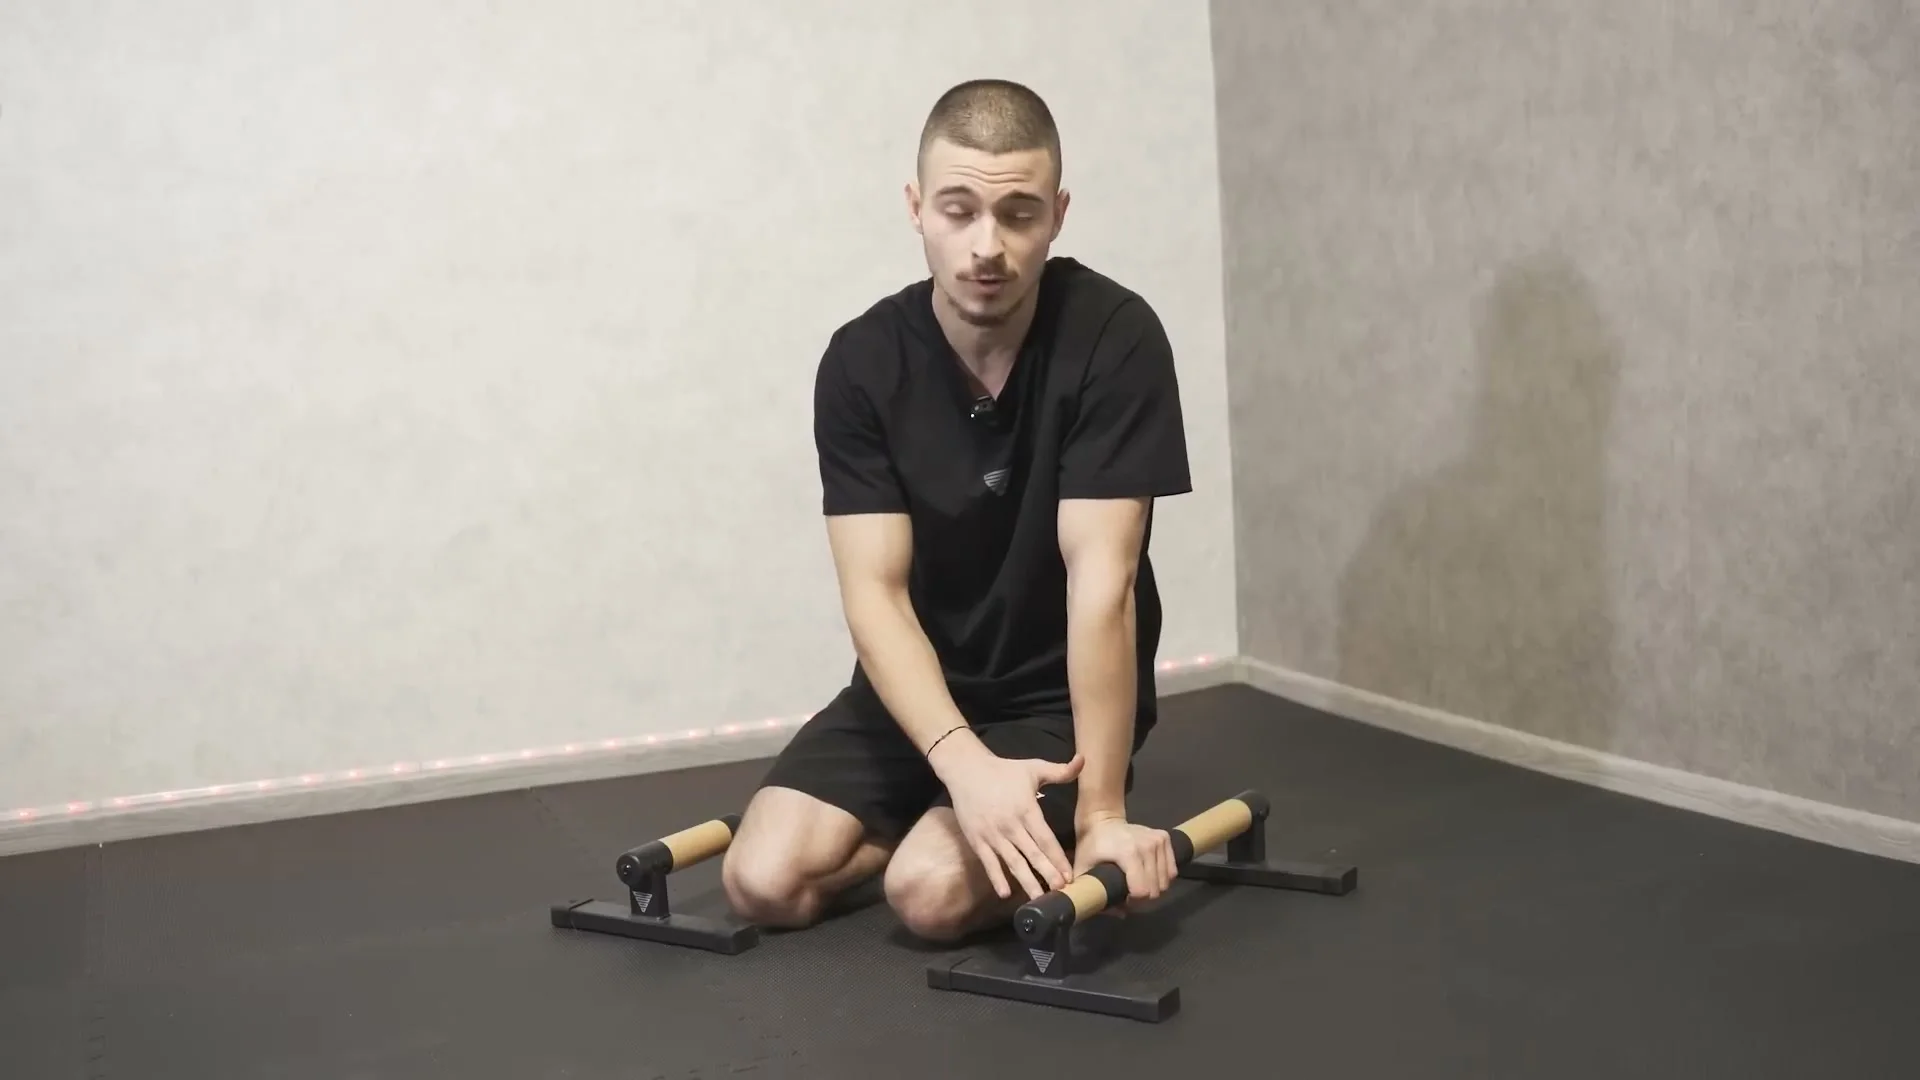
You lose height in your planche because those centimeters you lose compared to the correct grip push your body lower, forcing you to lean more forward than you should, which raises injury risk and caps your progress no matter your level.
Broken Grip Outside
Less common than the inside version, but I have seen plenty of athletes play with it, some at a good level, still dealing with shoulder and elbow pain.
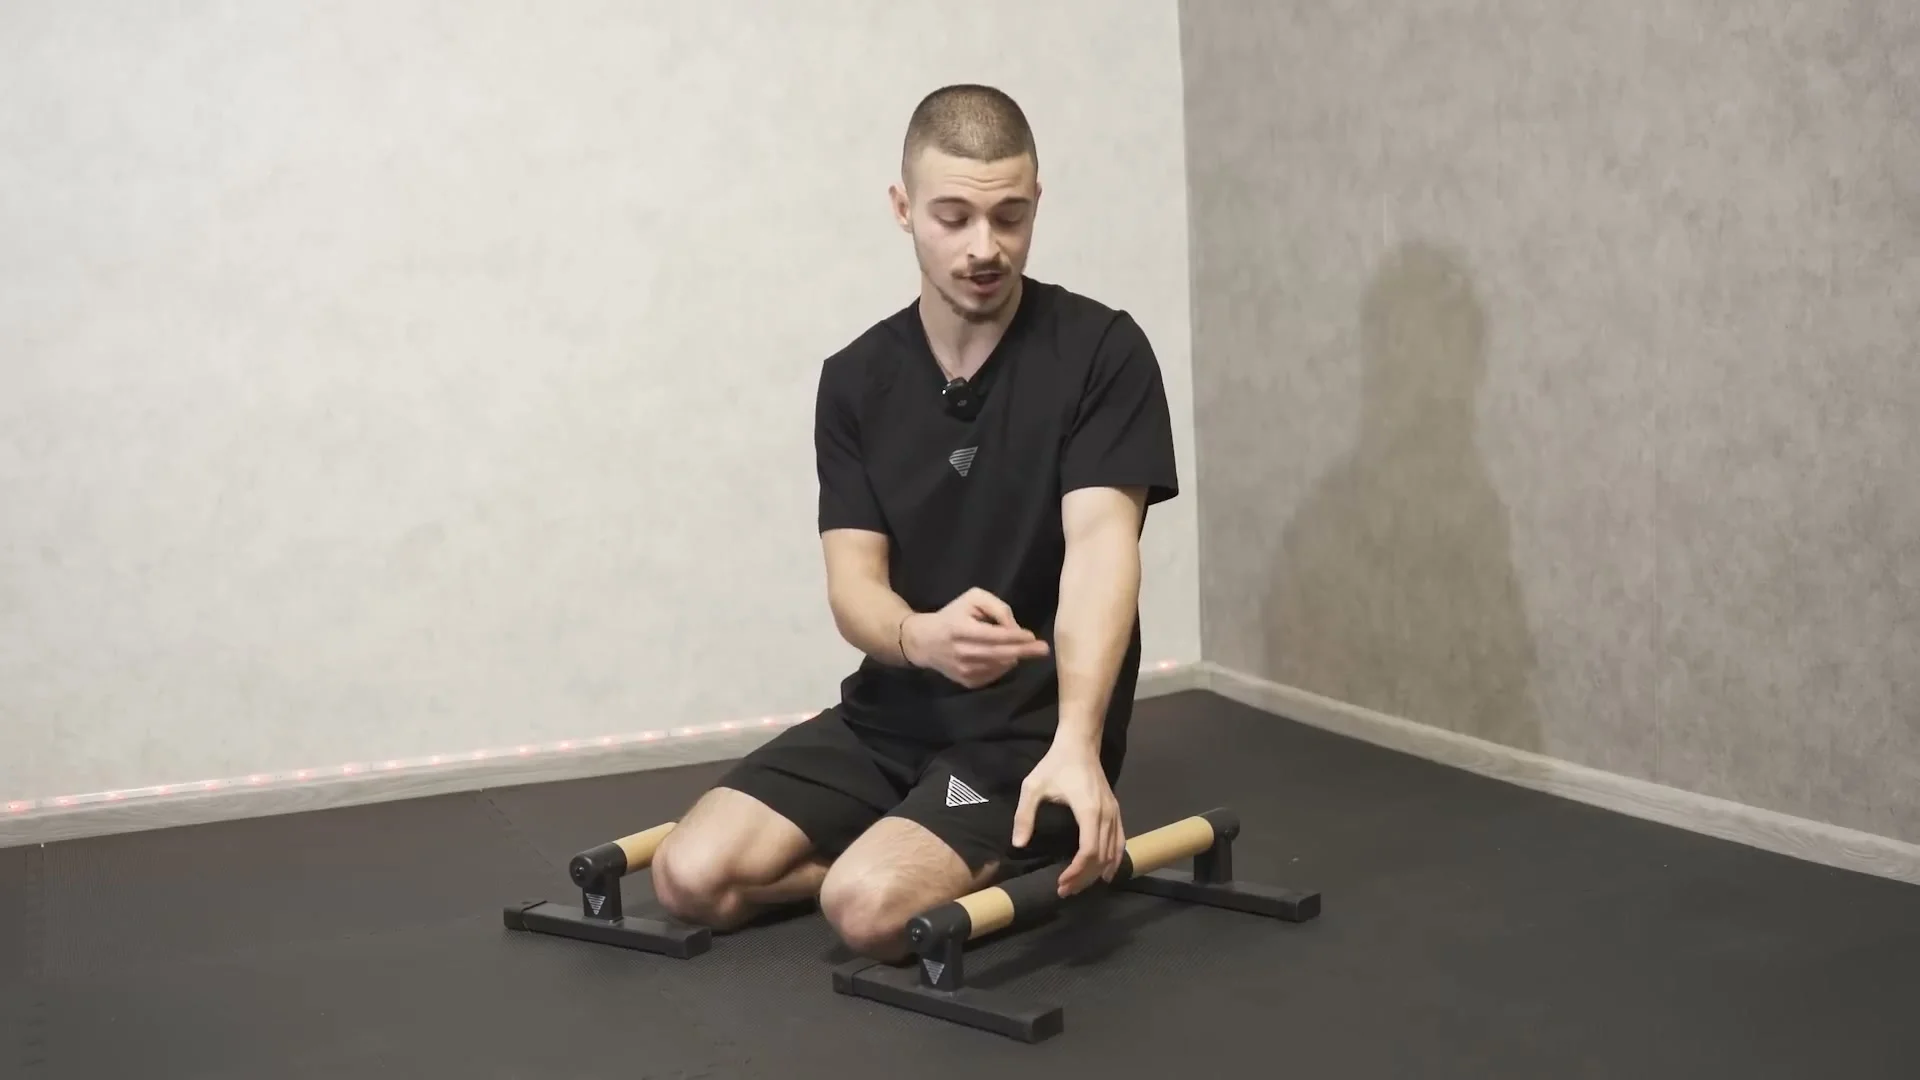
It limits your wrist flexibility so much that you cannot settle into a correct, comfortable planche lean. Beginners will not progress with this grip. More advanced athletes can sometimes push through it, but they are risking the wrist joint every time they load it.
Starting From the Wrong Reference Point
Some athletes obsess over whether to start from the front or the back of the parallette, and end up ignoring the actual hand position. Front or back is personal preference. The four-finger wrap and the pressure location under lean are what matter, not which side you approach the bar from.
Ignoring Early Wrist Pain
If your wrist hurts early in a training block and you keep pushing volume anyway, you turn a fixable position problem into a real injury. Wrist pain during planche work almost always shows up before the strength does. Check your grip the moment you feel it, not after months of pushing through.
Training Tips
Test your grip before every planche session, not just once. Set your hands, lean slightly, and confirm the pressure sits on the front of the wrist before you start loading real progressions. A grip check takes seconds and saves you months.
Work wrist mobility on a schedule, not only when something already hurts. A simple resistance band wrist flexion and extension drill, a few sets before or after training, keeps the wrist capable of holding the middle grip under fatigue.
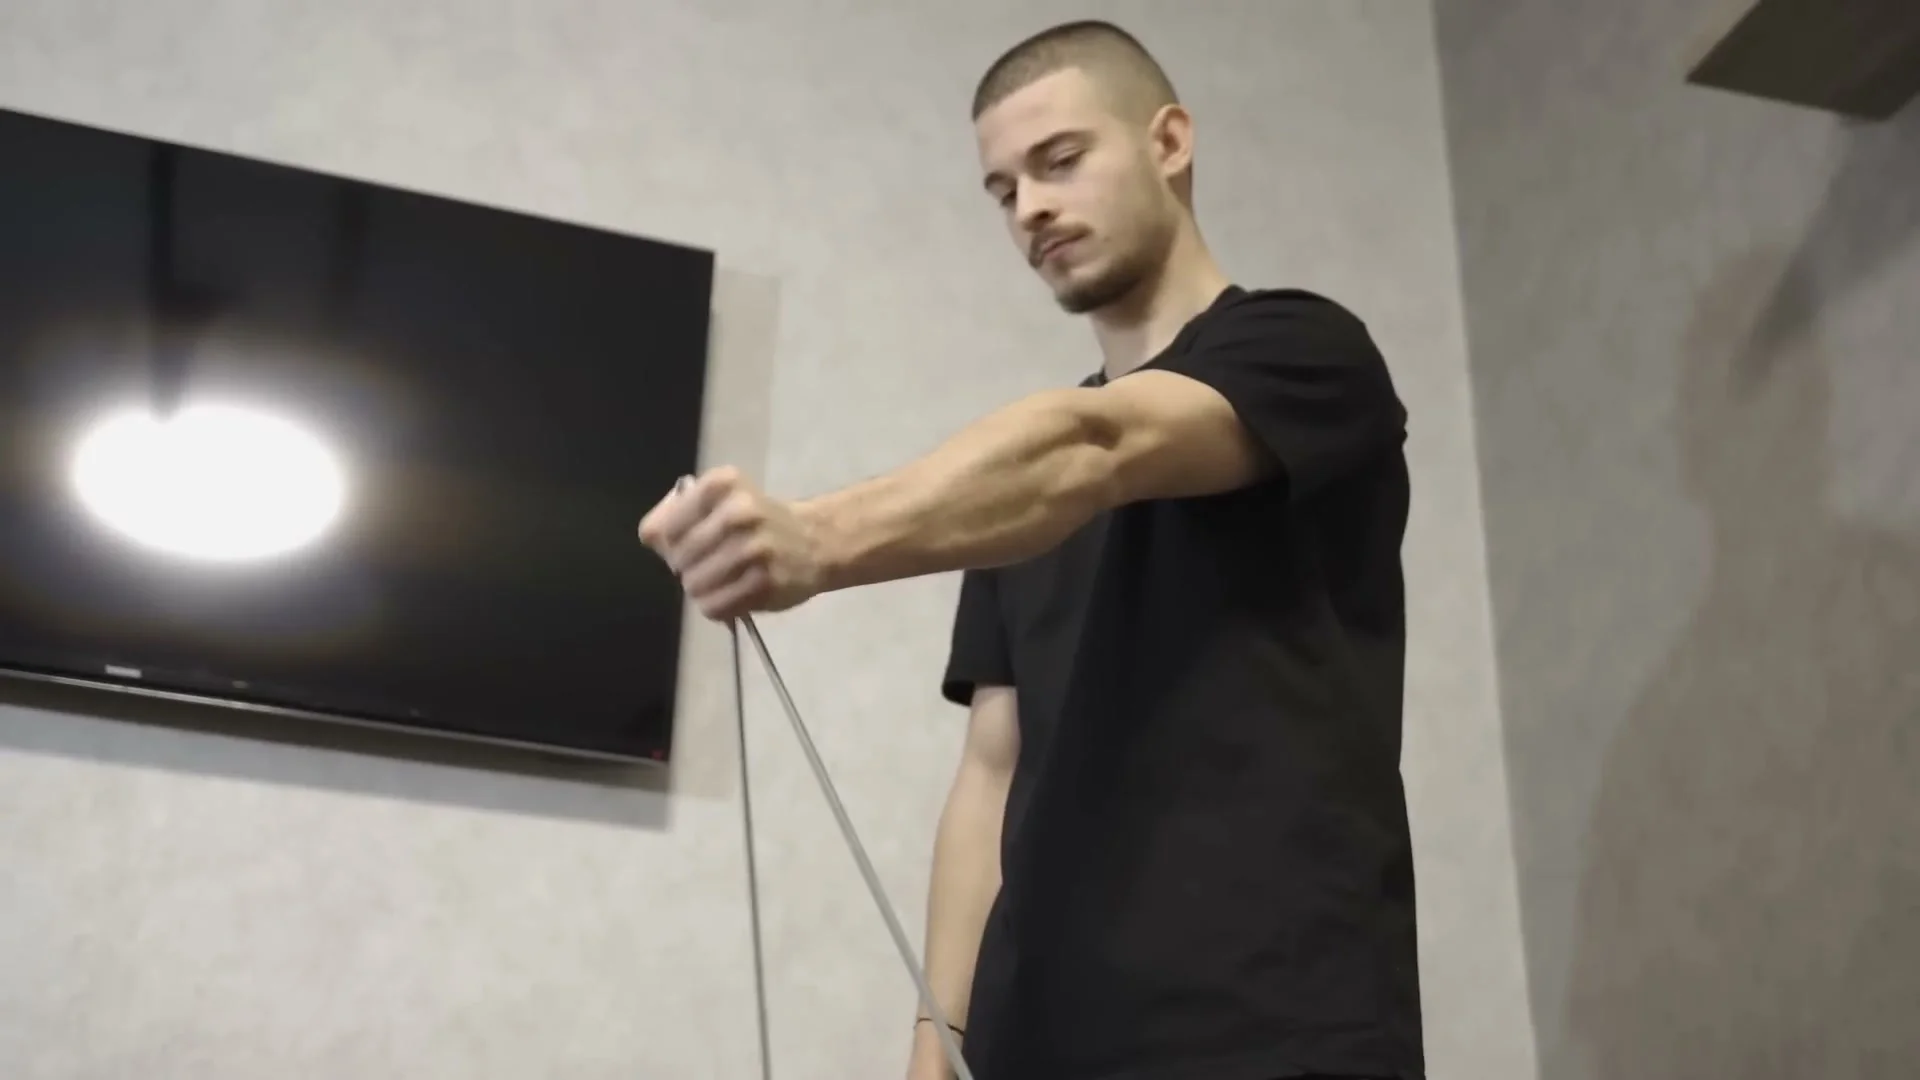
Take the easiest progression seriously while you fix your grip. Planche lean and tuck planche are not throwaway steps, they are where your wrist actually relearns the correct position under real, if reduced, load.
Frequently Asked Questions About the Planche Grip
Why does my wrist hurt when I train planche on parallettes?
Wrist pain during planche work is usually a grip problem before it is a strength problem. A broken grip, inside or outside, puts pressure on parts of the wrist and elbow that were not built to absorb it. Check your hand position before assuming you simply need more strength.
How do I know if I have the correct planche grip?
Lean forward on your parallettes and notice where the pressure sits. If it is centered on the front part of your wrist and you feel stable and strong immediately, you have the middle grip. If the pressure sits in your thumb or the inside of your palm, you likely have one of the broken grips.
Should I start my planche grip from the front or the back of the parallette?
Either works. I personally start from the back, but this is a personal preference, not a technical requirement. What matters far more is the four-finger wrap and where the pressure lands when you lean.
Can a broken grip actually limit my planche height?
Yes. A broken grip inside costs you height because your body sits lower than it would with the correct grip, which then forces more forward lean and more risk. This applies whether you are doing planche lean, tuck planche, full planche, or planche combinations.
How long does it take to fix a broken planche grip?
It depends on how long you trained with the broken pattern and how much wrist mobility you are missing. Go back to your easiest progressions, work wrist flexibility and forearm strength consistently, and give your wrist time to adapt to the new position rather than forcing it under full planche load right away.
Do I need to stop all planche training while I fix my grip?
Not entirely, but you should scale back to easier variations like planche lean or tuck planche while your wrist relearns the correct position. Pushing full planche work on top of a grip fix is how the two years of pain I mentioned earlier happen. If you want someone watching your hand position and progression in real time, that is exactly the kind of detail I work through in online coaching.

Daniel Hristov is a four-time calisthenics world champion and coach. He shares the exact methods he uses to train his own athletes.
More about Daniel →