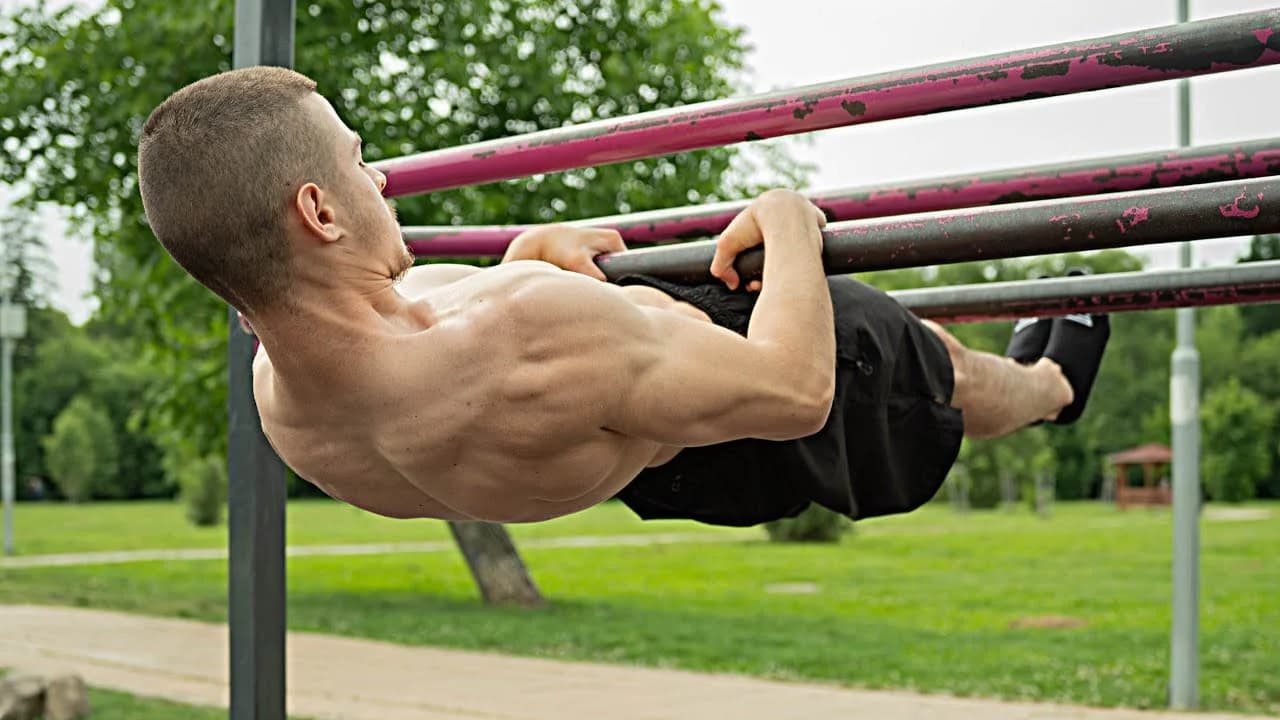
The front lever is one of the most wanted skills in calisthenics, a straight, horizontal hold on the bar that looks effortless and almost never is. It demands specific pulling strength and core preparation before you ever attempt a full hold, and most people underestimate how much groundwork that takes. It sits after basic pull-up strength and before advanced pulling skills in most calisthenics progressions, built through a series of tucked positions rather than attempted cold. In this tutorial I cover the prerequisites, the key form cues, and a full stage-by-stage progression from your first pull-up work through band-supported straddle holds. By the end you will know how to start training it the right way.
Watch the Full Tutorial
What Is the Front Lever
The front lever is a static hold where you grip a bar with a pronated (overhand) grip and hold your body parallel to the ground, straight from your shoulders to your feet, with no support underneath you. It is one of the most wanted calisthenics skills there is, and for good reason. It looks clean, it takes years for most people to build, and it exposes weak lats, a weak core, or a weak grip fast.
It is not a shoulder skill first. It is a pulling and core skill first. You are fighting gravity trying to pull your straight body up to horizontal using your back, lats, and abs, while your shoulders stay pulled down and back (retracted) instead of rounding forward. That retraction is what separates a front lever that looks controlled from one that looks like a fight.
Because of that, front lever training almost always starts on the pull-up bar with basic pulling work, then moves through tucked positions before your legs ever come close to straight.
Prerequisites
You do not need to be an advanced athlete to start front lever training, but you do need a real pulling base first. Jumping straight to tuck holds without this base is why most people stall early or train with bad form that never turns into strength.
- Comfortable with strict pull-ups using a pronated grip and a clean, controlled body line (no swinging, no kipping)
- Able to do pull-ups on a P-bar or with knees supported, focusing on pulling only from your arms and back while your body stays static
- Some base of toes-to-bar or leg raises, even in a regressed version with bent knees
- 10 strict pull-ups and a solid number of clean toes to bar before moving into tuck front lever work
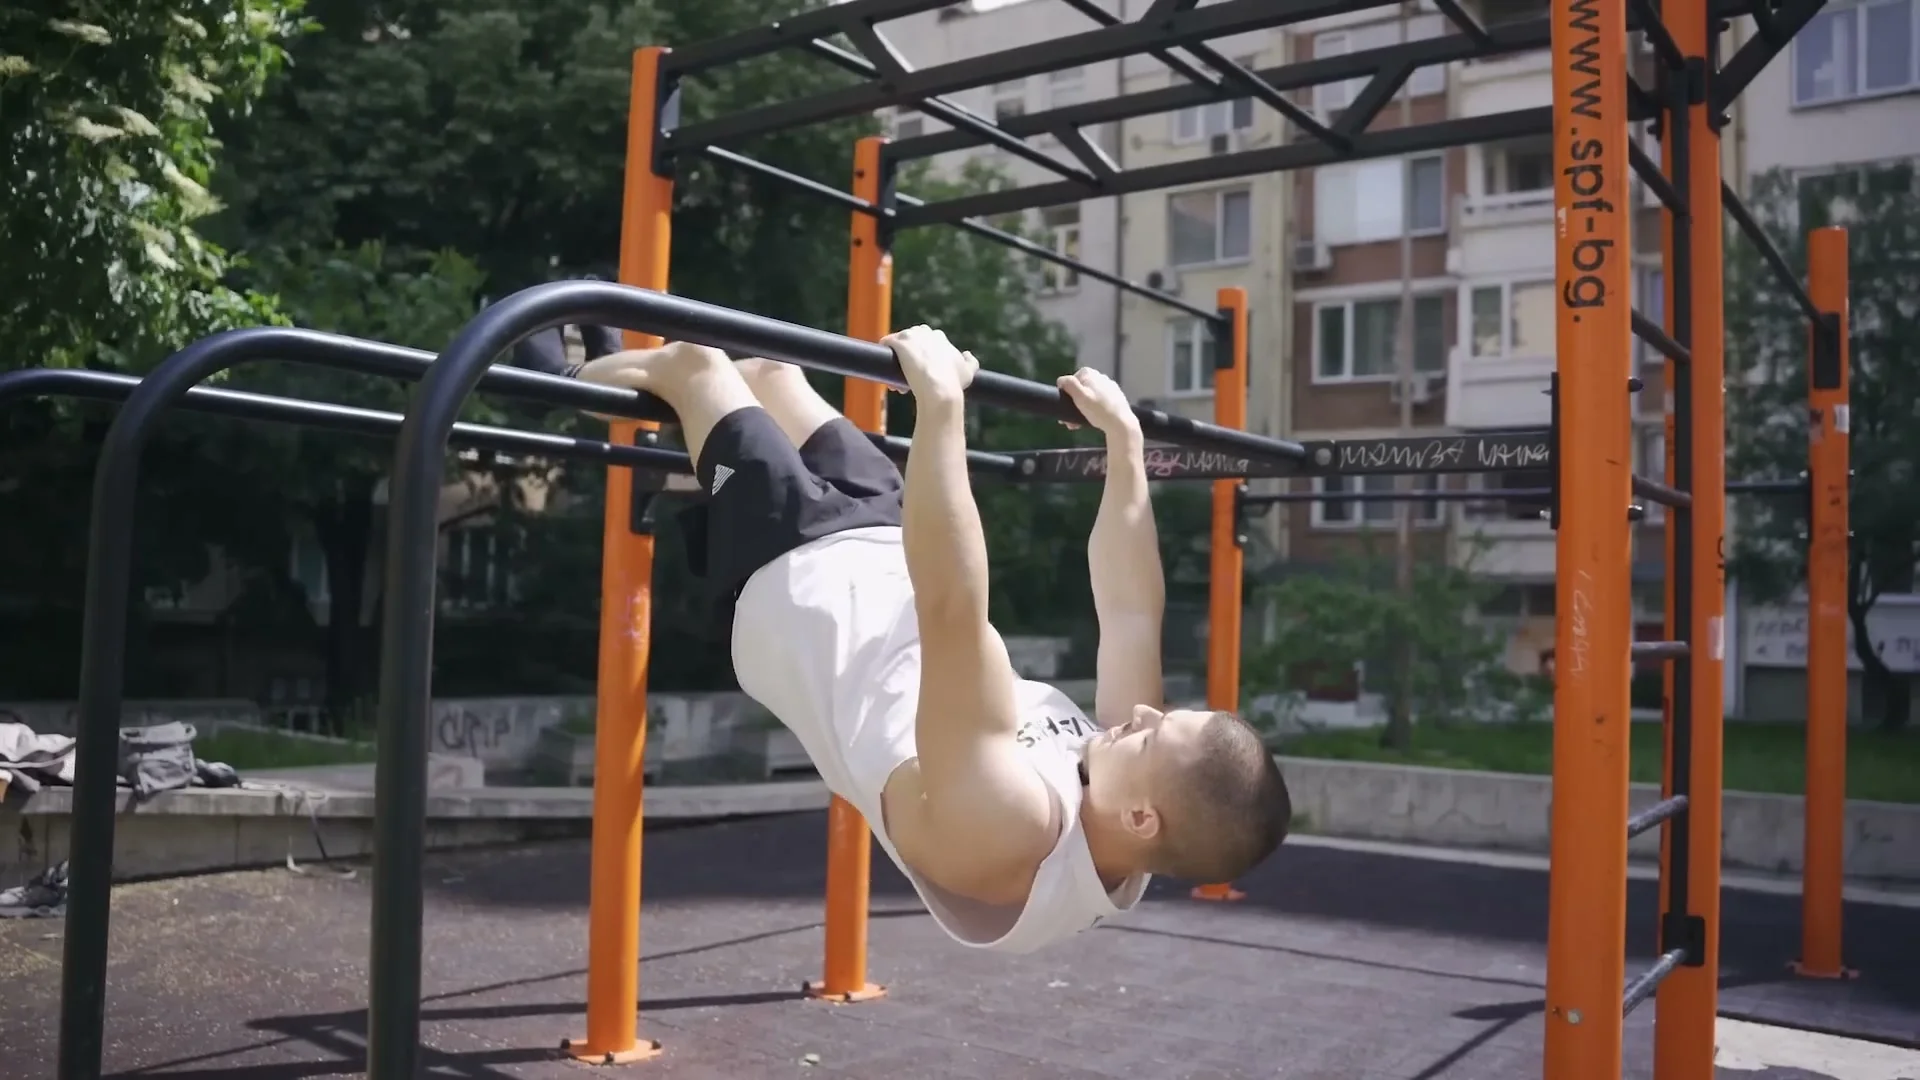
If any of that is missing, resistance bands are a legitimate tool here, not a shortcut. I use them for assisted pull-ups and for supporting the tuck and advanced tuck positions later on.
How to Do the Front Lever
Every front lever variation, from the tuck to the full straddle, comes back to the same cues.
Start from a dead hang or a jump to position, pronated grip, no swing. Any swing you build into the start of the movement is momentum you did not earn with strength, and it makes the hold itself far harder to control.
Keep your body line clean. In the tuck positions that means your knees stay tucked tight and your hips do not sag. In the more open positions, your hips and lower back should not drop, because that pulls you out of the straight line the front lever needs.
Get retraction. Instead of letting your shoulders round forward toward the bar (protraction), pull your shoulder blades back and down. Retraction activates your lats more and, over time, pulls your whole body closer to the bar, which makes every variation easier to hold.
If you're working through this progression and want feedback on your form along the way, that is exactly what online coaching is for.
Progression: From Zero to Front Lever
Key Takeaway
No one jumps straight into a clean front lever hold. You build your pulling base first, then move through tuck, advanced tuck, and band-supported straddle work in that order. Skipping stages is why most people train with bad form that never turns into real strength.
| Milestone | Requirement |
|---|---|
| Move from Stage 1 into tuck front lever work | 10 strict pull-ups and a solid number of clean toes to bar |
| Move from tuck work into straddle front lever | 15 second tuck front lever hold and 10 second advanced tuck front lever hold |
Stage 1: Build Your Pulling Base
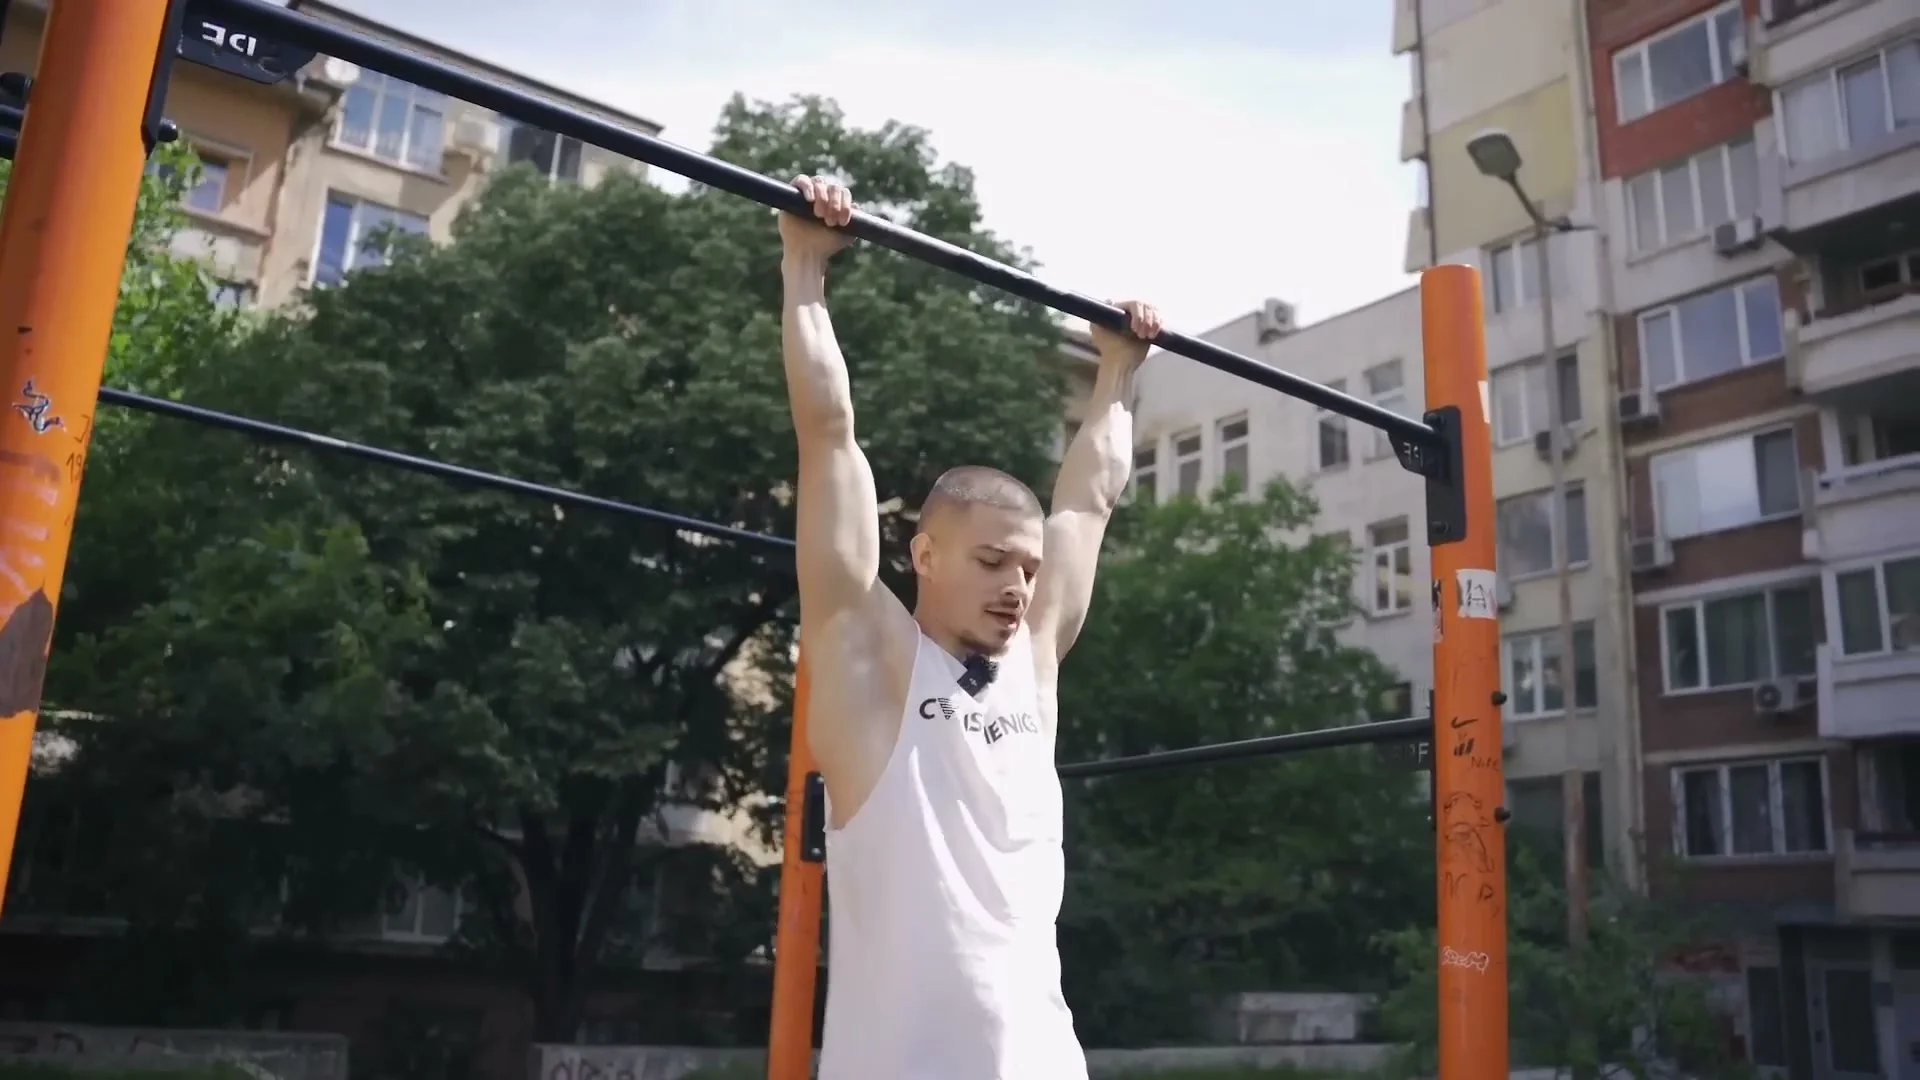
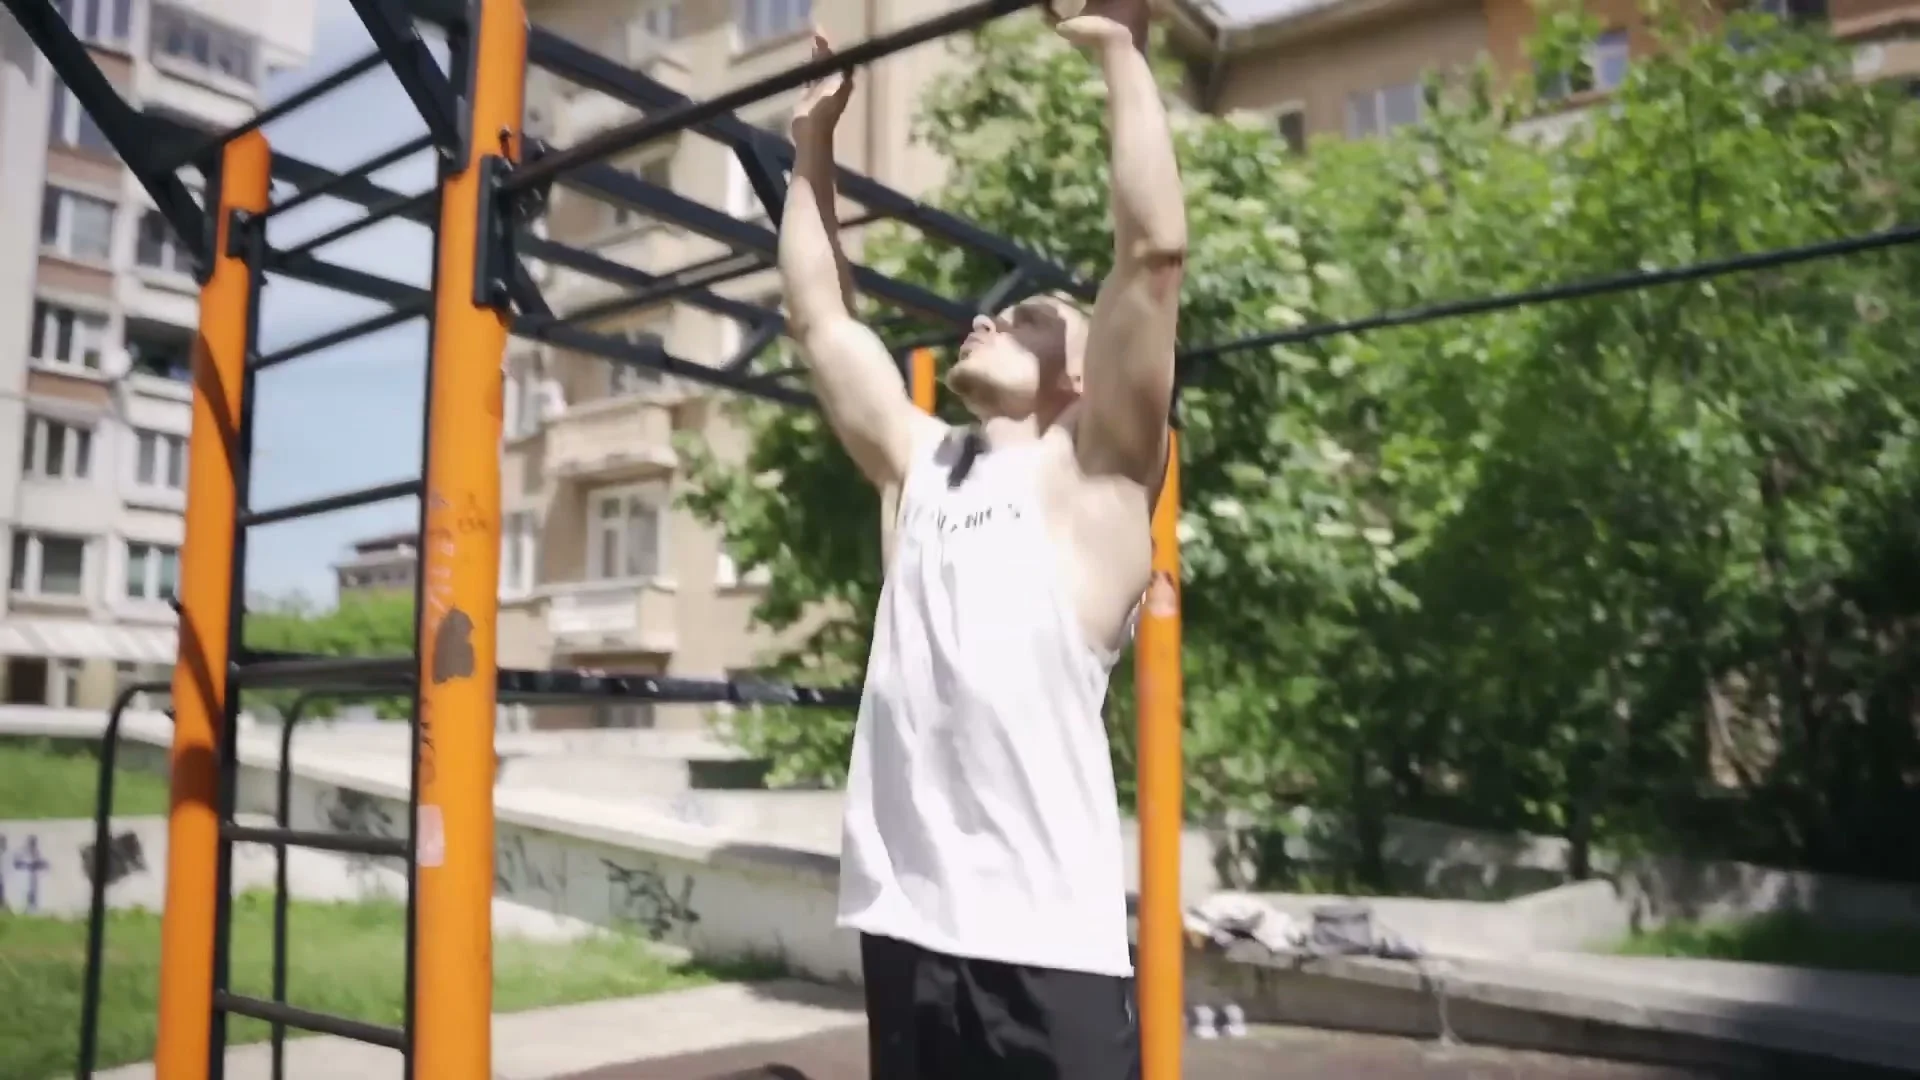
Start with strict pronated pull-ups, focused on a clean line rather than speed. If you can't do a full pull-up yet, use a resistance band looped on the bar and under your foot, or do slow negatives from the top position. Add P-bar supported pull-ups (knees resting on the bar) to feel the pulling pattern with your body held static, and toes to bar (or knee raises to 90 degrees if toes to bar is too much) to build the core strength the front lever demands.
Stage 2: Tuck Front Lever
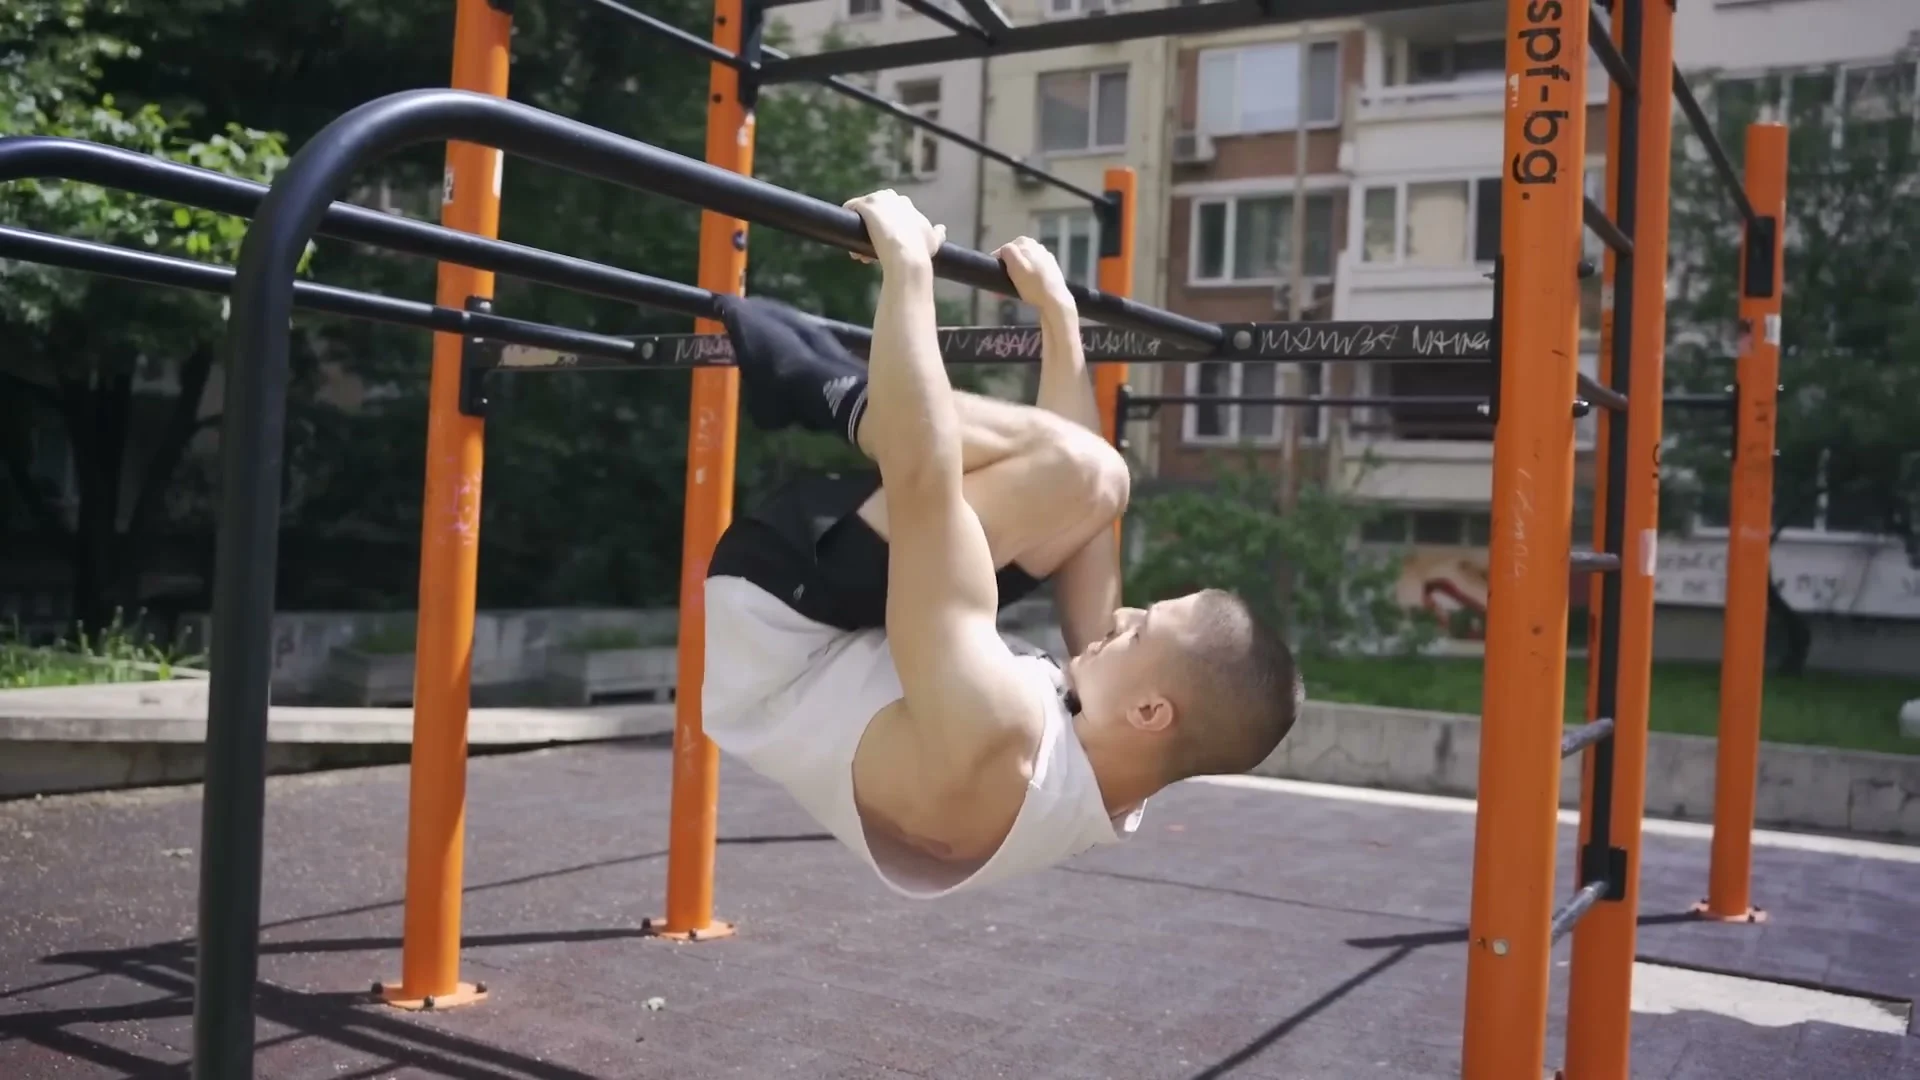
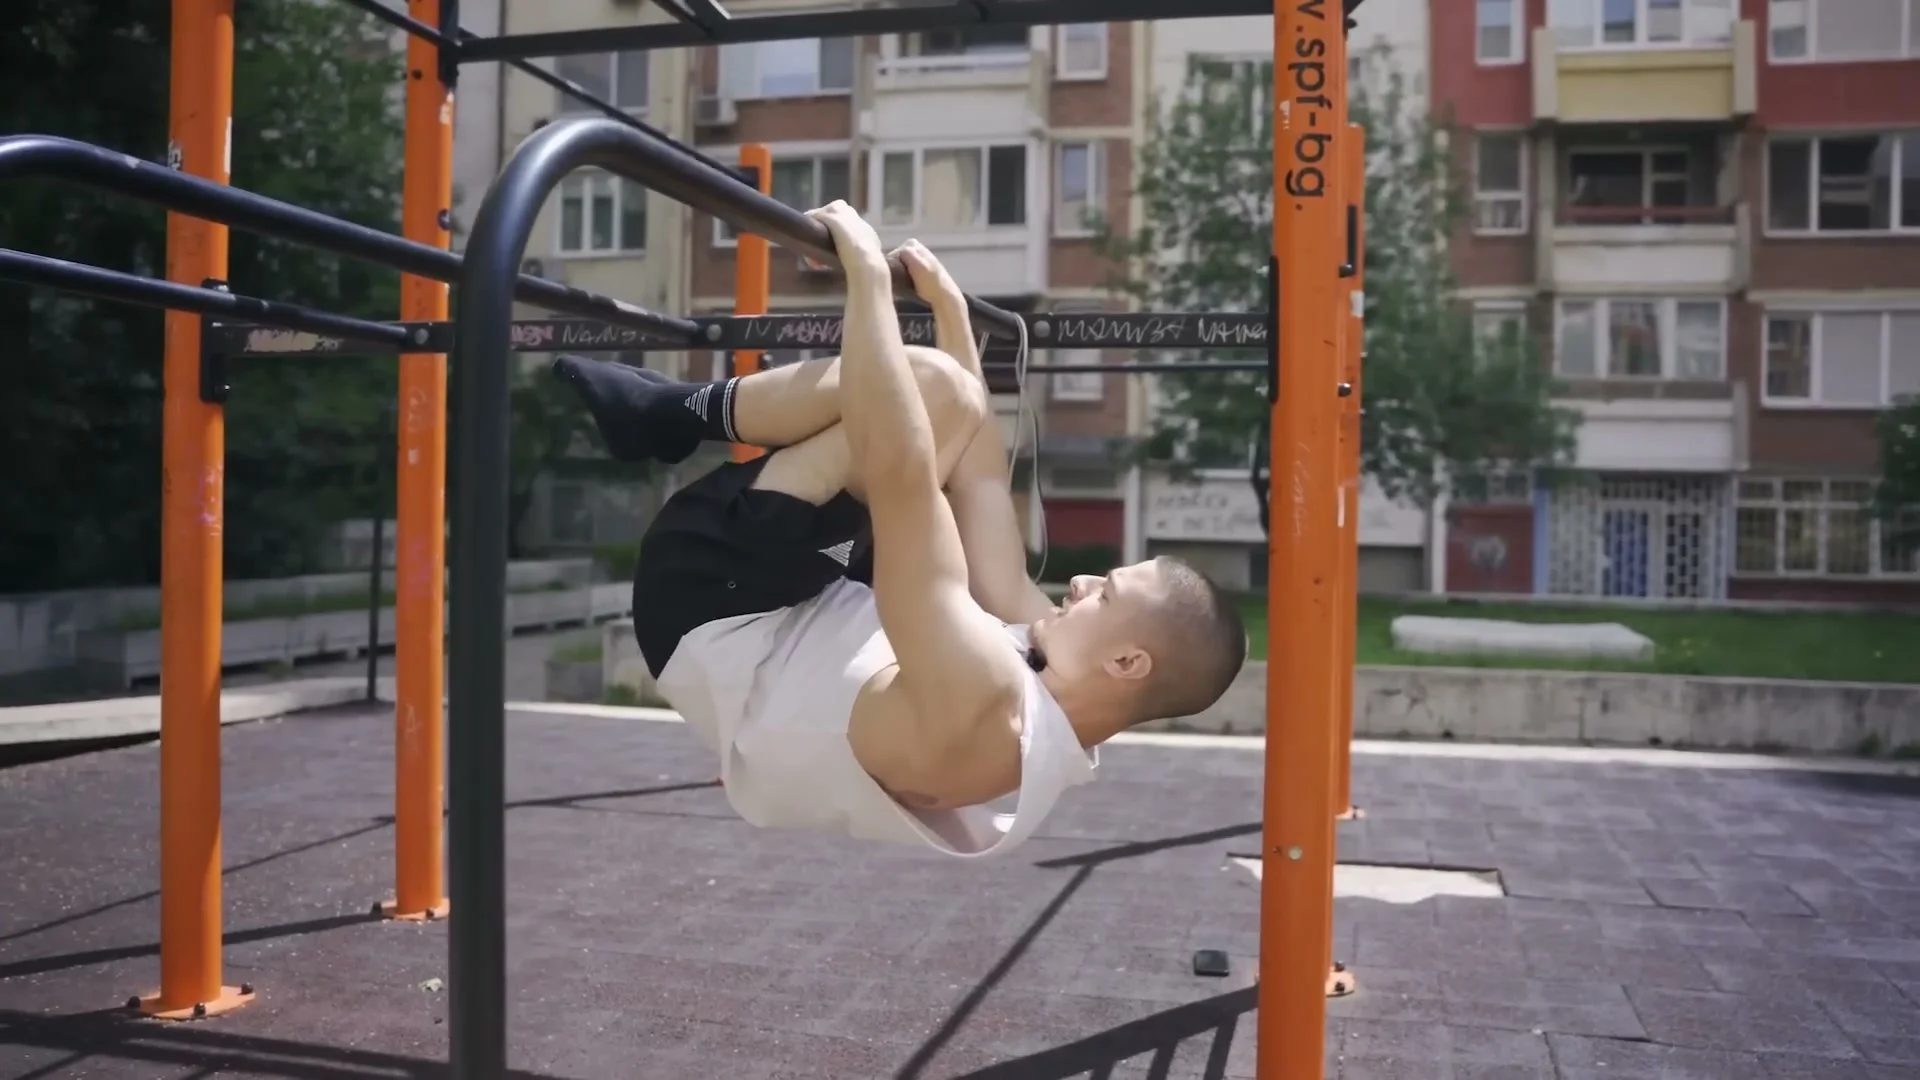
Jump directly into a tight tuck position under the bar, knees pulled in. The main goal here is simply holding the position as long as possible, with a little bit of retraction rather than letting your shoulders round forward. Do this on a P-bar or low parallettes rather than a high bar if you can, since raising your body up is easier from a lower start. A light resistance band around your lower back can support you here, as long as you are still doing the work rather than letting the band do it.
Stage 3: Advanced Tuck Front Lever
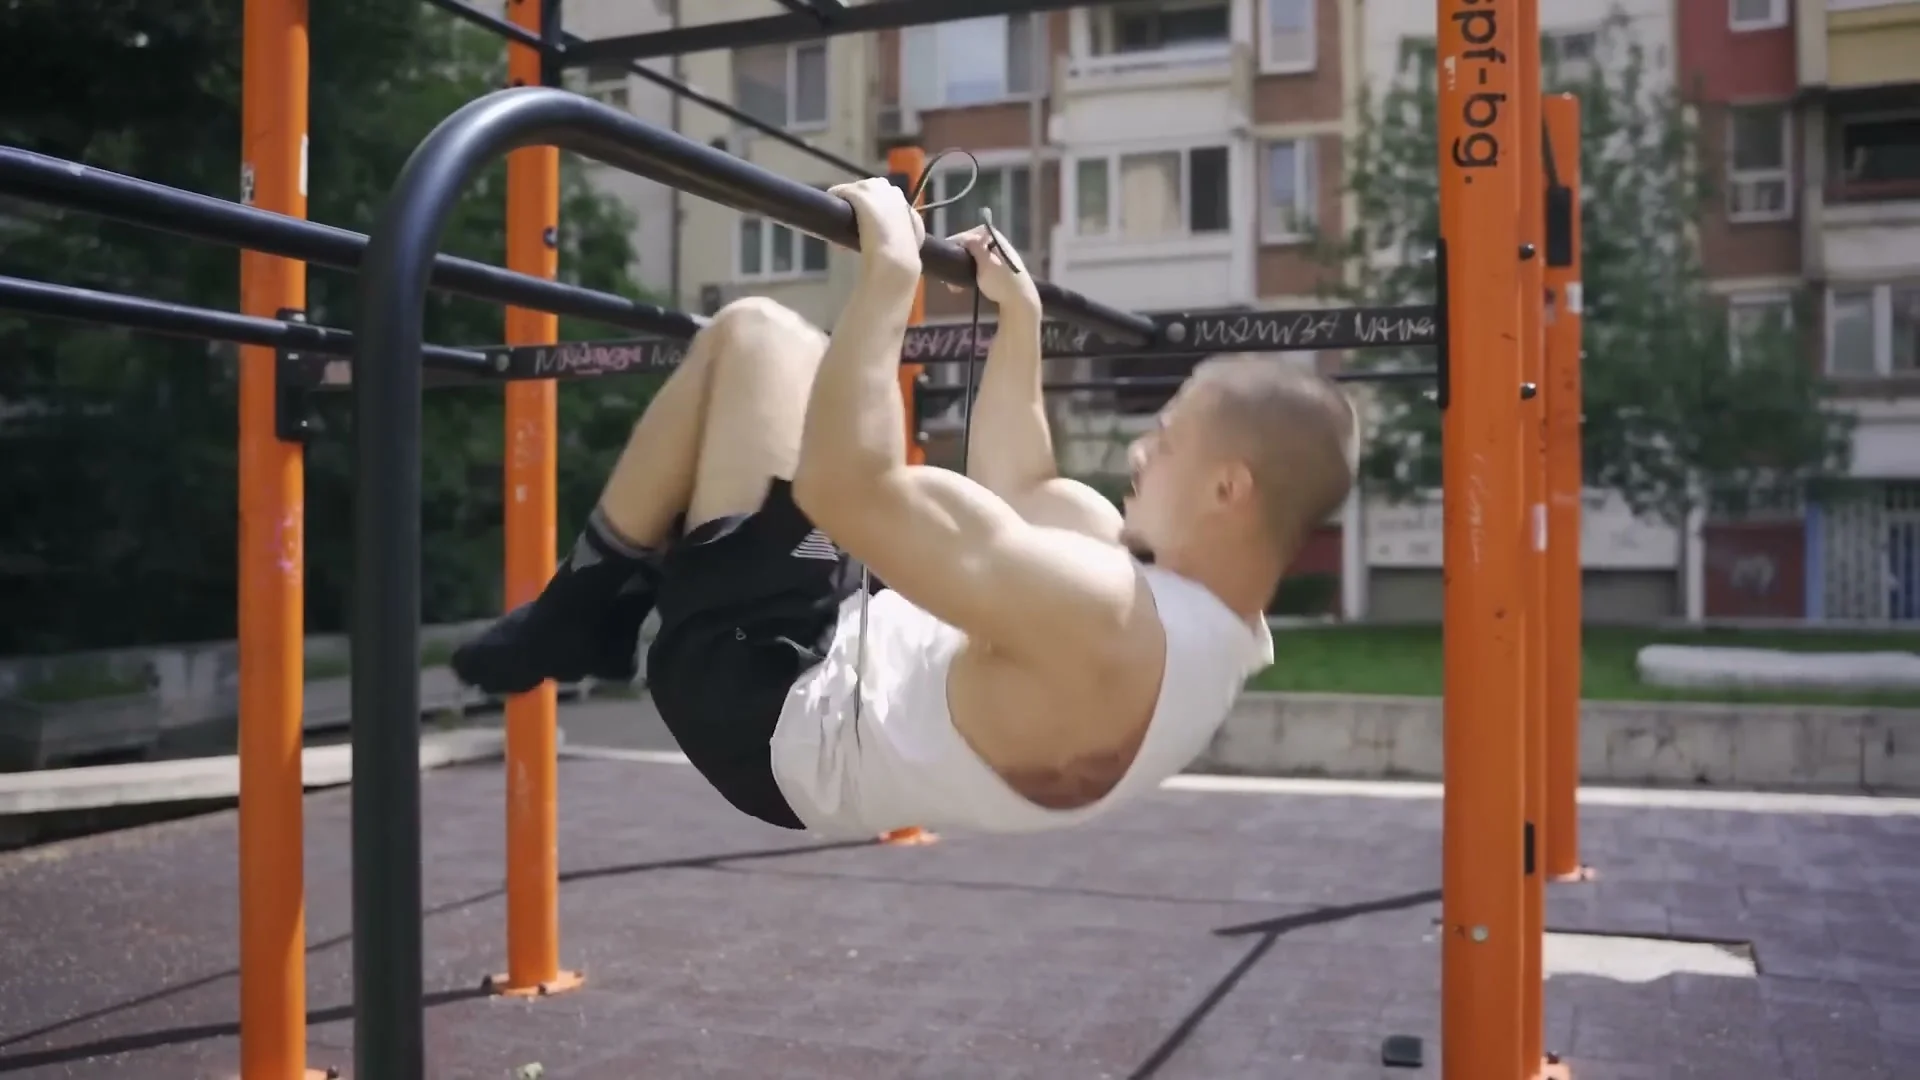
From the tuck position, slowly open your legs so your knees reach the level of the bar, keeping your body at roughly 90 degrees and your hips from dropping. This is a harder position and a light band (in the 5 to 10 kg range) around your lower back is a fair way to build into it. Once you feel comfortable, start adding retraction by pulling your shoulders back, which builds the lat strength you will lean on later.
Stage 4: Tuck Front Lever Raises
From a dead hang, pronated grip, no swing, pull into a tuck position and lower back down as slowly as possible. This is a step up from the static holds because now you are training the movement itself, not just holding it. Any swing here removes almost all the strength benefit, so keep it slow and controlled even if that means a smaller range of motion.
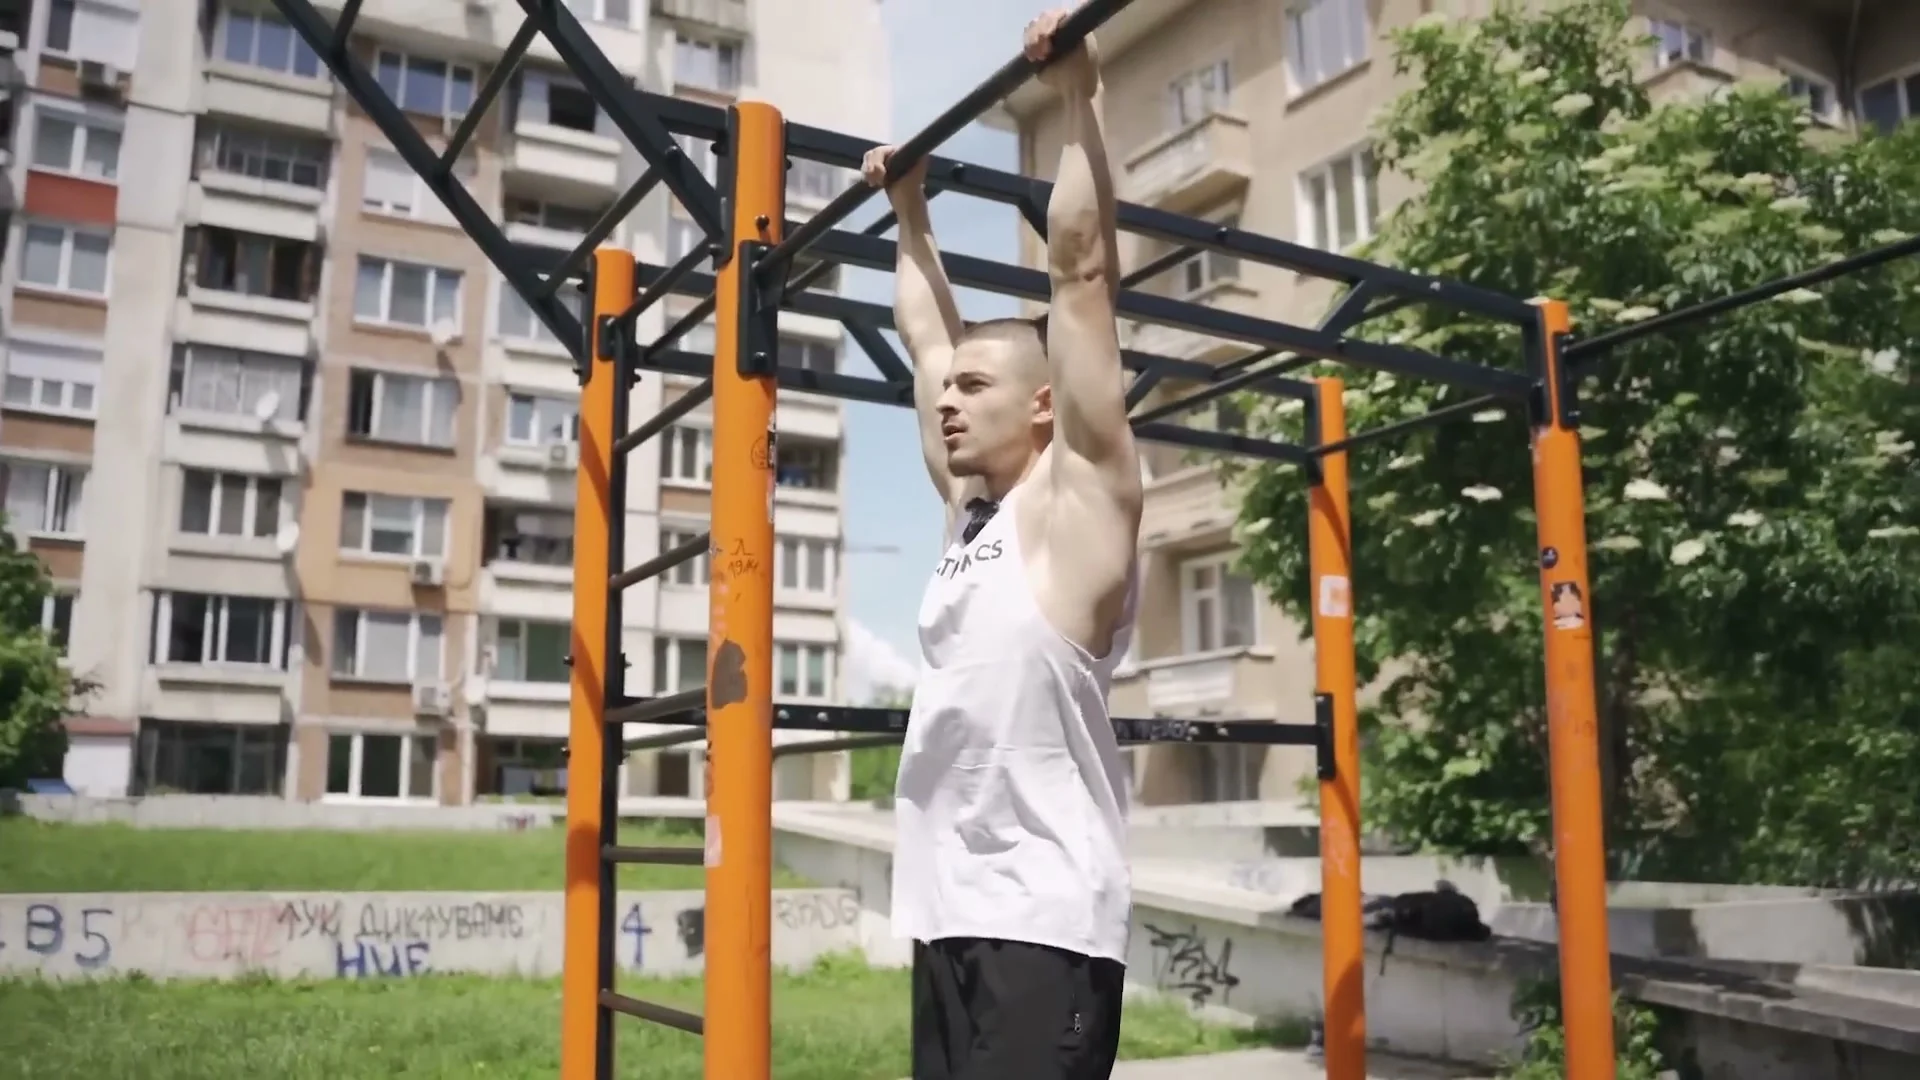
Stage 5: Straddle Front Lever (Band Supported)
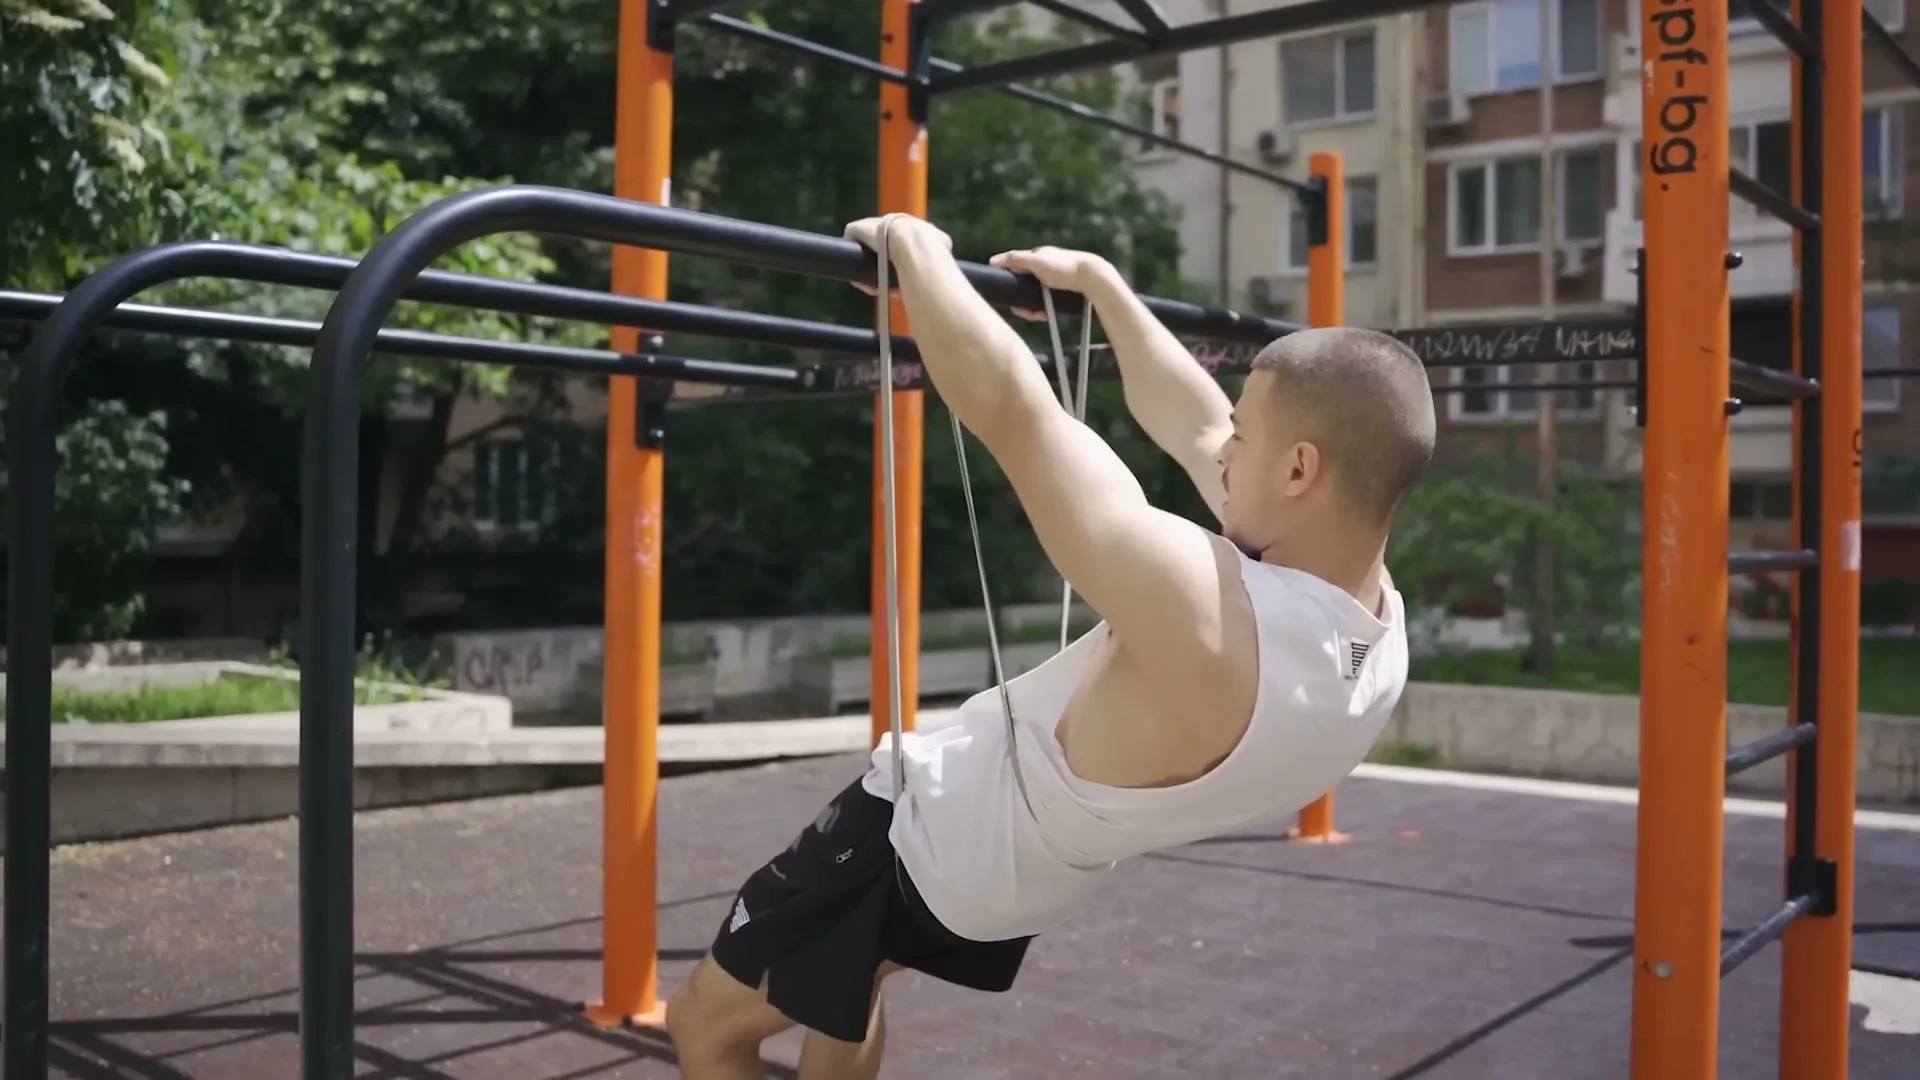
Once you hit 15 seconds in tuck front lever and 10 seconds in advanced tuck, move to a band supported straddle. Use two resistance bands, a heavier one and a lighter one, looped on the bar and around your lower back. Grip the bar with a false grip for more stability, jump up, and open your legs into a straddle while holding retraction and keeping your lower back from dropping. As you build strength on the heavier band, progress to the lighter one, and hold yourself in a higher, cleaner position rather than letting yourself sag lower.
Common Mistakes
Mistake: Swinging Into the Movement
Swinging into pull-ups, toes to bar, or tuck front lever raises turns a strength exercise into momentum. It might look like you completed the rep, but you gain close to zero strength from it. Keep every rep slow and controlled, even if that means fewer reps or a smaller range of motion.
Mistake: Full Protraction Instead of Retraction
Letting your shoulders round forward toward the bar (full protraction) is a common default, especially in the advanced tuck position. It is the wrong position for building front lever strength. You need some retraction, shoulders pulled back and down, to properly activate your lats.
Mistake: Dropping Your Hips or Lower Back
In the straddle and advanced tuck positions, it is tempting to let your hips or lower back sag once your legs open up. This breaks the straight body line the front lever needs and makes the hold less effective, even if it feels easier in the moment.
Mistake: Starting From a Bad Position
A lot of people start front lever raises from a rounded, collapsed position instead of a proper dead hang. Yes, you need to pull from the shoulders, but you still need to save the straight body line from the very first inch of the pull, not just once you reach the top.
Training Tips
Do not try to rush past the milestone numbers. 10 strict pull-ups and a solid number of clean toes to bar before tuck work, then 15 seconds of tuck and 10 seconds of advanced tuck before straddle work. Those numbers exist because training the next stage without them usually means training it with bad form.
Use the resistance bands as support, never as the thing doing the work for you. The goal at every stage is to feel yourself doing more of the hold and the band doing less, not the other way around.
Train retraction deliberately, even outside the front lever itself. Once you have it locked in, it pulls your whole body closer to the bar in every variation, which is what makes the harder positions feel manageable instead of like a fight.
If part of your body feels clearly weaker than the rest, whether that is your grip, your lats, or your core, put direct extra work into that part. Once you fix the weak link, the whole hold tends to improve on its own.
Frequently Asked Questions About the Front Lever
How long does it take to learn the front lever?
The transcript for this tutorial doesn't give a fixed timeline, and honestly there isn't one that applies to everyone. It depends on your starting pulling strength, how consistently you train the progression, and how disciplined you are about clean reps over swinging ones.
Do I need to be able to do pull-ups before starting front lever training?
You need to be working toward strict pull-ups at minimum, with a resistance band for support if you can't do them unassisted yet. The progression starts with pull-ups and toes to bar specifically because the front lever demands that pulling and core base.
What's the difference between tuck front lever and advanced tuck front lever?
In the tuck front lever your knees stay pulled in tight. In the advanced tuck front lever you slowly open your legs so your knees reach the level of the bar, while keeping your body at roughly 90 degrees. It's a harder position because your hips have more tendency to drop.
Why do I need retraction for the front lever?
Retraction, pulling your shoulder blades back and down instead of letting them round forward, activates your lats more directly. Over time it also pulls your body closer to the bar, which makes every front lever variation more manageable.
Can I use resistance bands to train the front lever?
Yes, bands are a legitimate support tool at every stage in this progression, from assisted pull-ups through the tuck and advanced tuck positions and into the straddle. The key is that the band supports you, it should never do all the work for you.
What should I train before attempting a straddle front lever?
Before straddle front lever, you should hit 15 seconds in a tuck front lever hold and 10 seconds in an advanced tuck front lever hold. Skipping ahead of those benchmarks usually means training the straddle with poor form, which slows you down more than it helps.
If you want a training plan built around exactly where your front lever is right now, that is the kind of thing I work through with people inside online coaching.

Daniel Hristov is a four-time calisthenics world champion and coach. He shares the exact methods he uses to train his own athletes.
More about Daniel →