The front lever is one of the hardest static holds in calisthenics, a straight body position where you pull yourself horizontal to the ground using nothing but your back, core, and arms. Most people training toward it lean on exercises that barely transfer, and burn months on lifts that do not carry over. I ranked the exercises I actually use and see used for front lever training, from the ones with almost no carryover to the ones I train every week. In this tutorial I cover what the front lever demands, the standards you need before starting, and a full ranking of the exercises worth your time. By the end you will know exactly where to start and which drills to prioritize first.
Watch the Full Tutorial
What Is the Front Lever
The front lever is a straight body hold where you hang from a bar and pull your whole body parallel to the ground, arms straight, chest up. Nothing bends. Your lats, core, and shoulders carry the load together, and there is nowhere to hide bad form once your feet leave the floor.
I made a video ranking the exercises people use to train toward it, from the ones with almost no transfer to the ones I train with every week. Some of the popular gym staples landed near the bottom of that list. Some quieter, less exciting drills landed at the top.
This tutorial turns that ranking into something you can actually train from, along with the technique and progression that sit behind it.
Prerequisites
You do not need to be advanced to start working toward the front lever, but you need a baseline of pulling strength and core control before the specific drills make sense.
- Comfortable with multiple strict pull-ups
- Can hold a hollow body position and control slow leg raises
- No shoulder pain when hanging or pulling from a bar
- Willing to train the tuck position for weeks, not days
Technique: How to Train Toward the Front Lever
Every rep needs straight arms, a flat lower back, and shoulders pulled down and back, not shrugged up toward your ears. If your arms bend or your hips sag, the hold stops training the front lever and starts training something else.
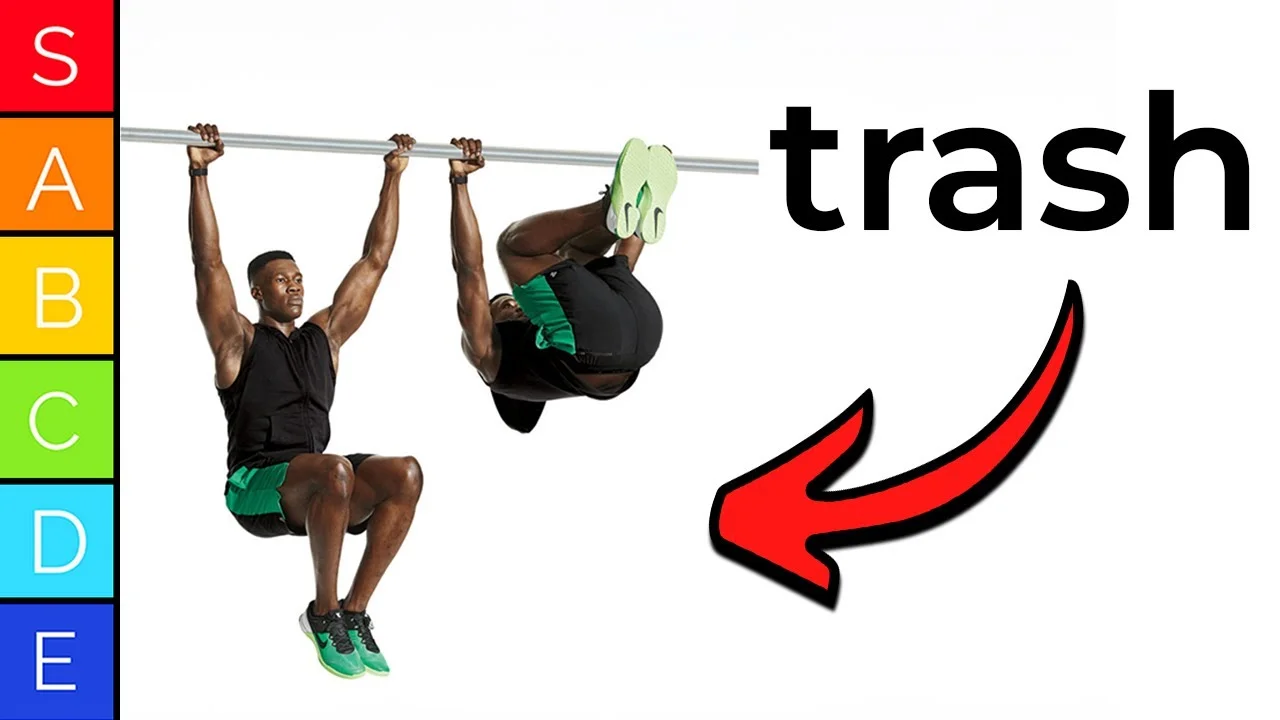
Here is how I rank the exercises people actually use for it, from the ones with little transfer to the ones I rely on the most.
| Tier | Exercises |
|---|---|
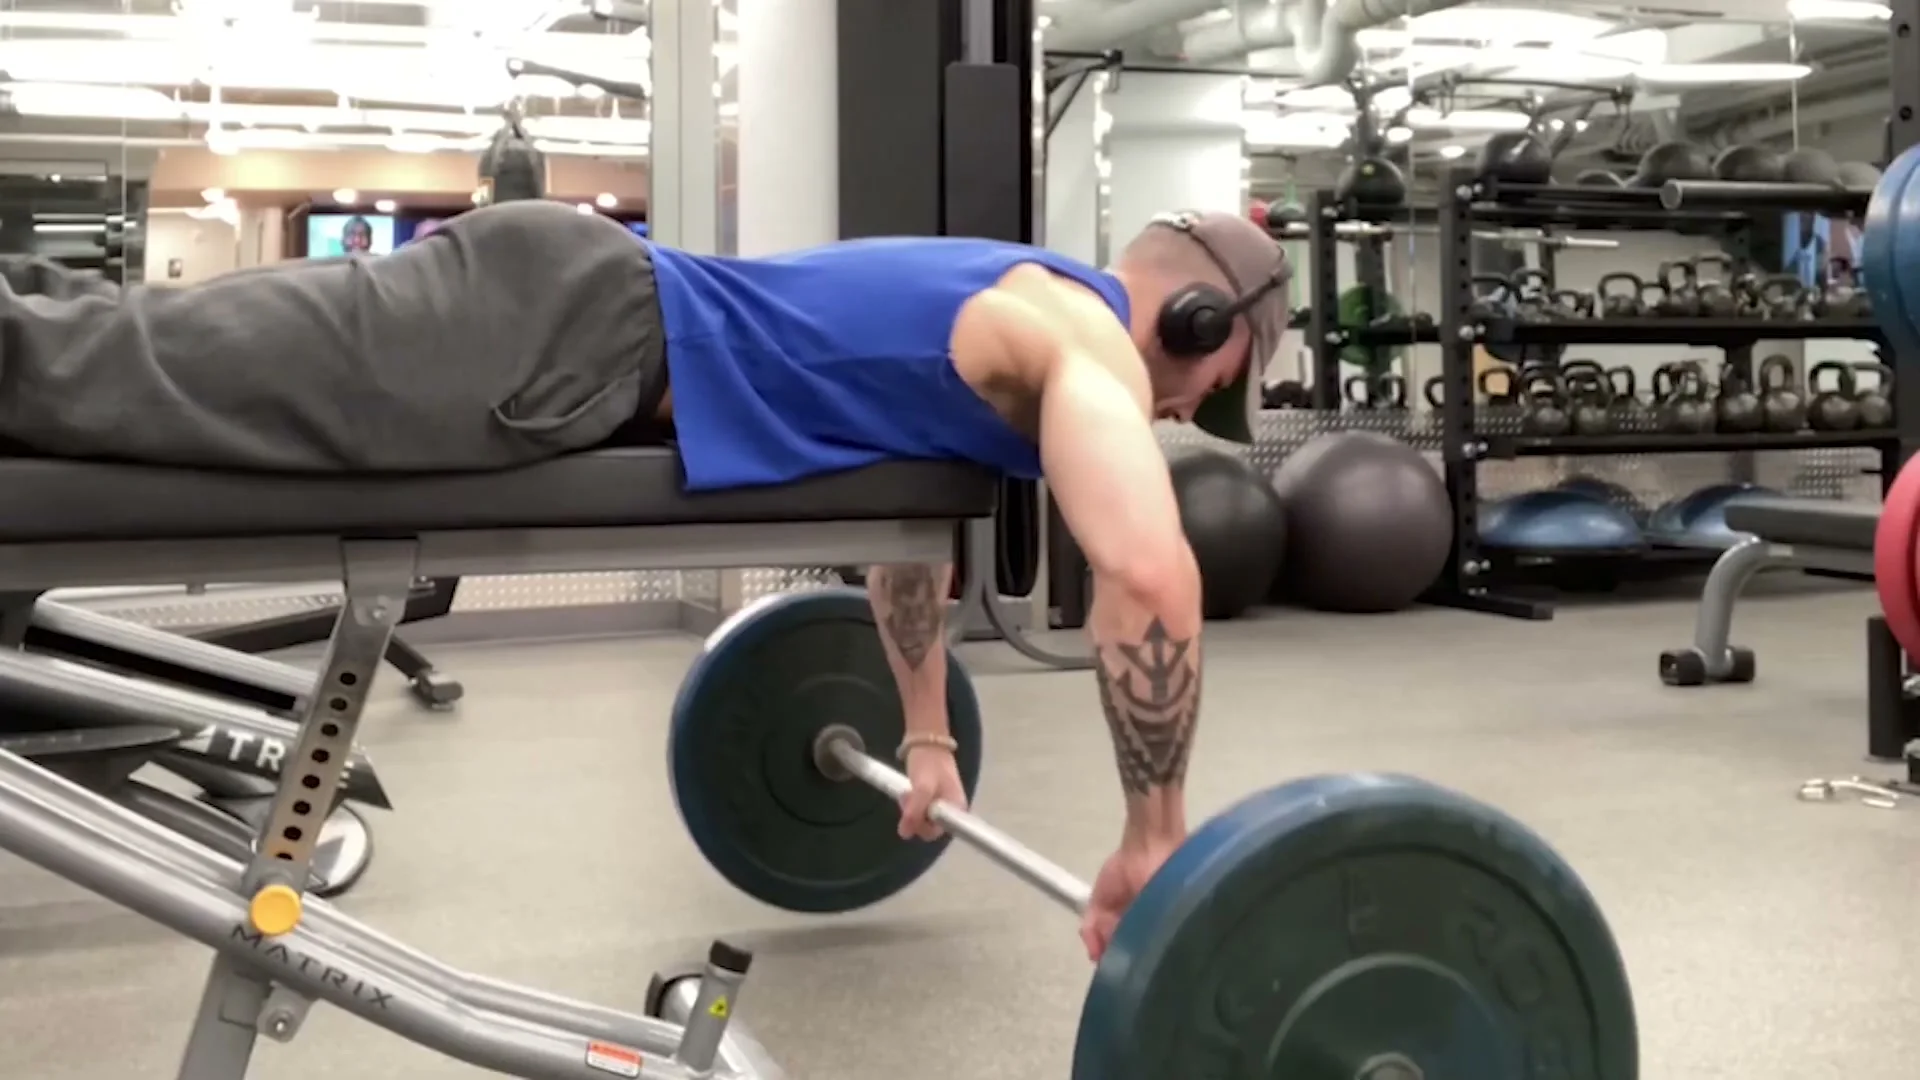
| S | Front lever with a resistance band, tuck front lever, seal row |
| A | Toes to bar, pull-ups (bodyweight and weighted), straight arm pull-downs, one leg front lever |
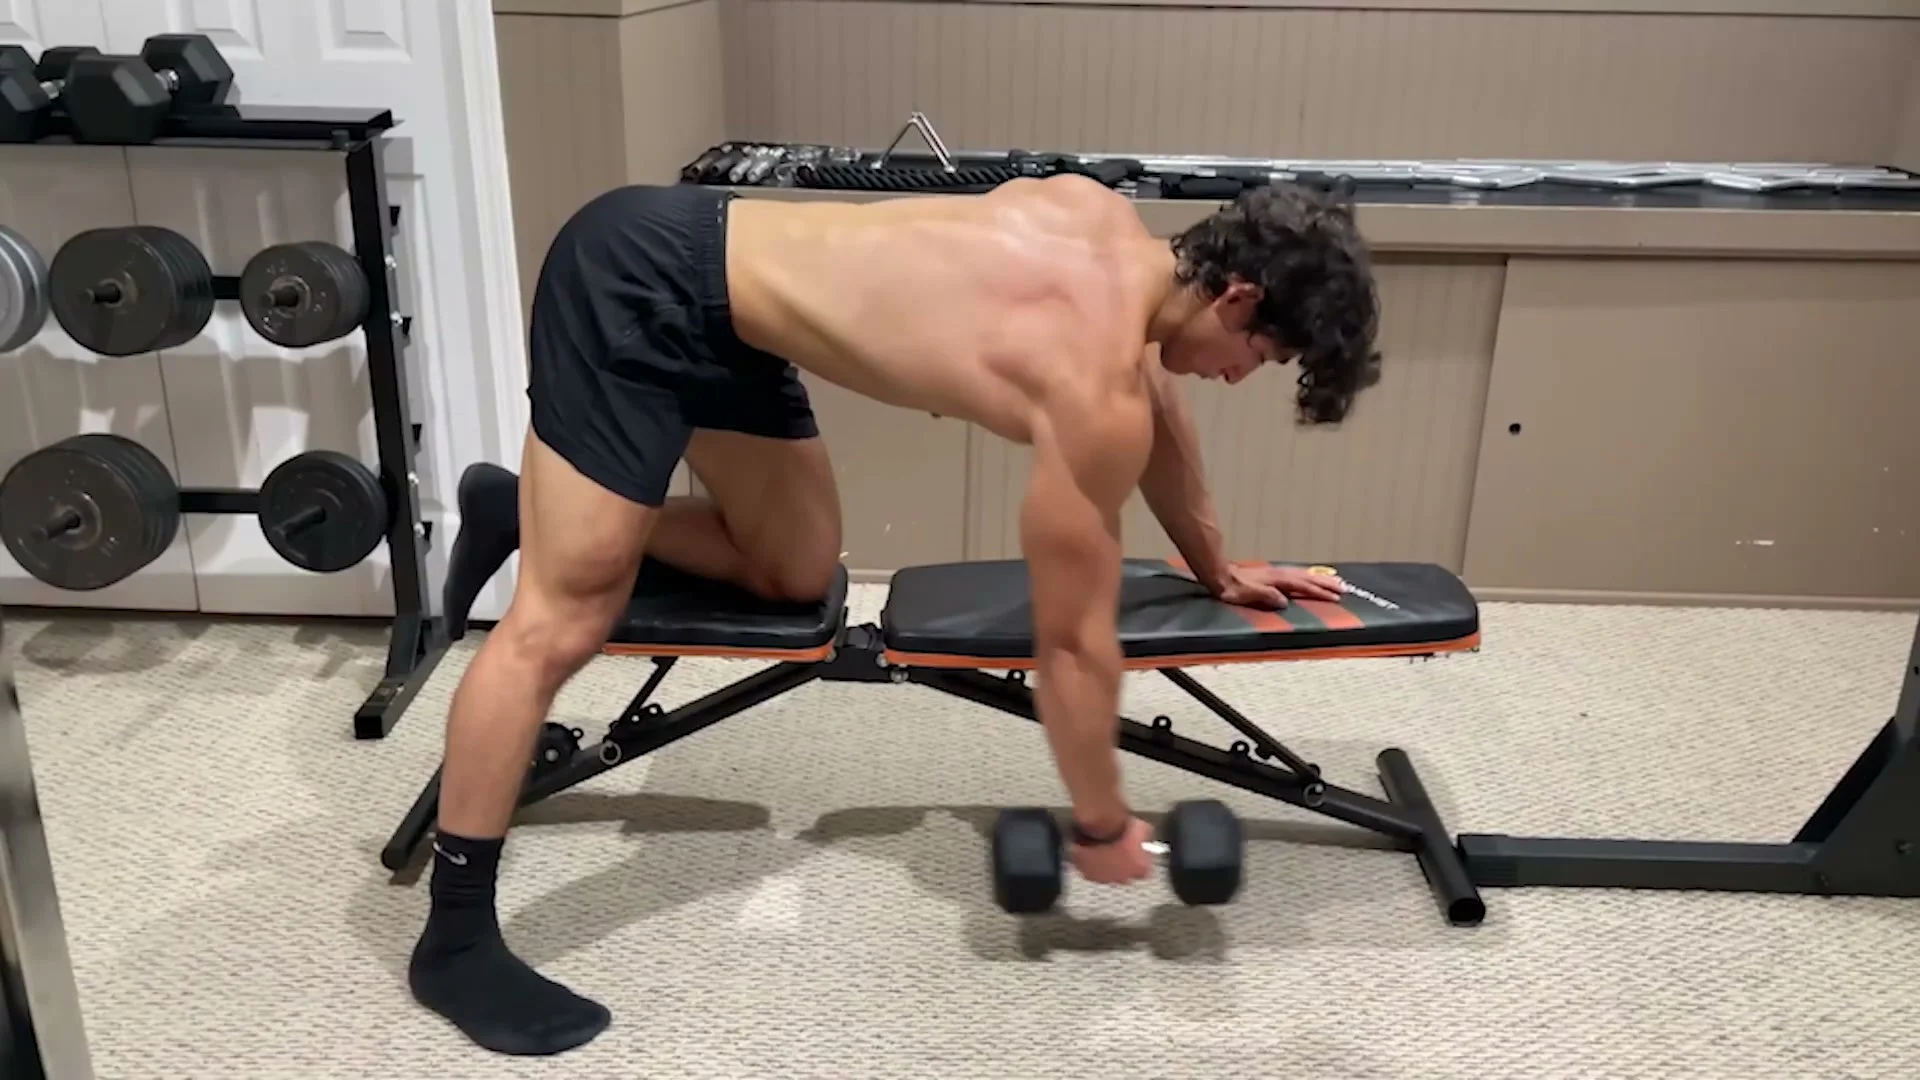
| B | Australian pull-ups, dumbbell rows |
| C | Deadlift |
| D | Squats, bicep curls |
A few more exercises came up that I rate well without landing on one exact letter: hollow body hold and leg raises, both strong core builders for any level, beginner through advanced. Muscle-ups and the one arm pull-up came up too, and I do not recommend either one specifically for this skill. Muscle-ups are not necessary, normal pull-ups already do the job. The one arm pull-up is close to impossible for beginners and does not carry over in a way that is worth chasing for the front lever specifically.
Squats and bicep curls sit at D because they are simply not connected to a straight arm horizontal hold. Deadlift sits at C, not because it is specific, but because it makes your lower back stronger, which supports the hold indirectly.
Progression: From Zero to the Front Lever
Key Takeaway
The front lever is not built by jumping straight to the full position. You build core and pulling strength first, own the tuck for weeks, then extend one limb at a time toward straddle and full. Skipping the tuck is the single biggest reason people stall out with bent arms and a rounded lower back.
Stage 1: Core and Pulling Foundation
Start with hollow body holds, leg raises, and normal pull-ups. These work for beginners through advanced athletes and need nothing beyond a bar and floor space. Build this base before you add anything more specific.
Stage 2: Bar Specific Pulling
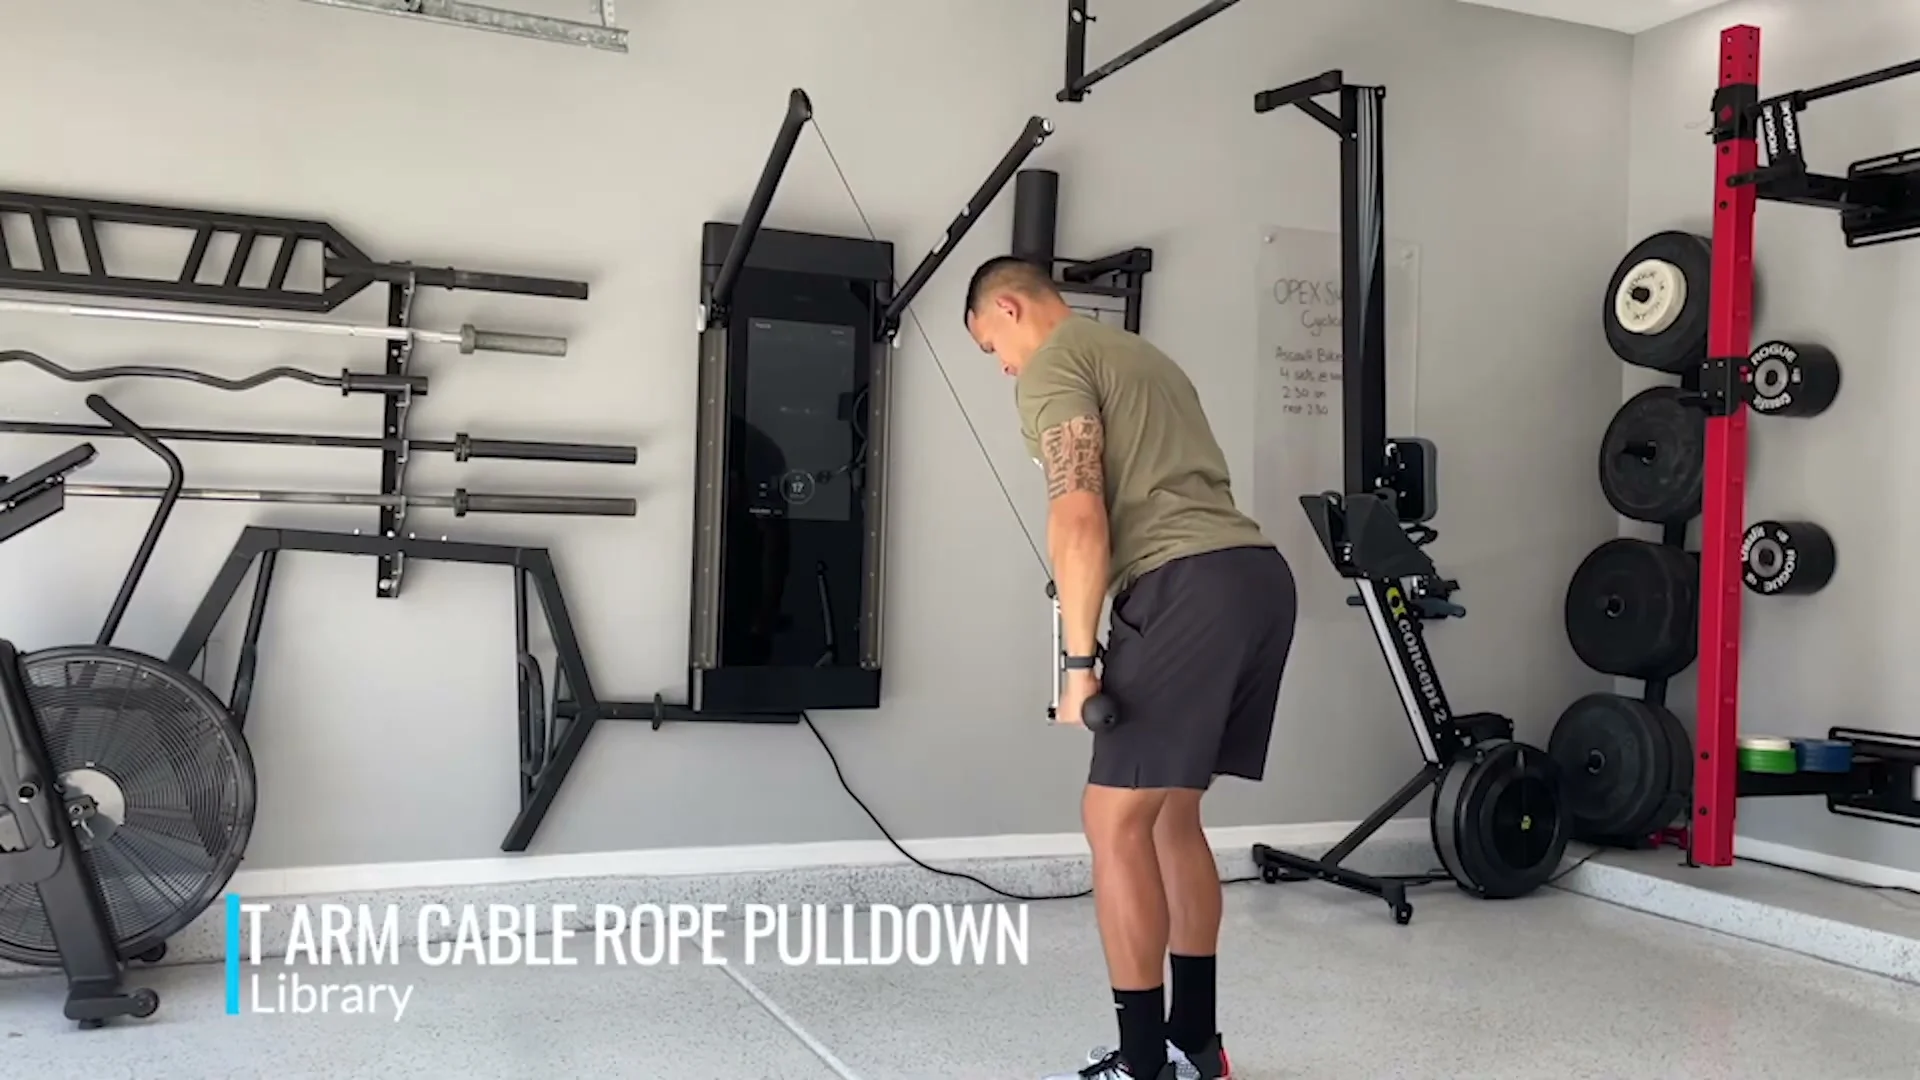
Add toes to bar and straight arm pull-downs once your pull-ups feel controlled. Toes to bar can be scaled by bending your knees if you cannot yet hit the bar with straight legs. Straight arm pull-downs are unforgiving on form, so slow the movement down and keep your arms locked out.
Stage 3: Tuck Front Lever
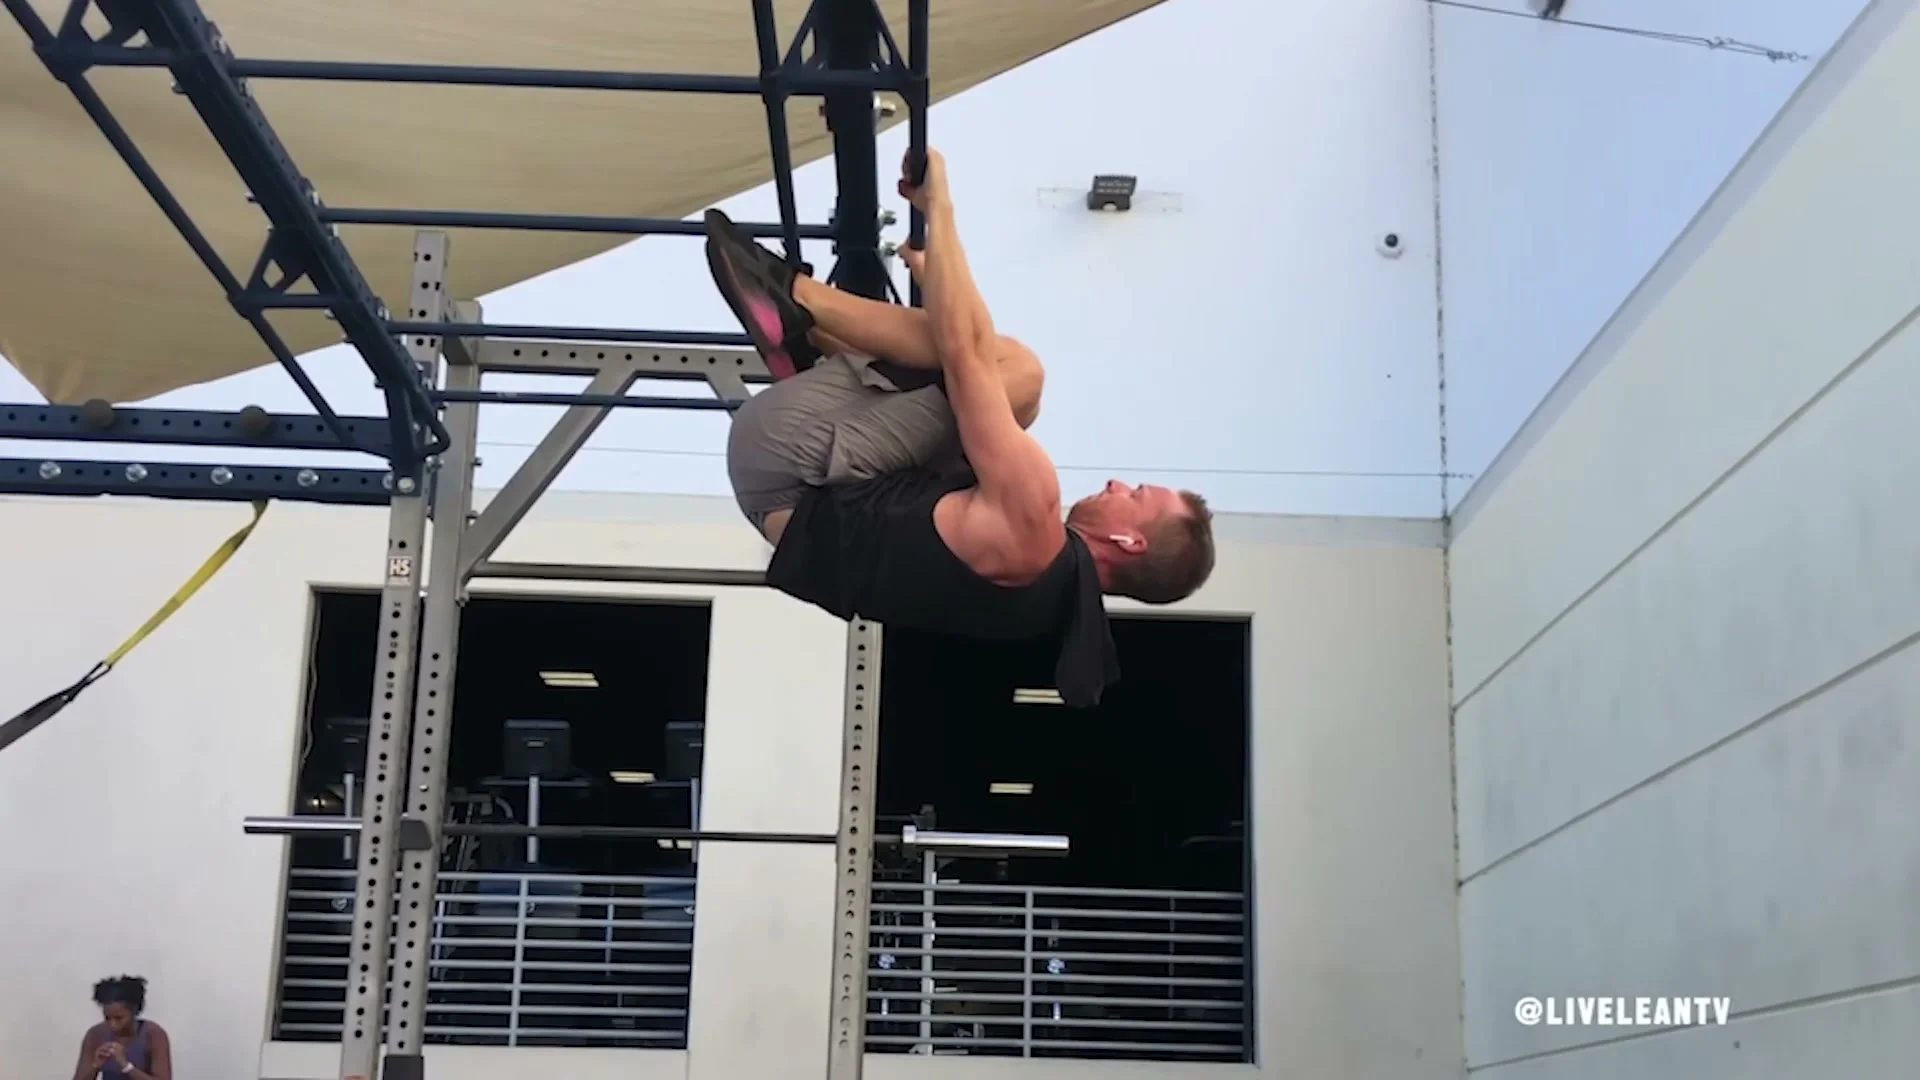
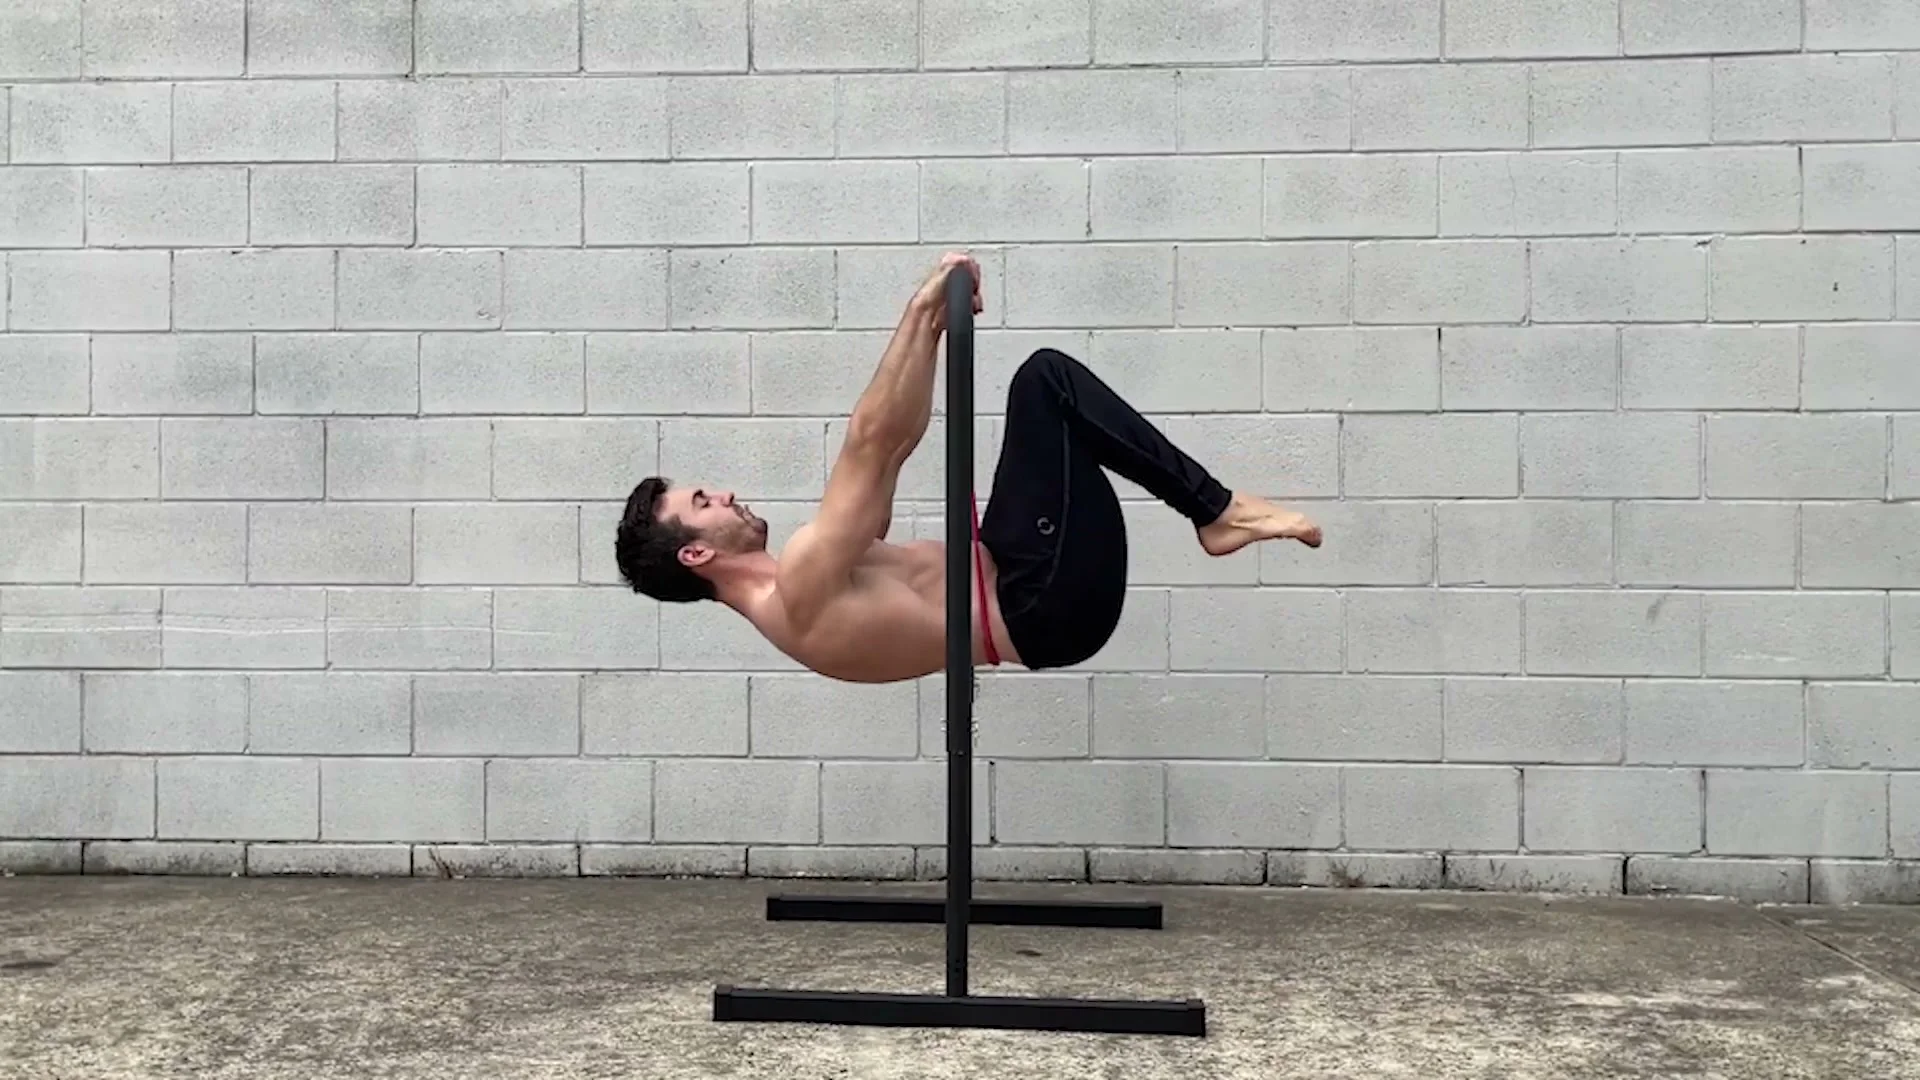
Move to the tuck front lever as soon as your core and pulling strength let you hold the shape, even briefly. Use a resistance band under your hips if you cannot hold it unassisted yet. This is the drill I rate highest for beginners, because you can regress it with a band and still train the real position.
Stage 4: One Leg and Straddle Front Lever
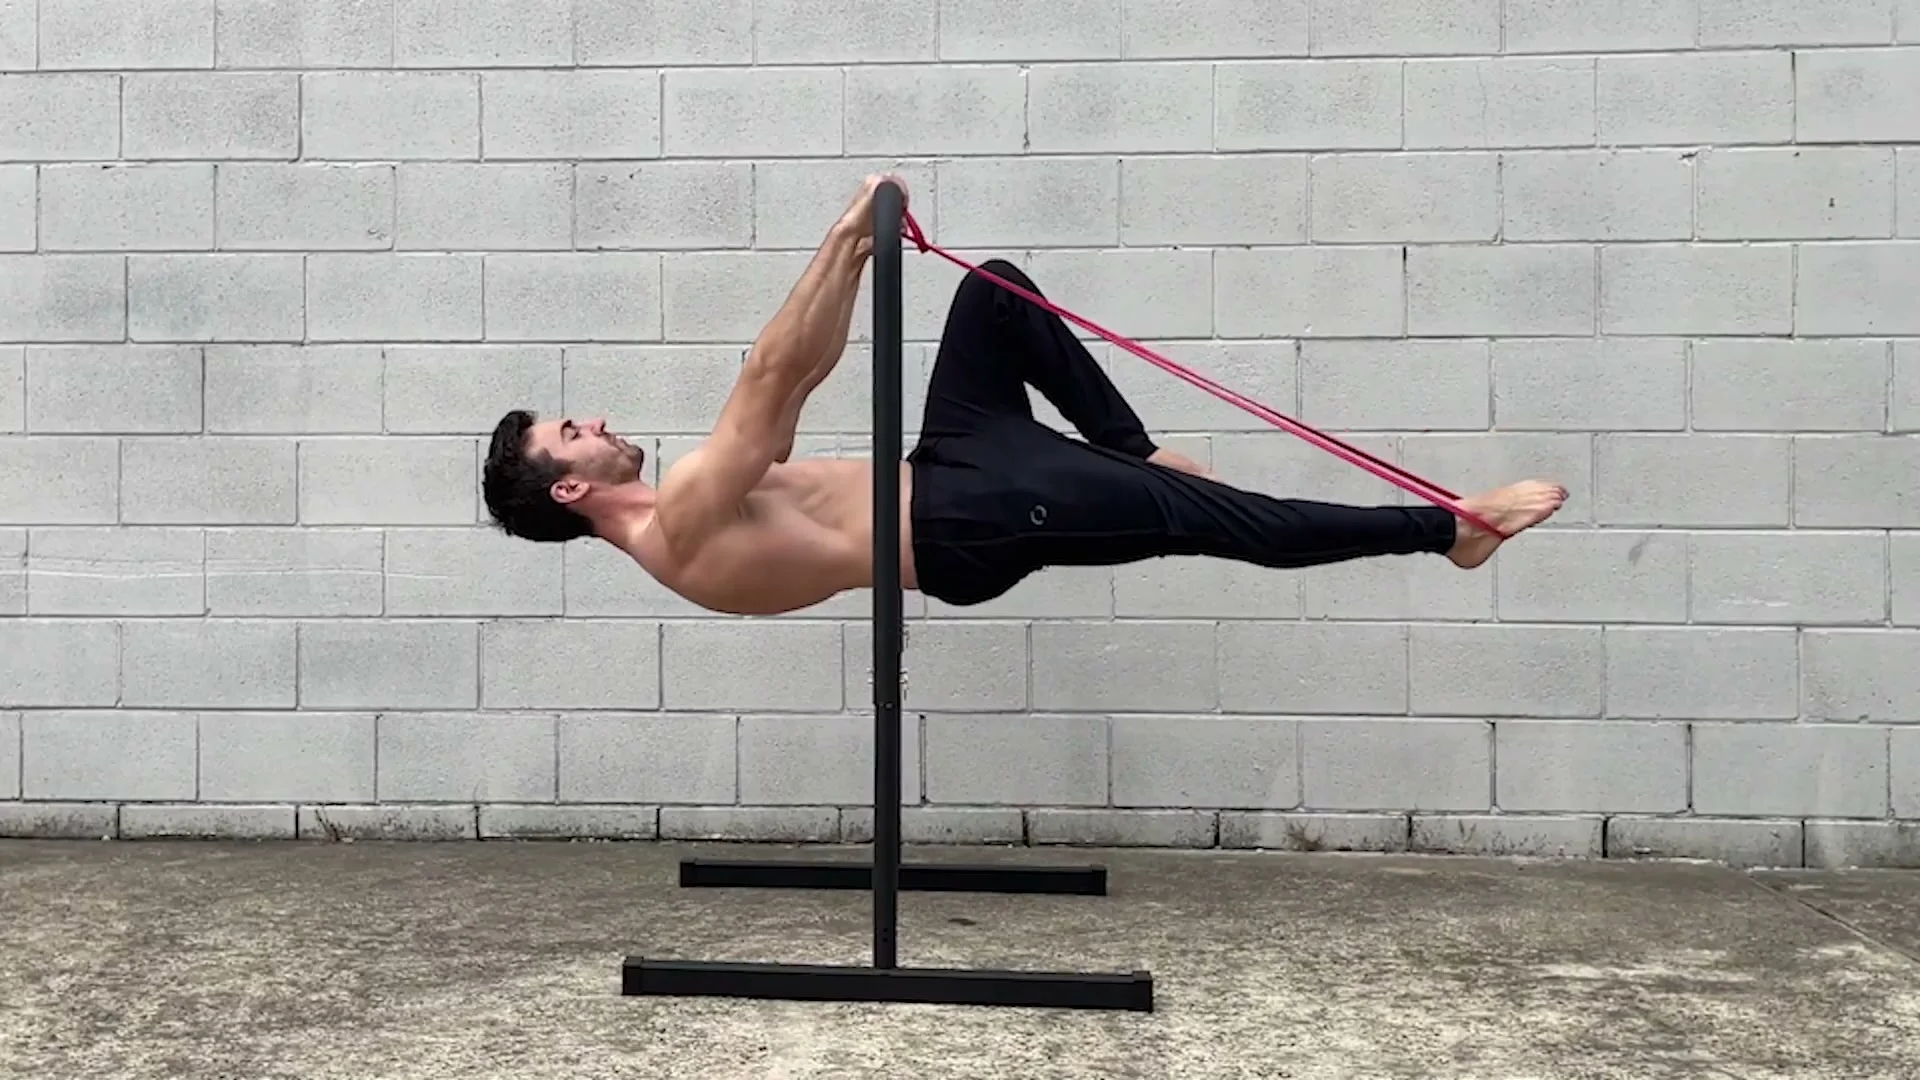
Extend one leg out of the tuck to work toward straddle and one leg front lever. One leg front lever acts as a bridge between straddle and the full position, and it gives you an honest read on how close you actually are.
Stage 5: Full Front Lever with Band Support
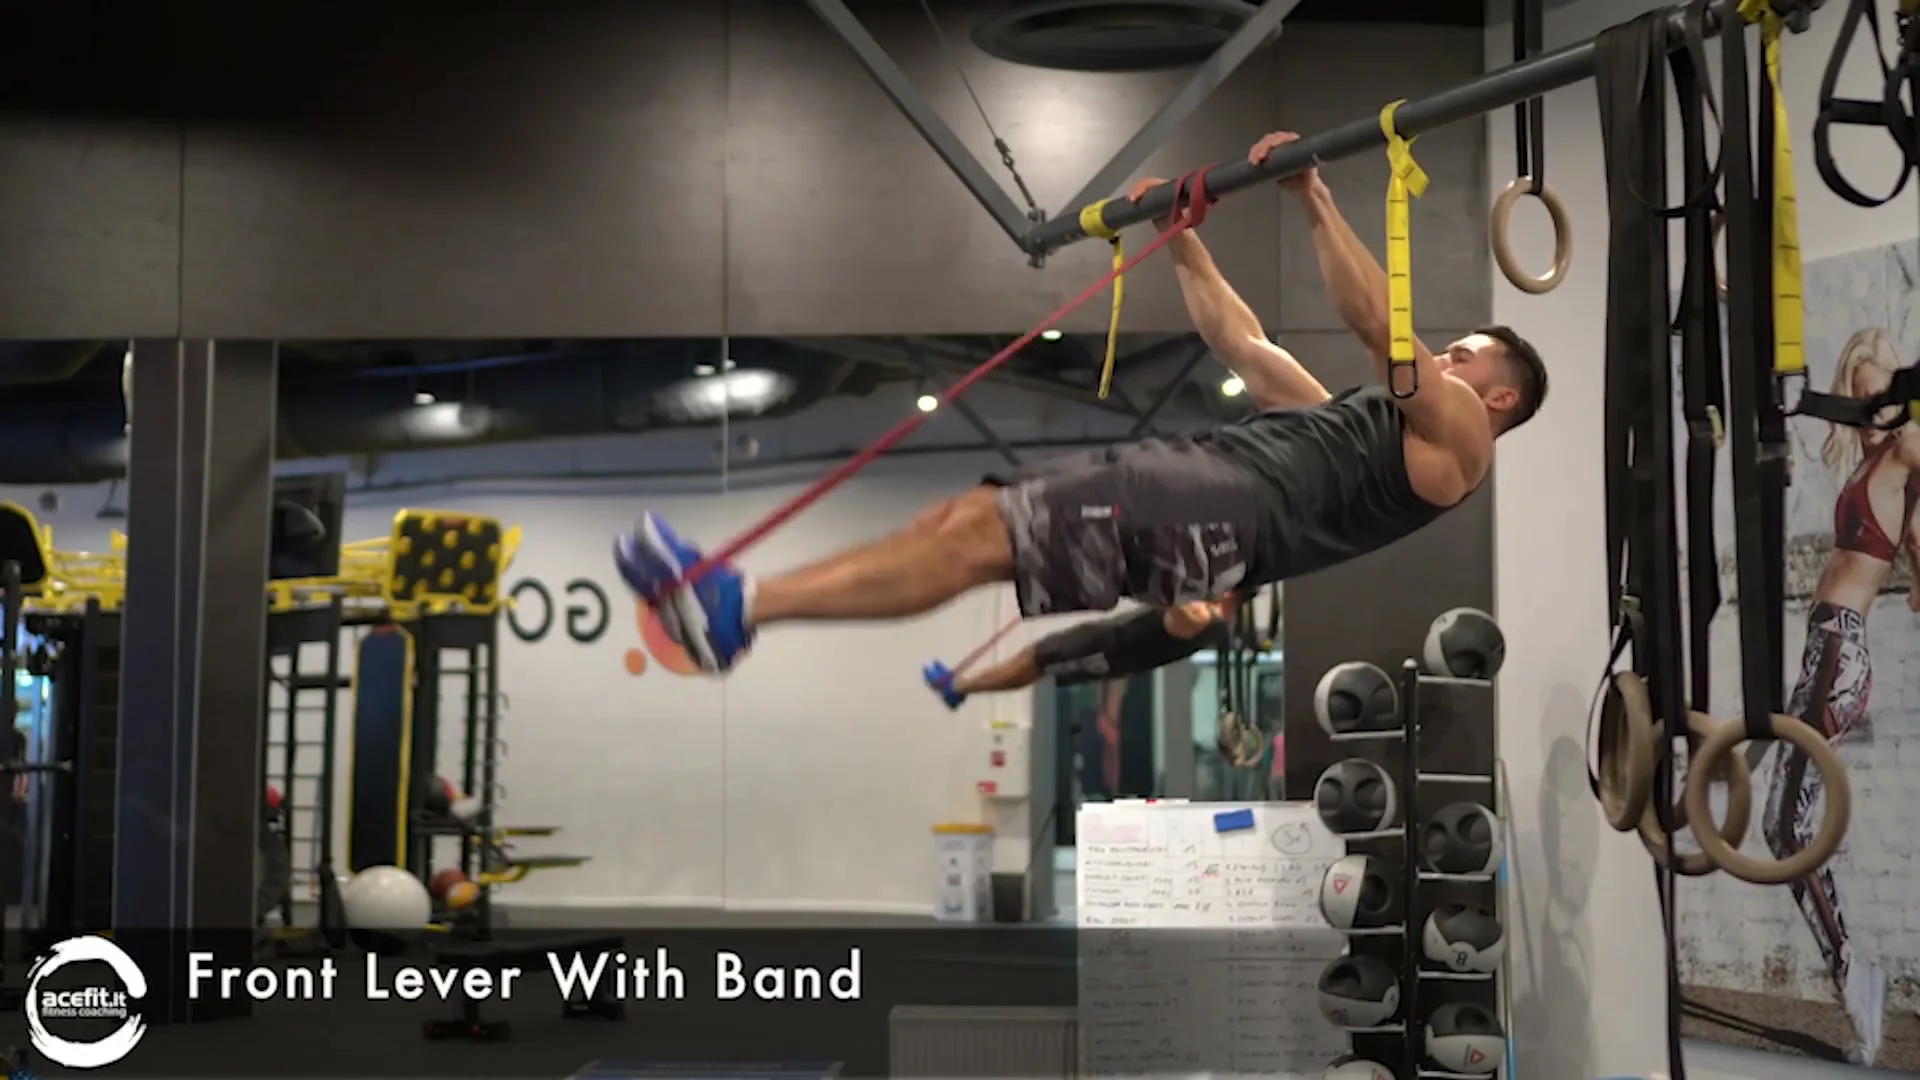
Keep using a resistance band on the full position, on straddle, and on front lever touches. The band lets you hold longer, add volume, and feel the top position before you can do it fully unassisted. I still use one myself for extra holds and volume, not only as a beginner tool. If you want this mapped to your own weak points instead of a generic list, that is what I work through with people inside online coaching.
Common Mistakes
Mistake: Training Exercises That Do Not Transfer
Bicep curls and squats do not move the needle for the front lever. If your training time is limited, put it into pulling and core work instead of general gym lifts.
Mistake: Skipping the Tuck Position
Jumping straight to straddle or full front lever without controlling the tuck first usually shows up as bent arms and a rounded lower back under load. Earn a clean tuck hold before you extend your legs.
Mistake: Ignoring Form on Straight Arm Pull-downs
This exercise only earns its place when your arms stay locked out. Done with bent arms, it stops training the strength pattern the front lever needs.
Mistake: Chasing the One Arm Pull-up for Carryover
It is close to impossible for beginners and I do not see a strong reason for advanced athletes to train it for the front lever either. Normal pull-ups with different grips cover the same ground without the wasted training time.
Training Tips
Train the tuck and straddle positions with a band early and often. A band is not just a beginner crutch, it lets you add hold time and volume once you are already capable of the position unassisted, which is exactly why it sits in my S tier.
Rotate your pulling work. Mixing pull-ups, toes to bar, and straight arm pull-downs across a week builds the pattern from more than one angle, instead of grinding the same drill until it stalls.
Do not skip your core work just because you are training front lever specifically. Hollow body holds and leg raises stay useful at every level, beginner through advanced, and they support every stage of this progression.
Frequently Asked Questions About the Front Lever
What is the best exercise to build a front lever?
Based on my ranking, the tuck front lever and the front lever trained with a resistance band rate highest, because they train the exact shape and let you scale the difficulty as you get stronger.
Do pull-ups help with the front lever?
Yes. Normal pull-ups and weighted pull-ups both rank well. They build the raw pulling strength the front lever depends on, and they work for beginners through advanced athletes.
Should beginners do muscle-ups for the front lever?
No, I do not think muscle-ups are necessary. Normal pull-ups cover the pulling strength you need without adding the extra skill demands of a muscle-up.
Are squats or deadlifts useful for the front lever?
Squats are not connected to the front lever at all. Deadlifts are not specific either, but they do build a stronger lower back, which supports the hold indirectly.
How do resistance bands help with the front lever?
A band takes weight off the hold so you can train the full position, straddle, or front lever touches before you have the strength to do them unassisted. I use bands for holds and for volume work, not only as a beginner tool.
Is the one arm pull-up worth training for the front lever?
Not specifically. It is close to impossible for beginners, and I do not see a strong reason for advanced athletes to train it for this skill either. Normal pull-ups with different grips cover the same ground.

Daniel Hristov is a four-time calisthenics world champion and coach. He shares the exact methods he uses to train his own athletes.
More about Daniel →