
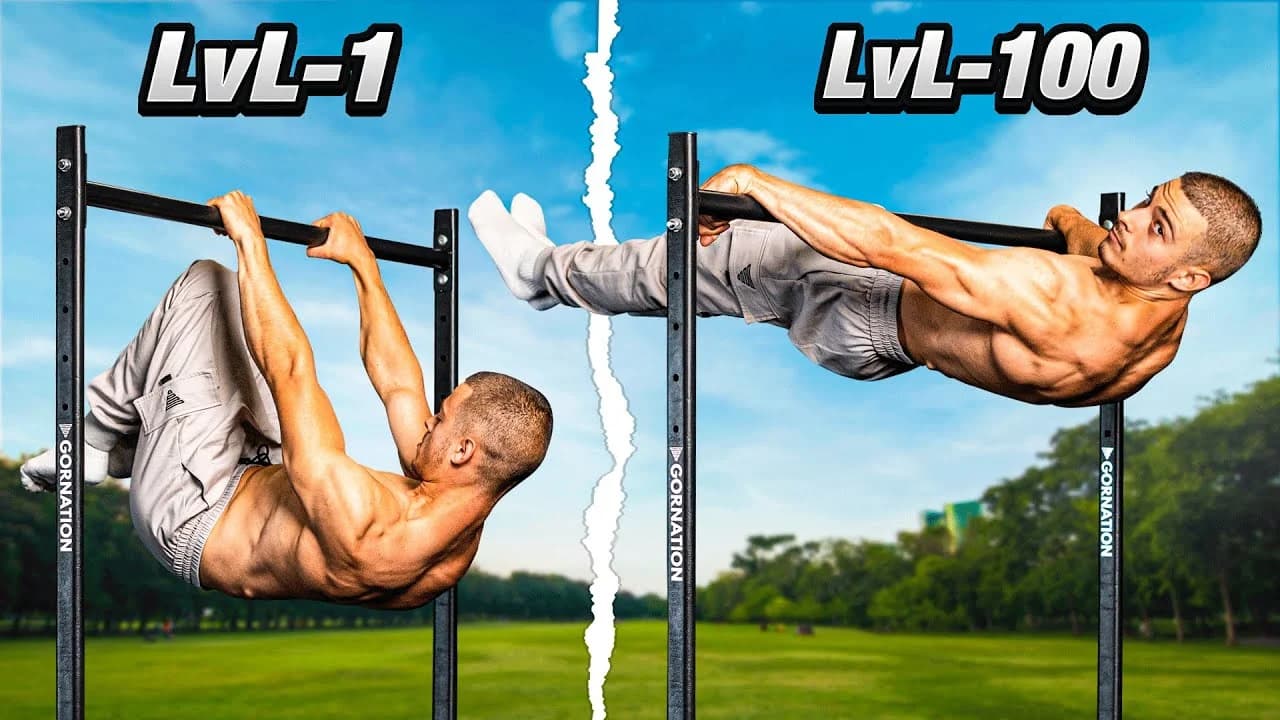
The front lever is one of the clearest tests of pulling strength in calisthenics, a straight-body hold that looks frozen mid-pull and takes real back and core strength to own. It is not a beginner move, you need a solid pull-up base and hollow body control before it becomes realistic. It sits alongside the planche and back lever as one of the core static skills that separates casual training from serious work. In this tutorial I cover what the front lever actually requires, the technique that keeps the hold clean, and the stage-by-stage progression I use to build it from zero. By the end you will know how to start training it and what to prioritize first.
Watch the Full Tutorial
What Is the Front Lever
The front lever is a static hold where you hang from a bar and pull your entire body up until it is parallel to the ground, arms straight, back facing the floor. From the side it looks like your body has frozen mid-pull, held horizontal by nothing but pulling strength and full-body tension.
It sits in the same family as the back lever and the planche, the core group of static calisthenics holds that separate casual training from serious skill work. Where the planche leans on the shoulders and chest, the front lever is built mostly through the lats, the lower back, and the entire posterior chain working together to keep you flat.
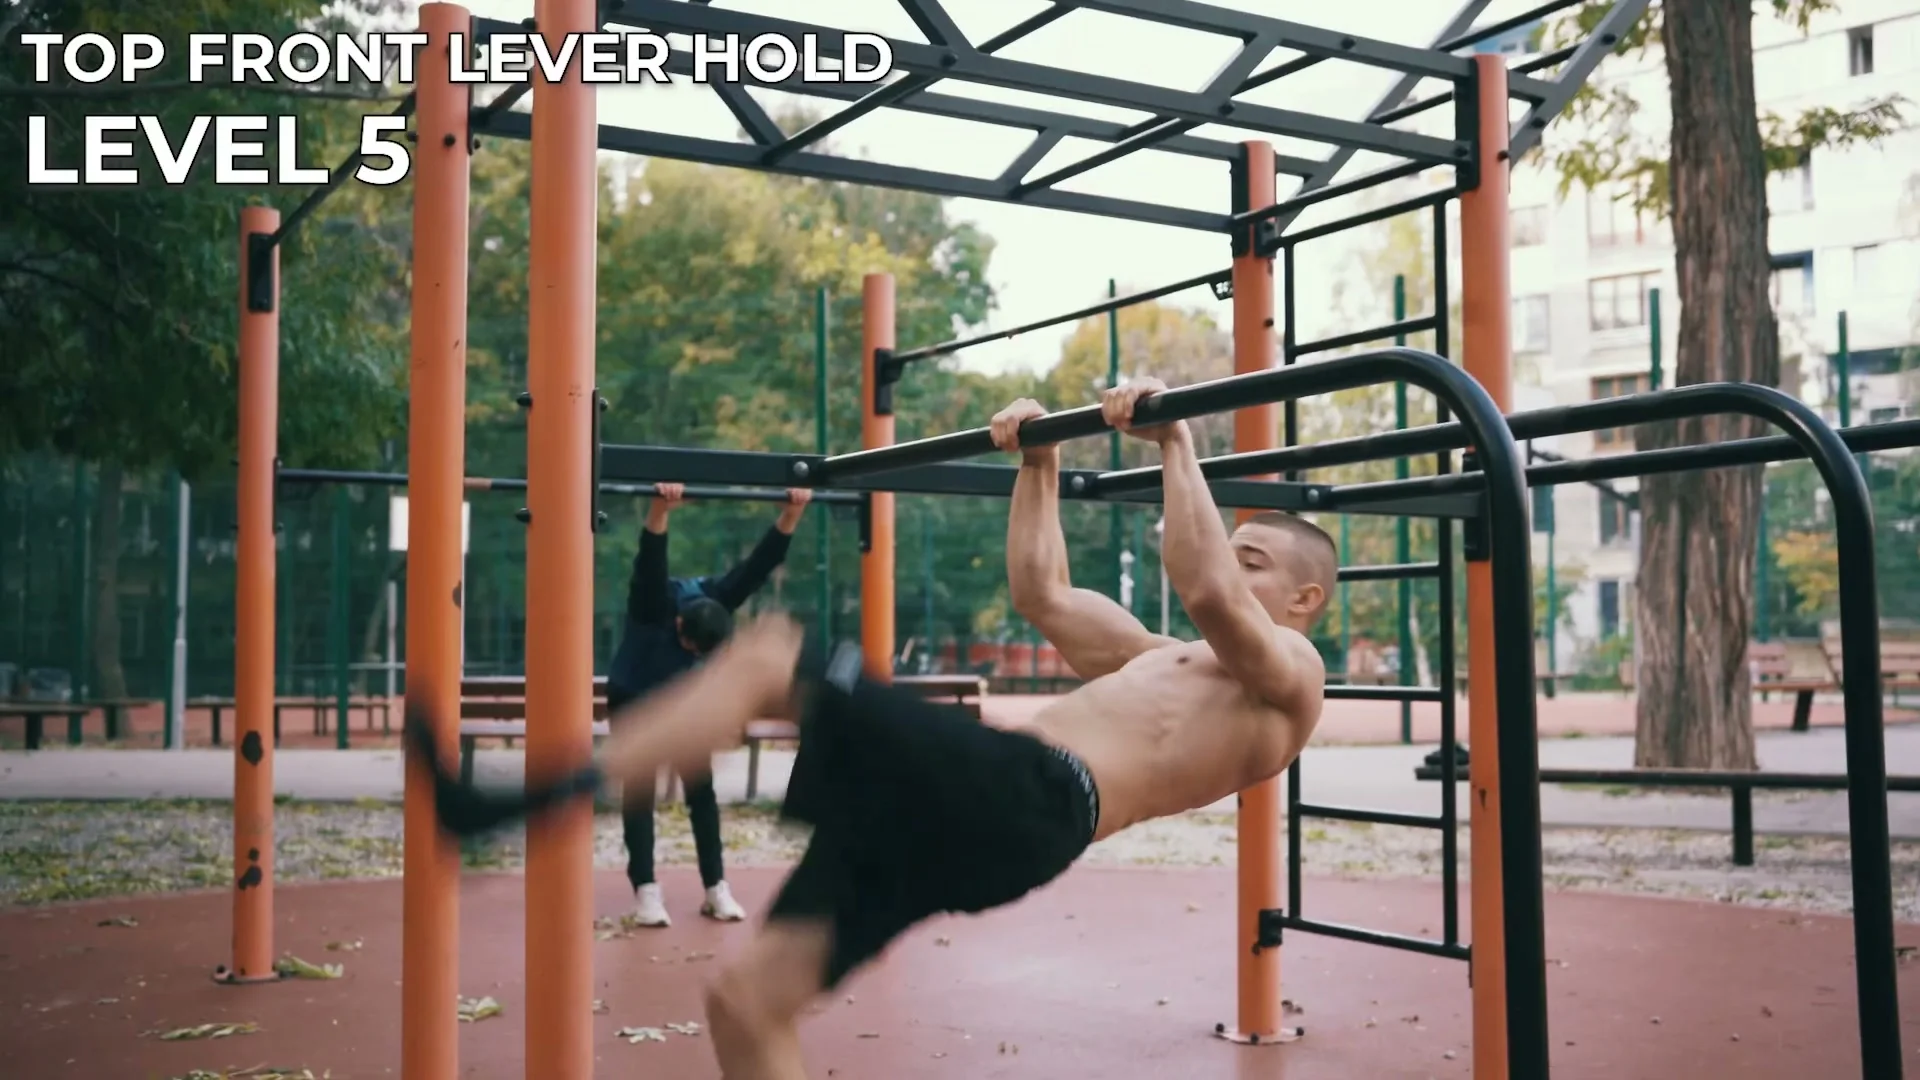
There is no shortcut version that looks convincing. Either your hips sag and the line breaks, or you own the position.
Prerequisites
Before you spend real time on front lever holds, your pulling base needs to already be solid. I would not start dedicated front lever work without these in place first.
- A dead hang held comfortably for 30 to 60 seconds
- Strict pull-ups, at least 8 to 10 clean reps, no kipping
- A hollow body hold you can maintain with control, since the front lever is a hollow position under load
- Active shoulders in a hang (scapula pulled down and back, not just hanging passively)
- Basic tuck front lever hold, even for a few seconds, before moving to longer levers
If your pulling strength or your hollow body position is weak, fix that first. Front lever training on top of a shaky base just teaches you to compensate with bad form.
How to Do the Front Lever
Grip the bar with straight arms and pull your shoulder blades down and back before you do anything else. That scapular lock stays on for the entire hold, it does not relax once you're horizontal.
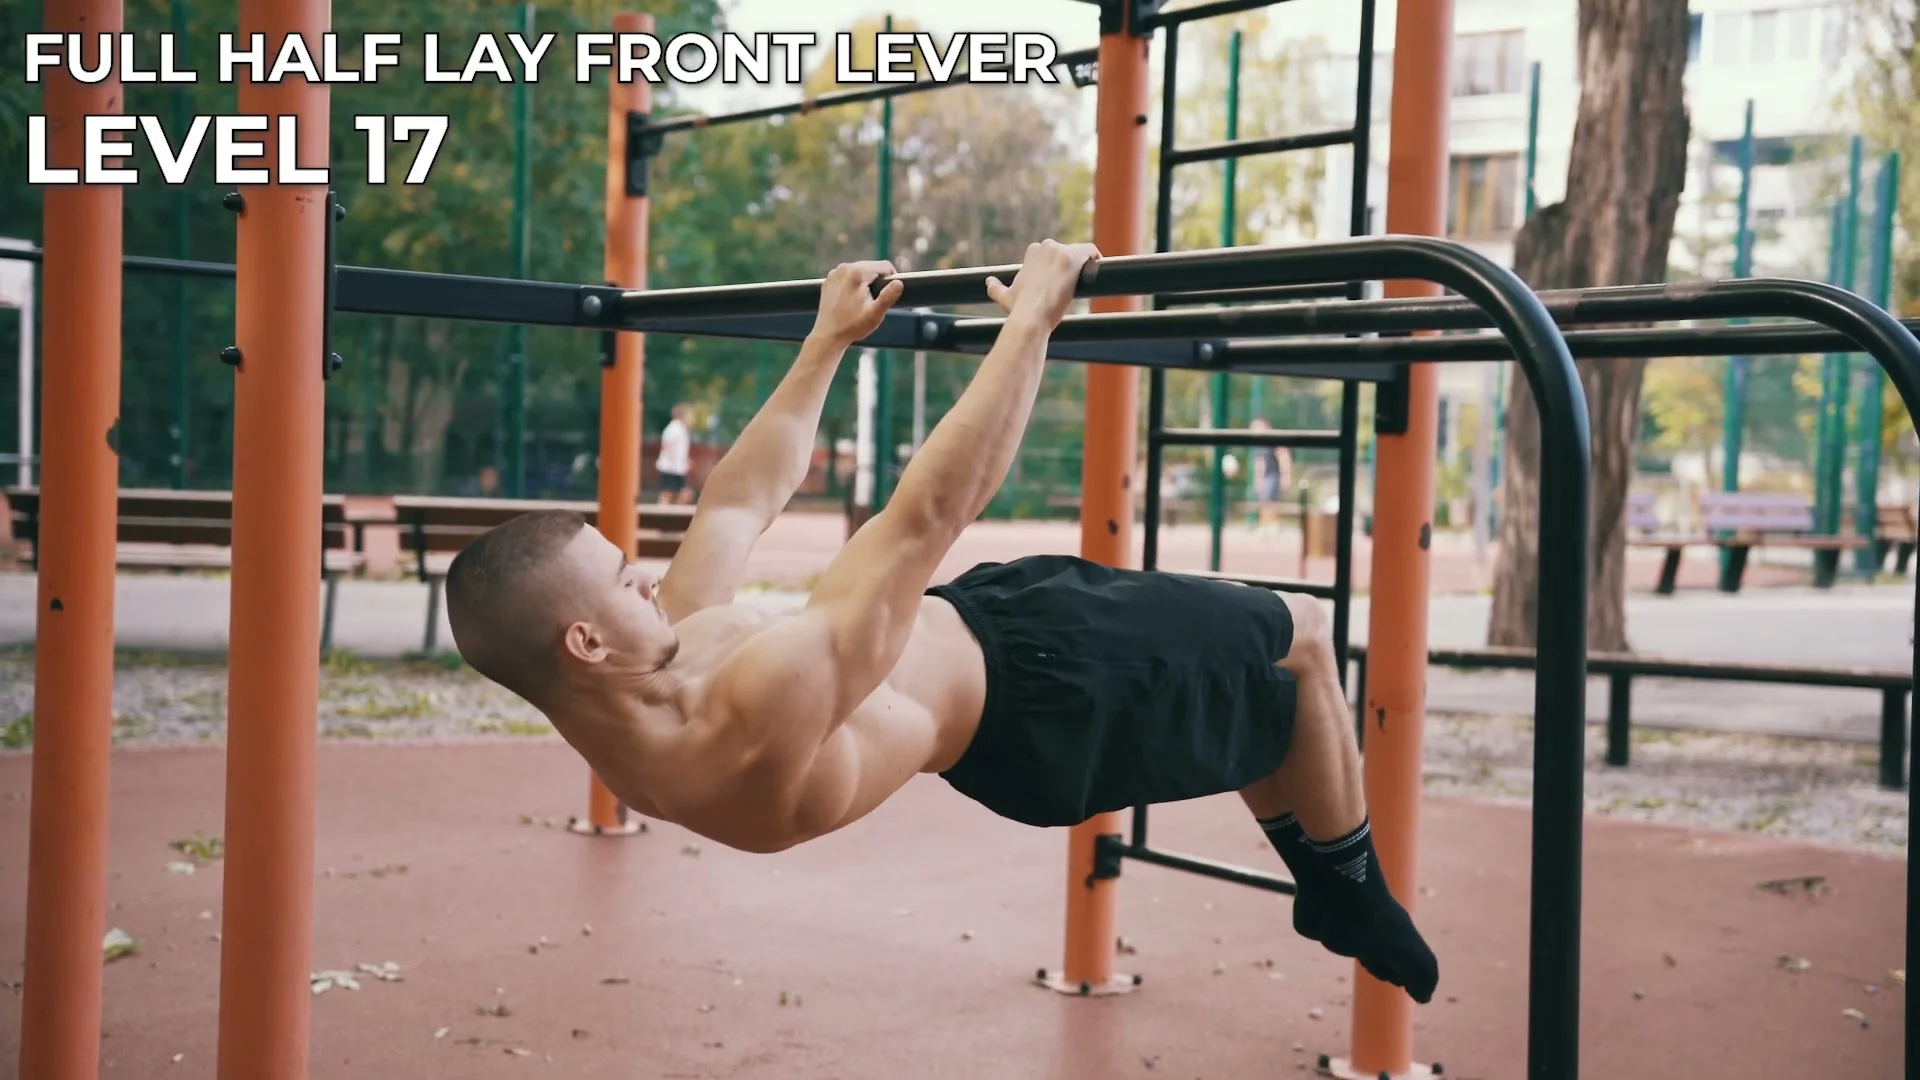
From there, pull your chest toward the bar and drive your hips up and back until your body is flat. Point your toes, squeeze your glutes and quads, and keep a slight posterior pelvic tilt so your lower back does not arch. Your arms stay locked straight throughout, the pulling comes from your back and lats, not from bending the elbows.
Breathe. Holding your breath to brace usually makes people shake harder, not less.
Progression: From Zero to Front Lever
Key Takeaway
No one goes from a dead hang straight to a full front lever. You shorten the lever arm first with a tuck, then lengthen it gradually through straddle and half lay before you ever try the legs-together version. Skipping a stage is the main reason people stall for months.
This is the standard path I use to build a front lever from nothing. Each stage should feel solid before you move to the next one, not just barely possible for a second or two.
Stage 1: Dead Hangs and Scapula Control
Build hang time and learn to actively pull your shoulder blades down instead of hanging passively. Scapula pulls (small pulls up and down from a dead hang) train this directly.
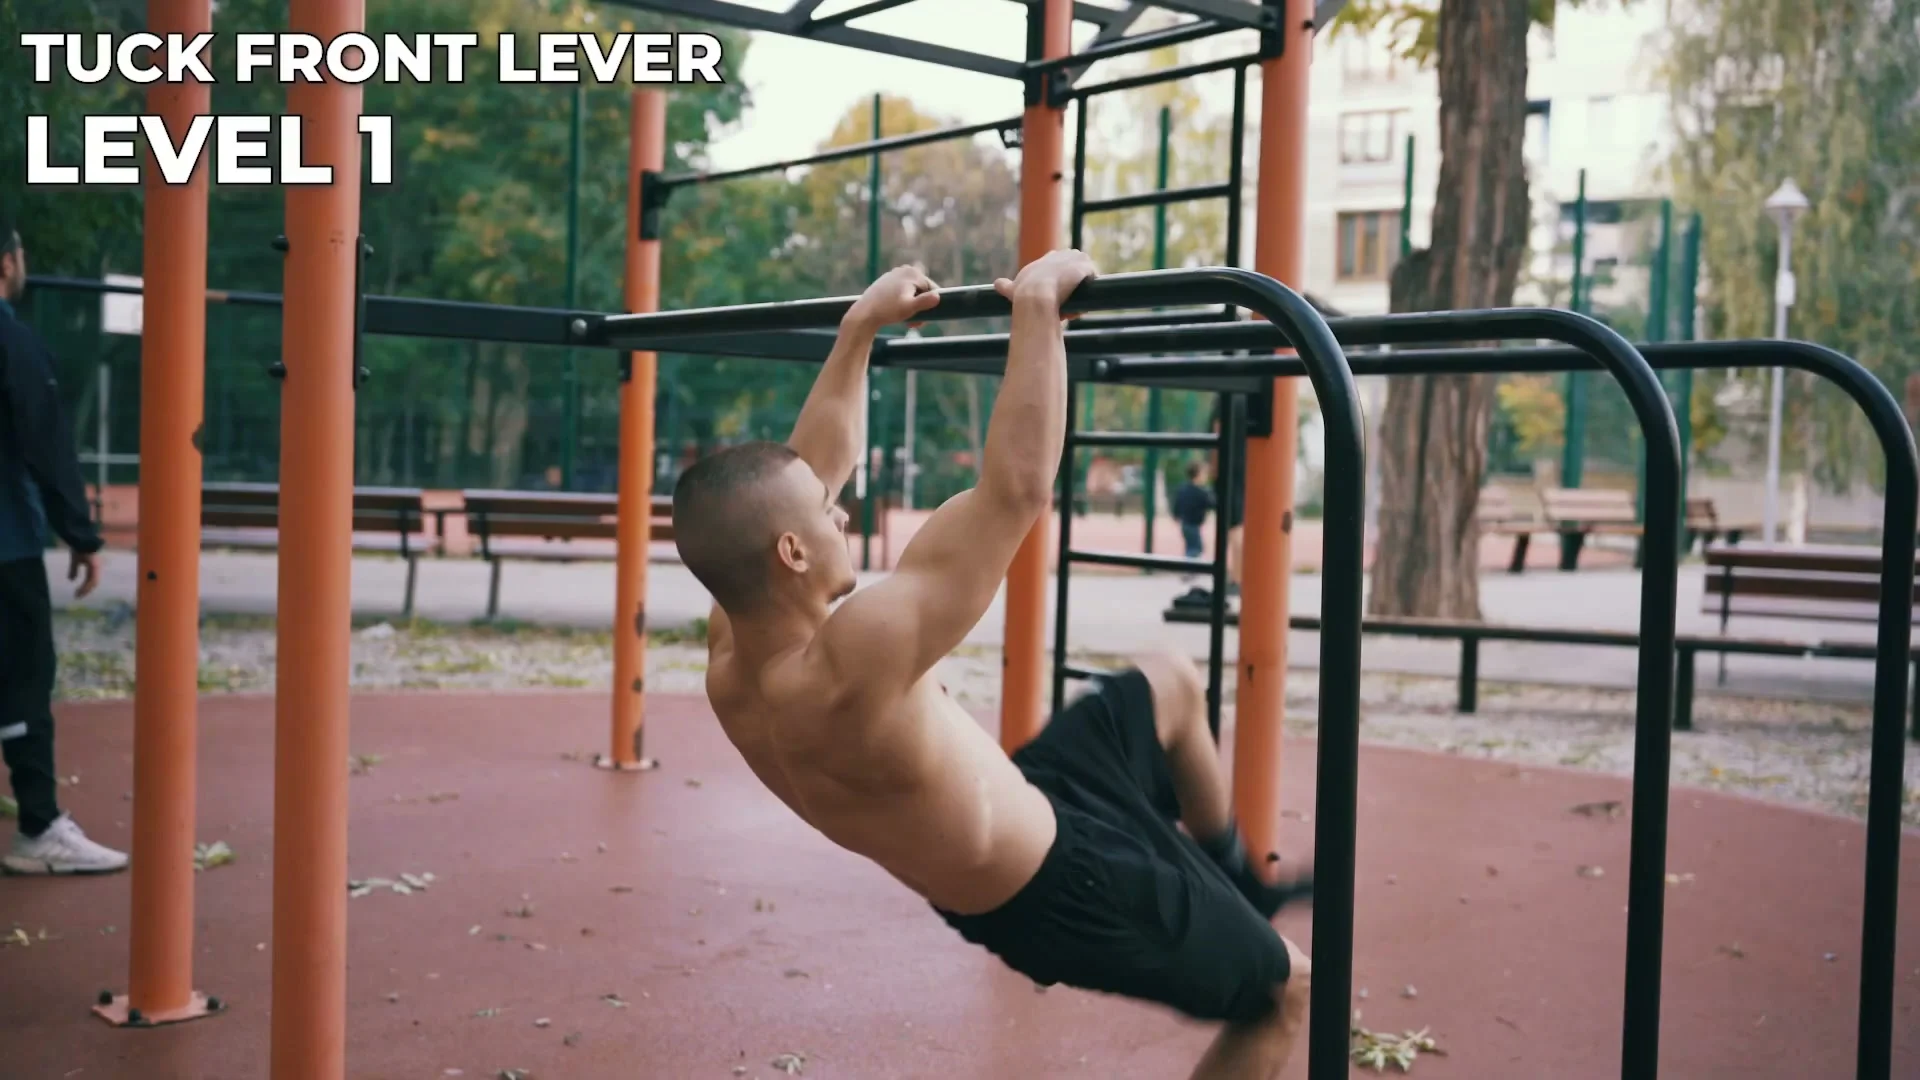
Stage 2: Tuck Front Lever
Knees pulled tight to your chest, back flat, hips level with your shoulders. This is the entry point into the actual lever position with the shortest possible lever arm.
Stage 3: Advanced Tuck or Straddle Front Lever
Extend your legs out slightly (advanced tuck) or open them wide (straddle) to lengthen the lever while the wide straddle still keeps the load manageable.
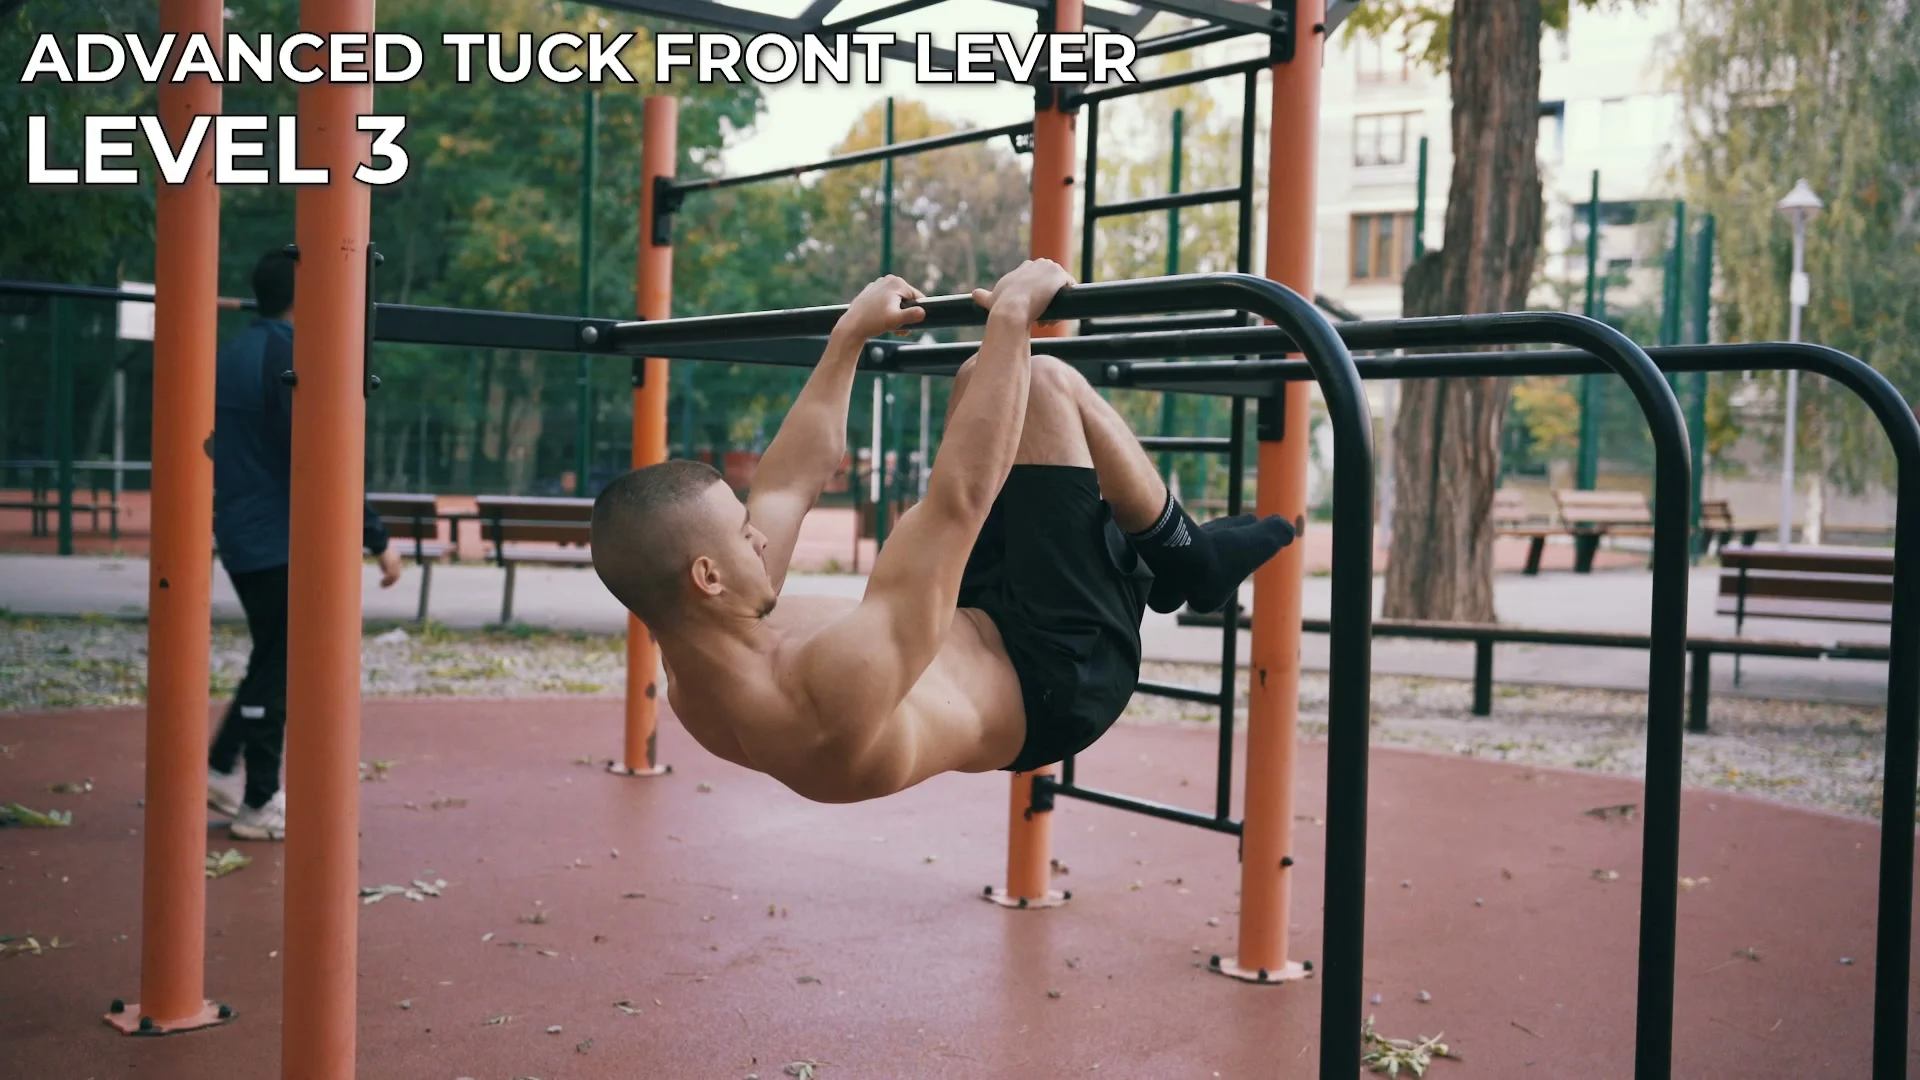
Stage 4: Half Lay Front Lever
One leg extended straight, the other tucked or bent. This stage exposes weaknesses in a straddle that a wide leg position can hide.
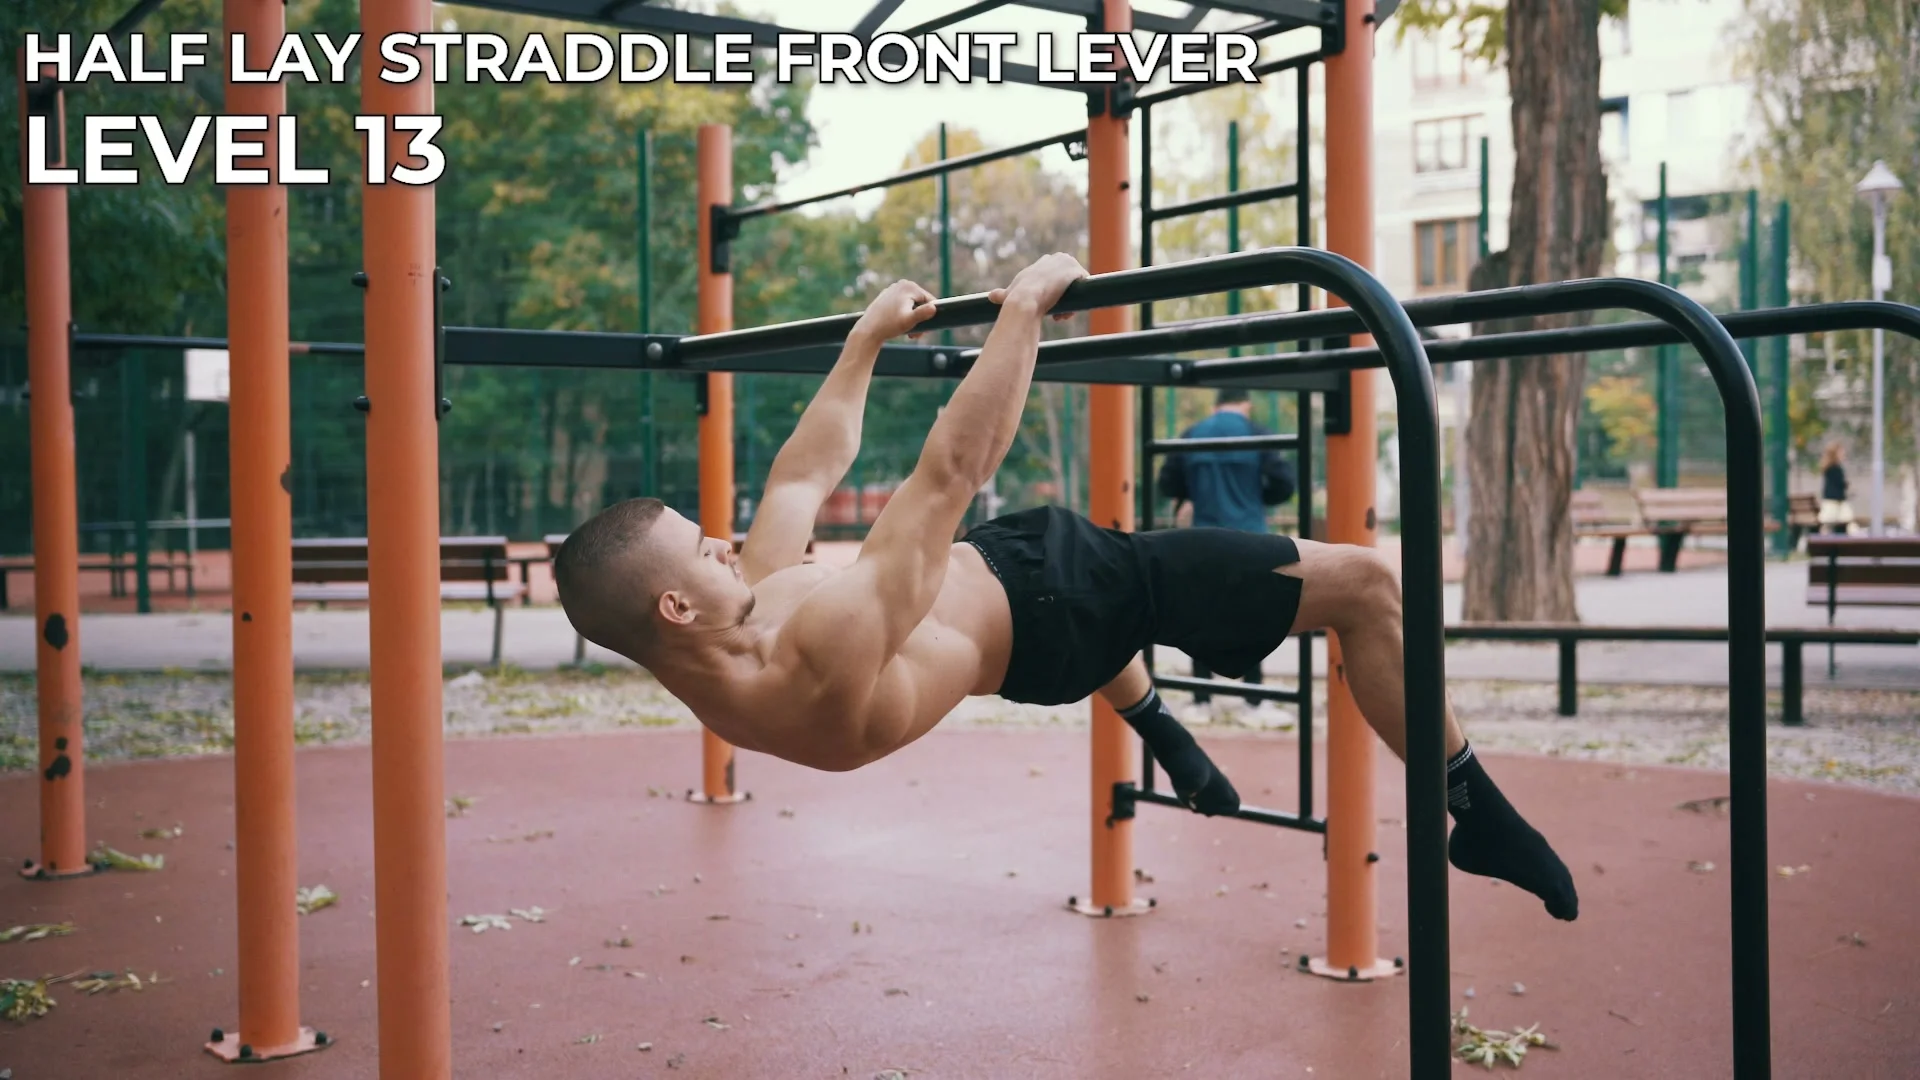
Stage 5: Full Front Lever
Legs together, fully extended, body flat from shoulders to toes. Hold for a few clean seconds before chasing volume or duration.
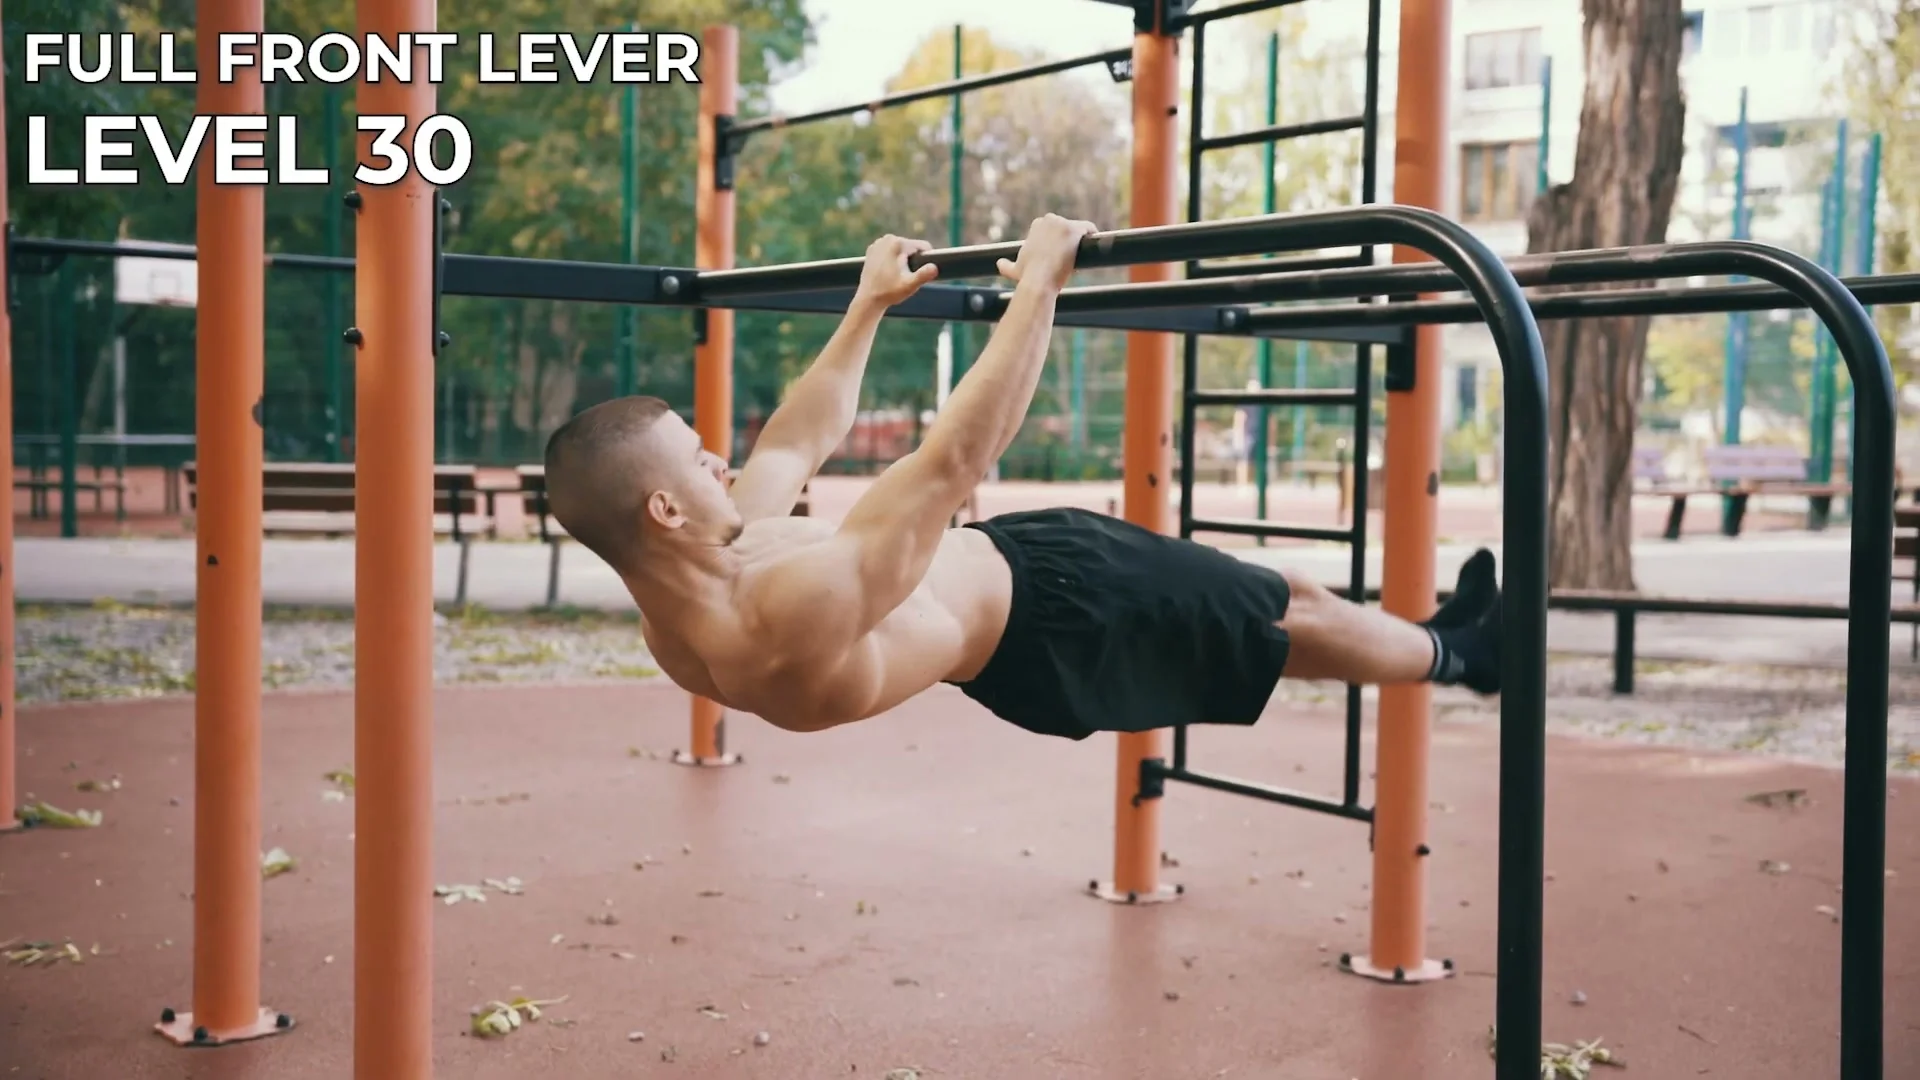
Once you own the full front lever, that is really the starting line, not the finish. The video this article is based on runs through more than 30 front lever variations in about two minutes, from the easiest holds up through one-arm and one-leg-one-arm versions.
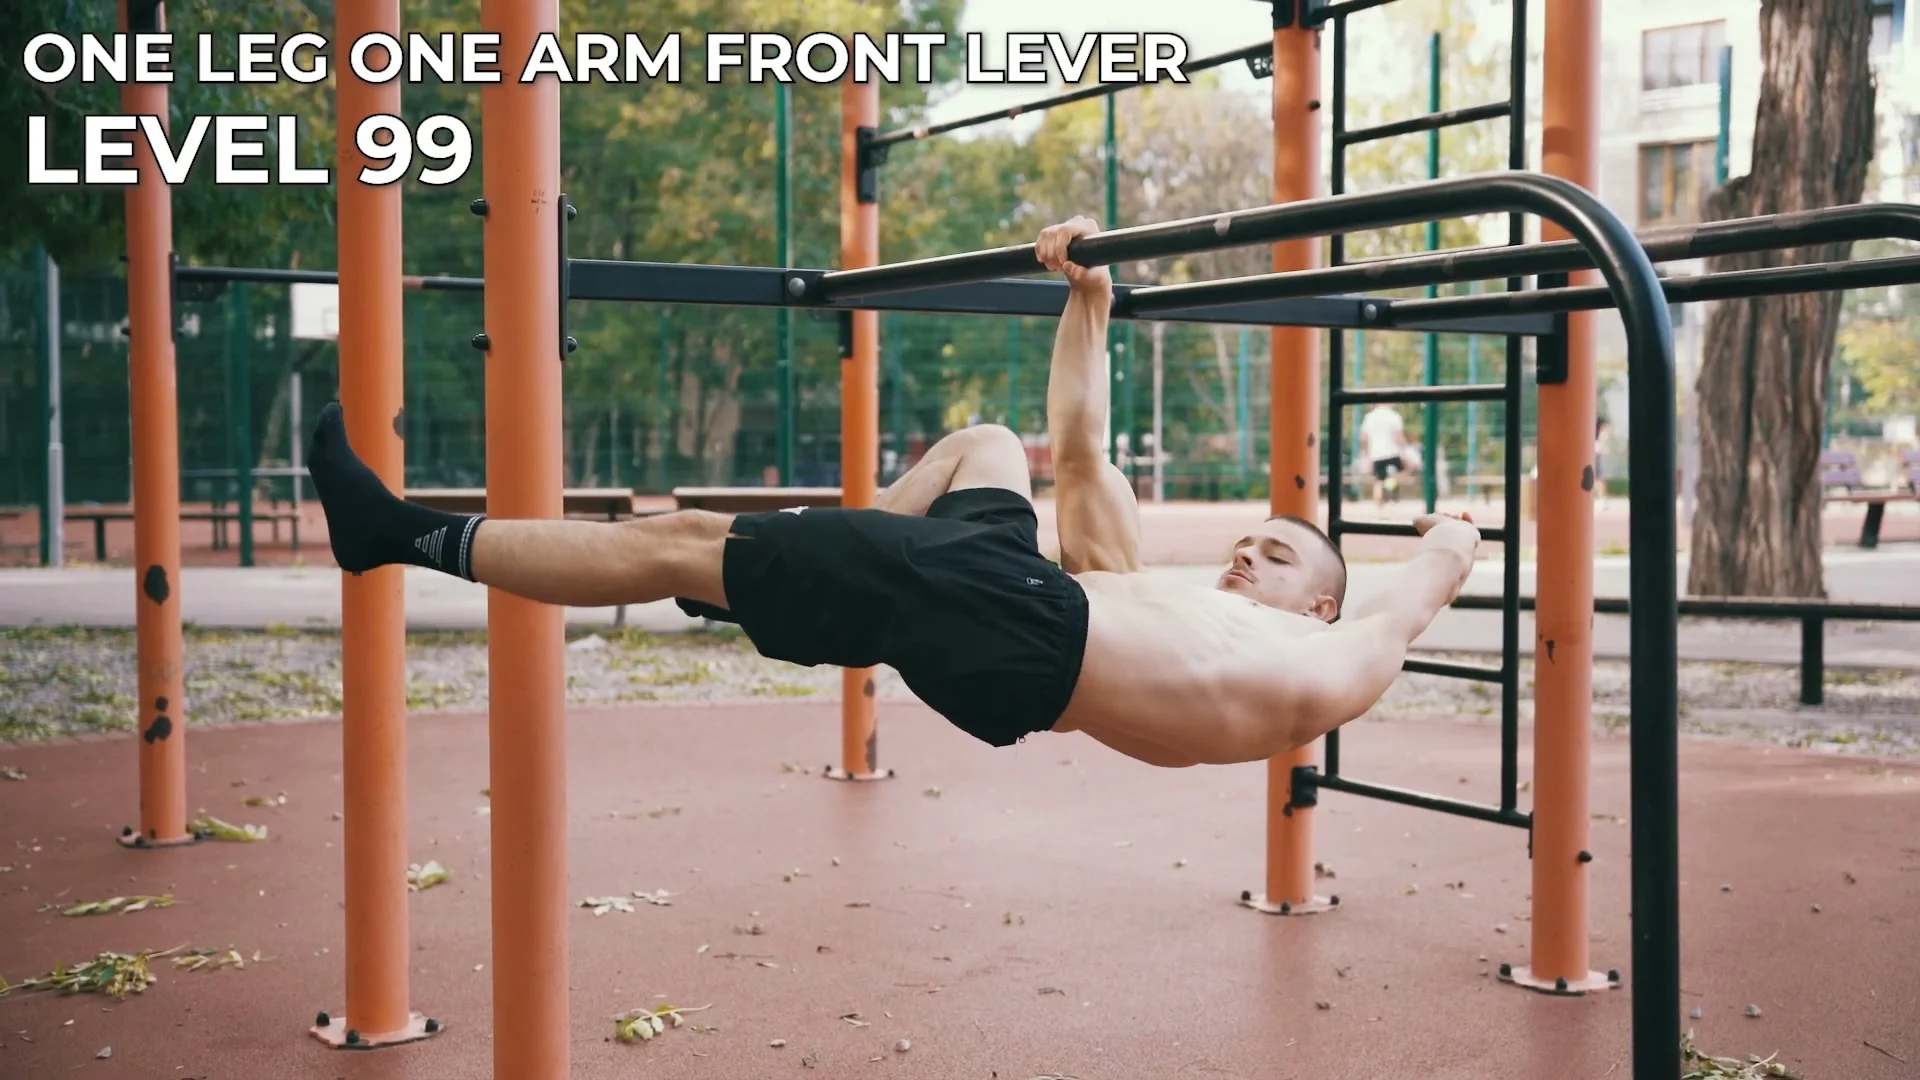
That territory is a different level of specificity than most people need for a first front lever, and it is where working with a coach on your specific weak points pays off, which is exactly what my online coaching is built for.
Common Mistakes
Mistake: Sagging Hips
If your hips drop below the line of your shoulders and feet, you're no longer holding a front lever, you're holding a bent, compromised position that stops training the skill properly. Keep the posterior pelvic tilt active the whole time.
Mistake: Bent Arms
Bending the elbows shortens the lever and lets your biceps take over from your back. It makes the hold feel easier while teaching you nothing useful for the real skill.
Mistake: Rushing the Straddle to Full Transition
Jumping from a wide straddle straight to full legs together, before your half lay is solid, is the most common reason people stall for months. Narrow the straddle gradually instead.
Mistake: Passive Shoulders
Hanging into the bar with your shoulder blades shrugged up instead of pulled down and back robs you of the base tension the whole hold depends on. Set the scapular lock before you pull your hips up, not after.
Training Tips
Train stages, not just full holds. If your full front lever attempt collapses every time, go back a stage and build real hold time there instead of grinding failed attempts at the level above it.
Use negatives to build strength faster than static holds alone. Start in the full lever position (or your current hardest stage) and lower yourself down slowly, keeping the line as flat as possible for as long as you can.
Keep your straddle wide in the early stages. A wide straddle keeps the training load close to a tuck while still teaching the shoulder and back mechanics of the full position, and narrowing it gradually is a safer path than jumping straight to legs together.
Train the front lever when you are fresh, ideally near the start of a pulling session. It is a strength and tension skill, and fatigue shows up immediately as a sagging hip line.
Frequently Asked Questions About the Front Lever
How long does it take to get a front lever?
It depends heavily on your starting pulling strength, but most people training consistently need somewhere between six months and two years to reach a clean full front lever.
Is the front lever harder than the planche?
They test different things. The front lever leans on pulling strength and the back, the planche leans on pushing strength and the shoulders. Most people find one noticeably easier than the other based on which strength they already have.
Do I need rings, or can I train front lever on a bar?
A bar works fine and is where most people start. Rings add an extra stability demand once you're more advanced, but they are not required to build the basic front lever.
How often should I train the front lever?
Two to three focused sessions a week is enough for most people, since it is a strength skill that needs recovery between sessions, not something to grind daily.
What muscles does the front lever work?
Mainly the lats and the rest of the back, plus the core, glutes, and grip working together to keep the whole body rigid and flat.
Can a beginner start front lever training right away?
Only the very first stages. If you cannot yet do 8 to 10 strict pull-ups and hold a solid hollow body position, build that base first, then start with tuck holds.

Daniel Hristov is a four-time calisthenics world champion and coach. He shares the exact methods he uses to train his own athletes.
More about Daniel →